

Amish White Sandwich Bread is my go-to soft homemade bread when I want an everyday loaf that actually slices well for lunch. It’s slightly sweet, simple, and the kind of bread I’d rather have than most store-bought sandwich loaves.
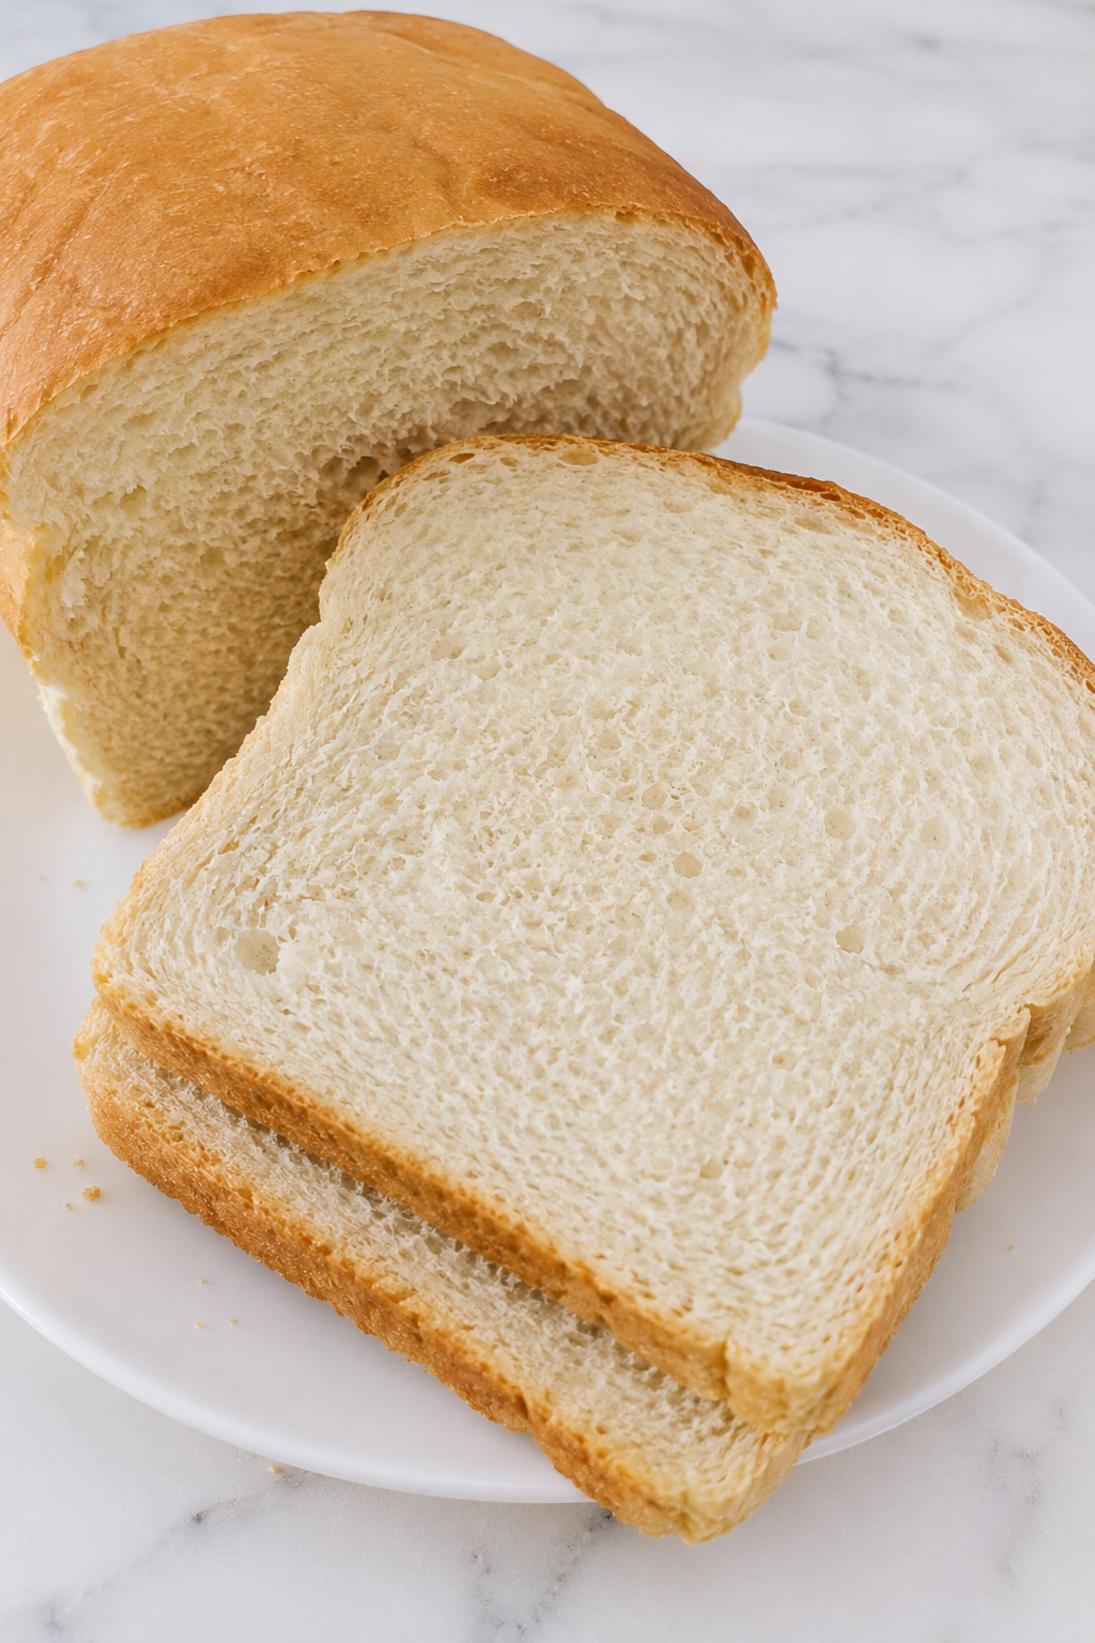
The crumb stays tender and fluffy, and the crust bakes up golden without getting tough. I like this version because it’s reliable, makes two loaves, and it holds up to everything from peanut butter to grilled cheese.
I make this most often for weekday sandwiches, but it’s also great for toast and simple breakfast plates. It’s the sort of loaf that works with sweet toppings and savory fillings, which is why I keep coming back to it.
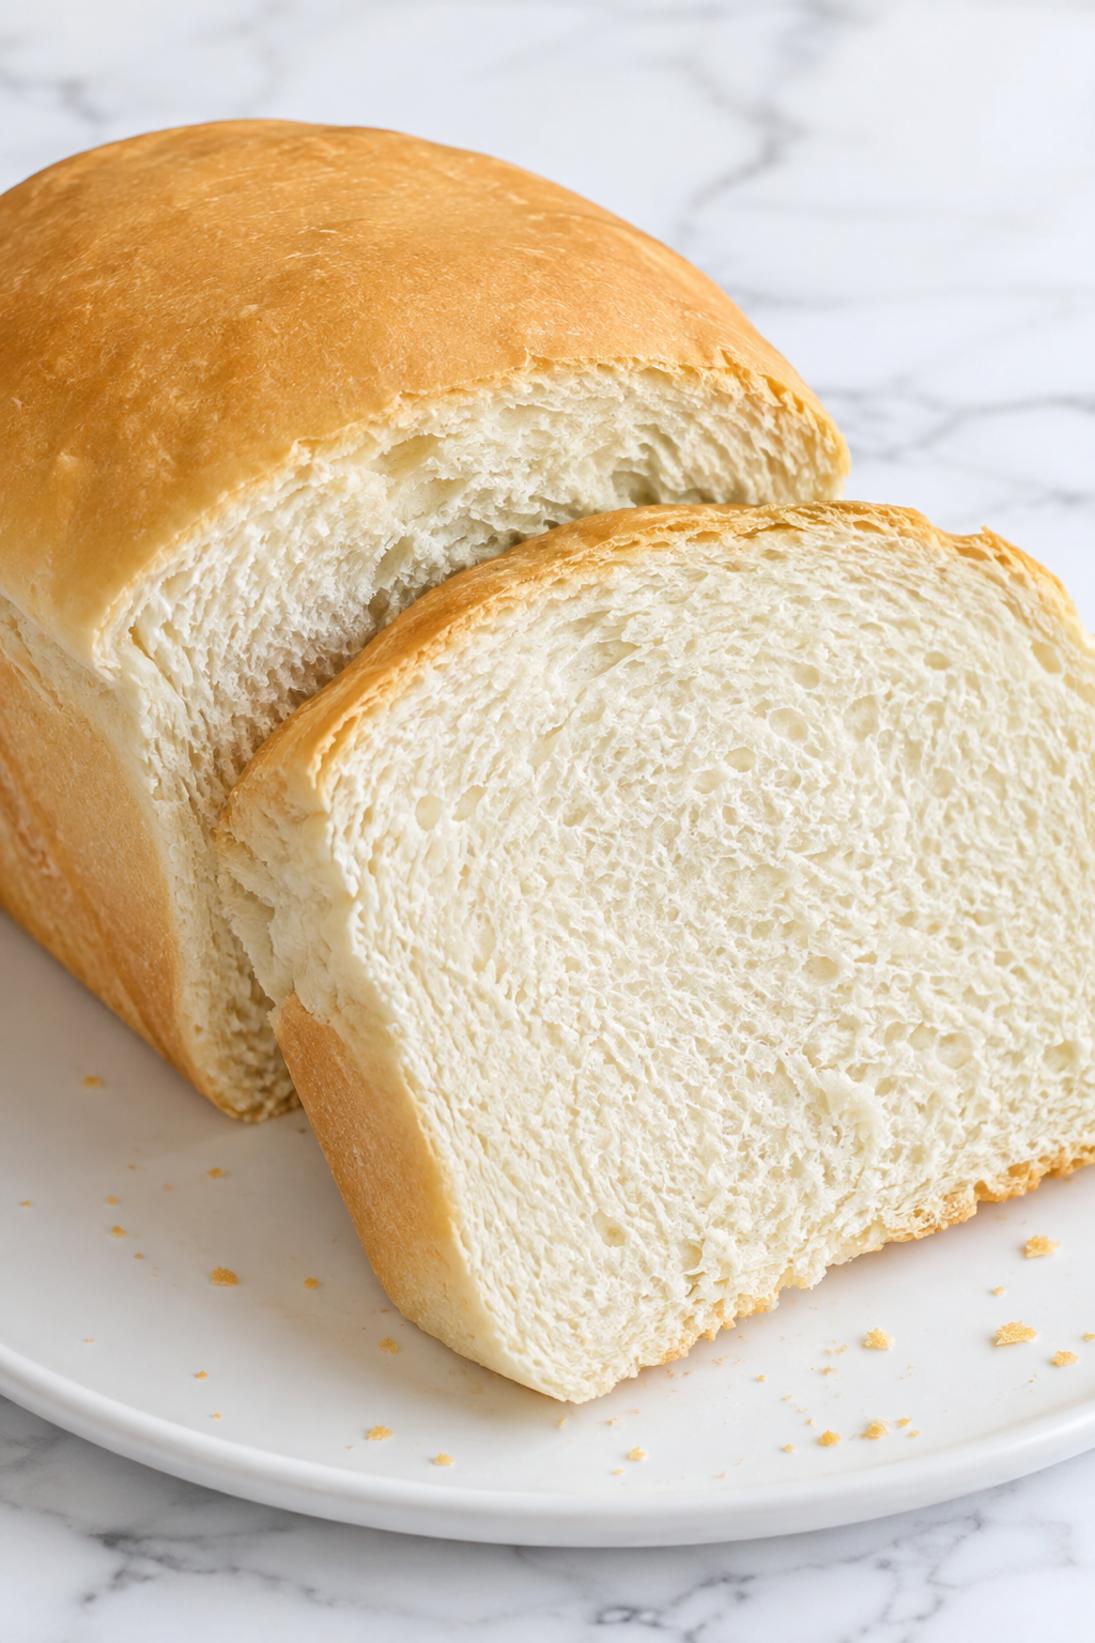
Why You’ll Love This Recipe
Soft slices: This bread bakes up tender, so it’s easy to slice for sandwiches without crumbling all over the cutting board.
Two loaves: You get a full two-pan batch, which feels worth the effort when you’re already mixing dough.
Easy ingredients: It’s basic pantry stuff, the kind you probably already have if you bake even once in a while.
Great for lunch: It holds fillings well, so it works for deli sandwiches, PB&J, tuna, and grilled cheese.
Flexible sweetness: You can keep it classic, or cut back the sugar if you want a more neutral sandwich bread.
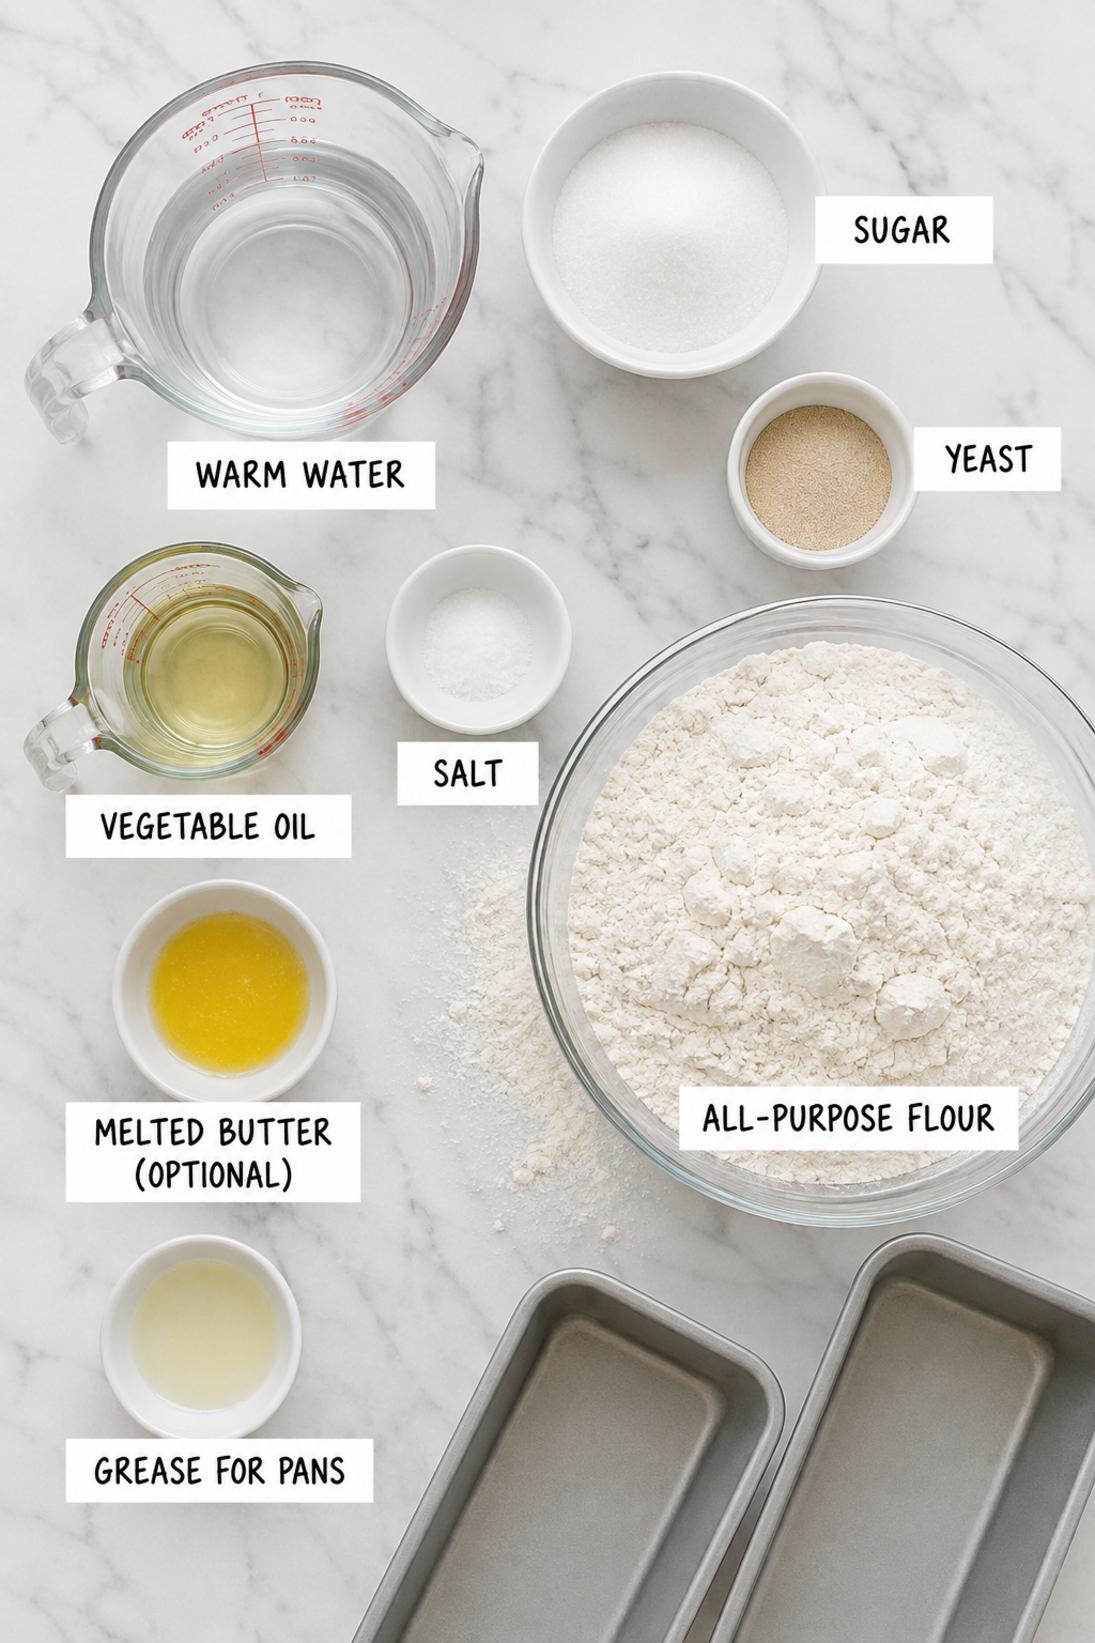
Ingredients You’ll Need
Yeast mixture
- Warm water: Keep it warm, not hot. I aim for about 105–110°F so the yeast wakes up quickly without getting stressed.
- Granulated sugar: This gives the loaf that classic Amish-style sweetness and helps the yeast get going. If you like a less sweet sandwich bread, you can reduce it.
- Active dry yeast: I use active dry yeast here and wait for it to look foamy so I know it’s working.
Dough
- Vegetable oil: Oil makes the crumb soft and keeps the bread from drying out as fast. Any neutral oil works fine.
- Fine salt: Don’t skip it. Salt keeps the flavor from tasting flat and helps the dough feel more “bread-like.”
- All-purpose flour: I use regular all-purpose flour most of the time. Bread flour works too if you want a slightly taller, chewier loaf.
- Butter or oil for greasing pans: Grease the loaf pans well so the sides release easily. I usually use butter because it’s quick and I like the flavor.
- Melted butter (optional): Brushing the tops is optional, but it gives a softer crust and a nice finish.
Recipe Instructions
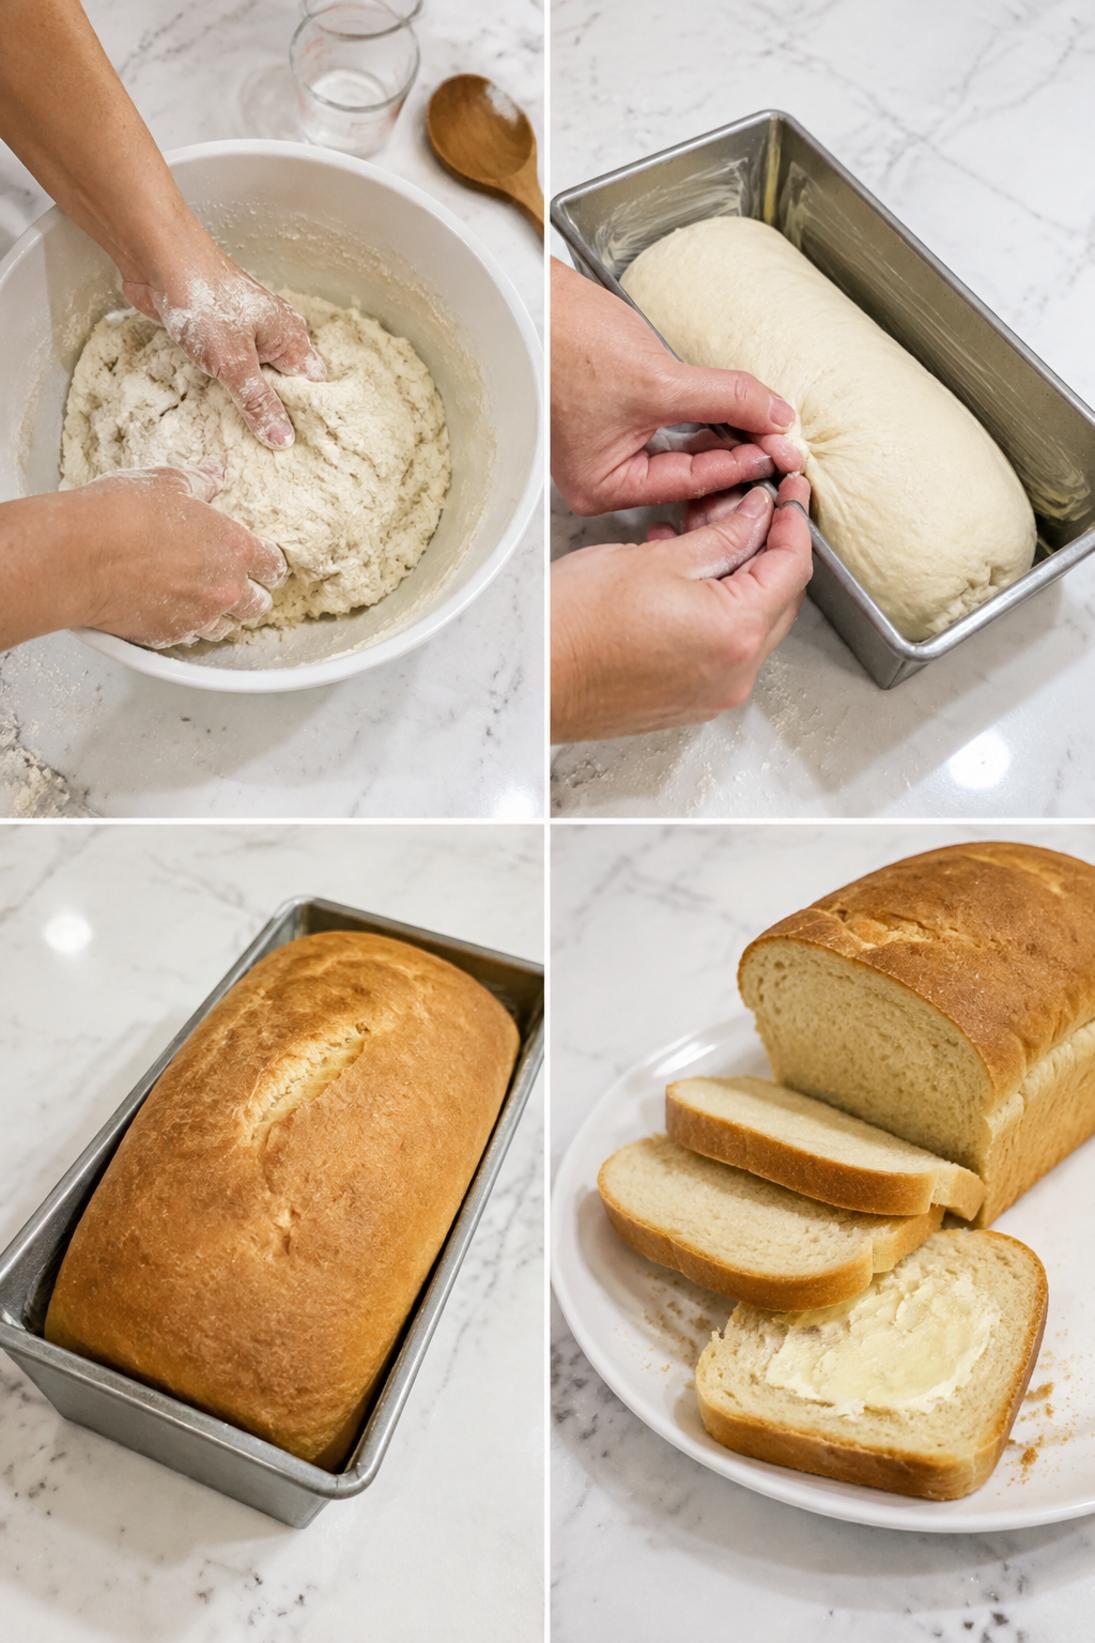
- Mix the yeast: Combine the warm water and sugar in a large bowl, then stir in the yeast. Let it sit until foamy, about 5 to 10 minutes.
- Add the oil and salt: Stir the vegetable oil and salt into the yeast mixture until it’s evenly mixed.
- Add the flour: Add the flour 1 to 2 cups at a time, stirring between additions, until a soft dough forms.
- Knead the dough: Knead for 6 to 8 minutes, until smooth and elastic. Add just a little extra flour only if the dough is sticky.
- Let it rise: Place the dough in a lightly oiled bowl, cover, and let rise until doubled, about 60 to 90 minutes.
- Shape the loaves: Punch down the dough and divide it into 2 equal pieces. Shape each piece into a loaf and place in two greased 9 x 5-inch loaf pans.
- Rise again: Cover and let rise until the dough crowns about 1 inch above the pans, about 30 to 45 minutes.
- Bake: Bake at 350°F for 28 to 33 minutes, until deep golden and the loaves sound hollow or reach 190 to 195°F internally.
- Cool: Cool 10 minutes in the pans, then turn out onto a rack and cool completely before slicing. Brush with melted butter if you want a softer top crust.
Some of my tips!
This is the part that really makes a difference. If you only read one section, make it this one because this is where I share the little trick that helps the recipe turn out so well.
Recipe Tips & Tricks
Keep the water warm, not hot. If the water is too hot, yeast can struggle or die. If you don’t have a thermometer, it should feel like warm bath water.
Stop adding flour while the dough is still soft. A slightly tacky dough bakes up lighter. If you keep adding flour until it feels “dry,” the loaf usually comes out heavier.
Give the first rise enough time. If it hasn’t doubled, the dough will be harder to shape and the bread won’t get the same lift in the oven.
Use bread flour if you want more chew. It’s an easy swap and the loaves tend to stand a bit taller. I still use all-purpose when I want the softest sandwich texture.
Check doneness with temperature. If you bake bread often, an instant-read thermometer takes the guesswork out. I pull these around 190–195°F in the center.
Make some touches!
There are plenty of easy ways to serve this depending on the occasion. Keep it simple, or add a few small touches to make it feel a little more special.
Serving Suggestions
- Sandwiches: This is classic for turkey, ham, tuna, or egg salad. It also holds up well if you toast it first.
- Toast: Toast thick slices and top with butter and jam, or peanut butter and banana. It’s simple and filling.
- Grilled cheese: The slight sweetness works really well with sharp cheddar or American cheese. I like it cooked low and slow so the middle melts.
- Soup night: Serve it alongside tomato soup, chicken noodle, or veggie soup. A toasted slice is especially good for dipping.
Save it for later
This section covers how to store leftovers and what parts of the recipe you can prepare ahead of time.
Storage and Make Ahead
Store the bread airtight at room temperature for 3 to 4 days. Once it’s fully cool, I usually slice one loaf right away so it’s easy to grab for breakfast and lunch.
If your kitchen runs warm, keep it in a cooler spot out of direct sun. If the loaf starts to feel a little dry, toasting brings it right back.
For longer storage, freeze sliced bread in a freezer bag so you can pull out what you need. It freezes well for up to 2 months.
Thaw at room temperature for a bit, or toast straight from frozen. For sandwiches, I usually let slices sit for 10 to 15 minutes and they’re good to go.
A few quick answers
This section covers a few extra details that may help before you head to the recipe card.
Recipe FAQs
Can I use bread flour instead of all-purpose flour?
Yes. Bread flour makes a slightly taller loaf with a little more chew. If you want the softest, most classic sandwich texture, all-purpose flour is still great here.
Why didn’t my yeast get foamy?
Most of the time it’s water temperature. If the water is too hot or too cool, the yeast won’t foam the way you expect. Yeast can also be old, so if it’s been sitting open for a long time, that can do it.
How do I know when the bread is done baking?
Look for a deep golden top and a hollow sound when you tap the loaf. If you have a thermometer, the center should read about 190 to 195°F.
Can I make this bread less sweet?
You can reduce the sugar to 1/2 cup for a more neutral sandwich loaf. It will still rise and bake well, just with less of that classic Amish-style sweetness.
Can I freeze these loaves?
Yes, and I strongly recommend freezing it sliced so you can take out a few pieces at a time. Wrap well, freeze up to 2 months, then thaw at room temperature or toast from frozen.
You might also like
Before you go, take a look at a few other recipes below the recipe card. They use similar ingredients in a different way and are worth saving too.
MORE DINNER RECIPES TO TRY


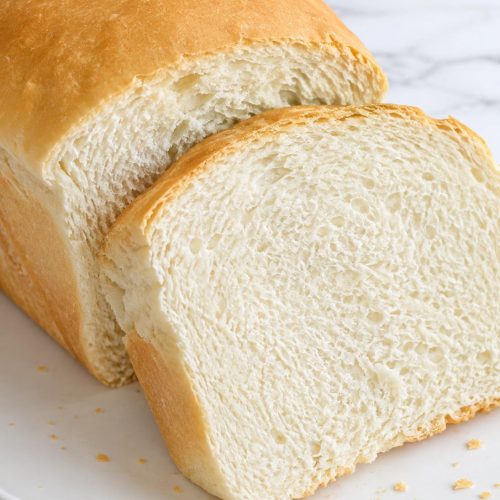
Amish White Sandwich Bread
INGREDIENTS
Yeast mixture
- 2 cups warm water
- 2 by 3 cup granulated sugar
- 1 1 by 2 tbsp active dry yeast.
Dough
- 1 by 4 cup vegetable oil
- 1 1 by 2 tsp fine salt
- 6 cups all purpose flour plus more as needed
- butter or oil for greasing pans
- 1 tbsp melted butter for brushing tops optional.
INSTRUCTIONS
Mix and knead
- combine warm water and sugar then stir in yeast and rest until foamy
- stir in vegetable oil and salt
- add flour 1 to 2 cups at a time until a soft dough forms
- knead 6 to 8 minutes until smooth and elastic adding a little flour only if sticky.
Rise shape and bake
- place dough in a lightly oiled bowl cover and let rise until doubled 60 to 90 minutes
- punch down and divide into 2 equal pieces then shape into loaves and place in two greased 9 by 5 inch loaf pans
- cover and let rise until dough crowns 1 inch above pans 30 to 45 minutes
- bake at 350 F for 28 to 33 minutes until deep golden and the loaves sound hollow or reach 190 to 195 F internally
- cool 10 minutes in pans then turn out and cool completely before slicing brush with melted butter if using.


