

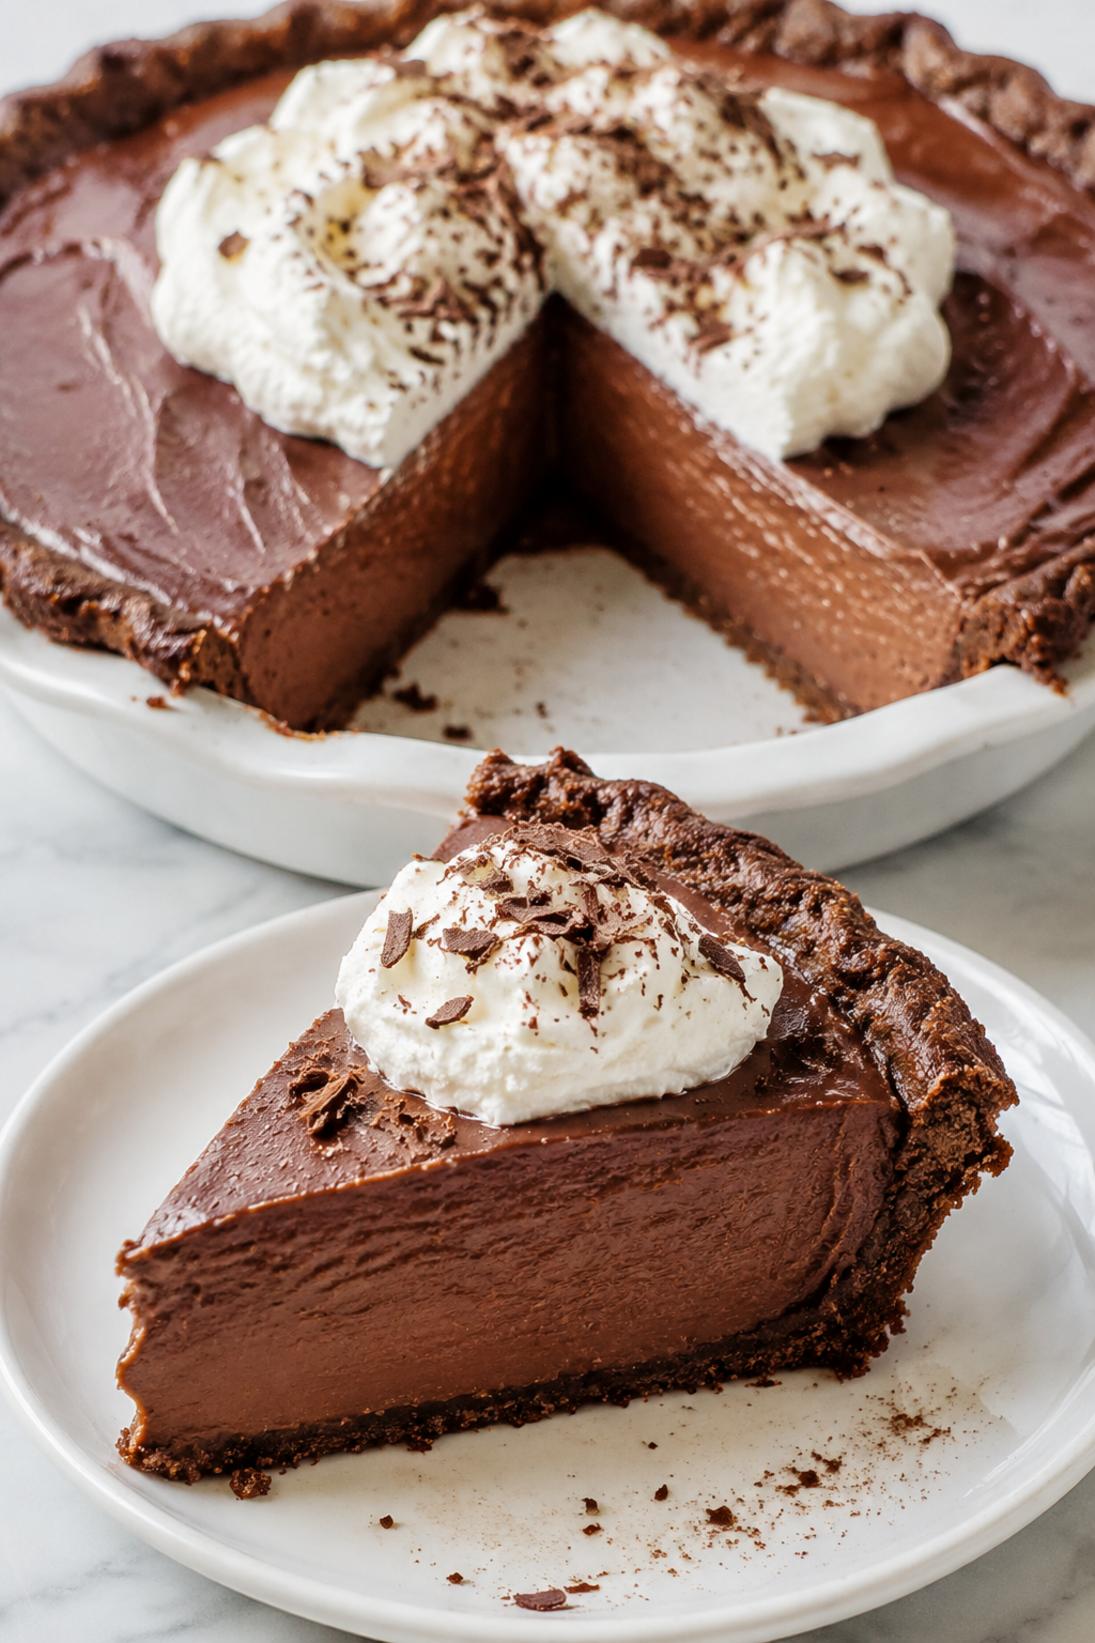
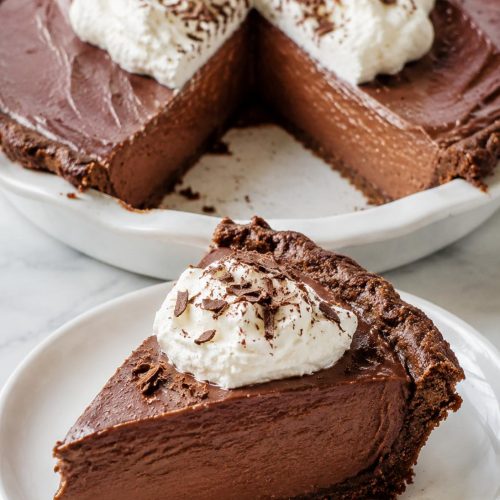
Bakery Chocolate Pie is the kind of dessert I reach for when I want a classic chocolate cream pie that feels familiar and straightforward. It has a flaky crust, a smooth chocolate filling, and a thick layer of whipped cream on top.
The filling is a silky cocoa custard with real chopped chocolate stirred in at the end, so it tastes deep and chocolatey, not just “pudding-like.” I also like that it slices clean once it’s chilled, which makes it easy to serve.
For me, this is especially good for weekends and holidays when you want a dessert that looks like it came from a bakery. I’ll often serve it after a heavier dinner, because a cold slice of chocolate cream pie just works.
Why You’ll Love This Recipe
Classic and familiar: It’s the chocolate cream pie I expect from a good bakery case—simple, rich, and easy to slice.
Silky filling: The custard sets up smooth and creamy, with a real cocoa flavor and a little extra depth from chopped chocolate.
Make-ahead friendly: This one actually benefits from time in the fridge, so it’s great when you want dessert handled early.
Flaky crust: Blind-baking the crust keeps it crisp, so you don’t end up with a soggy bottom once the filling goes in.
Easy topping: Homemade whipped cream is quick, and it makes the whole pie taste lighter and more balanced.
Ingredients You’ll Need
Crust
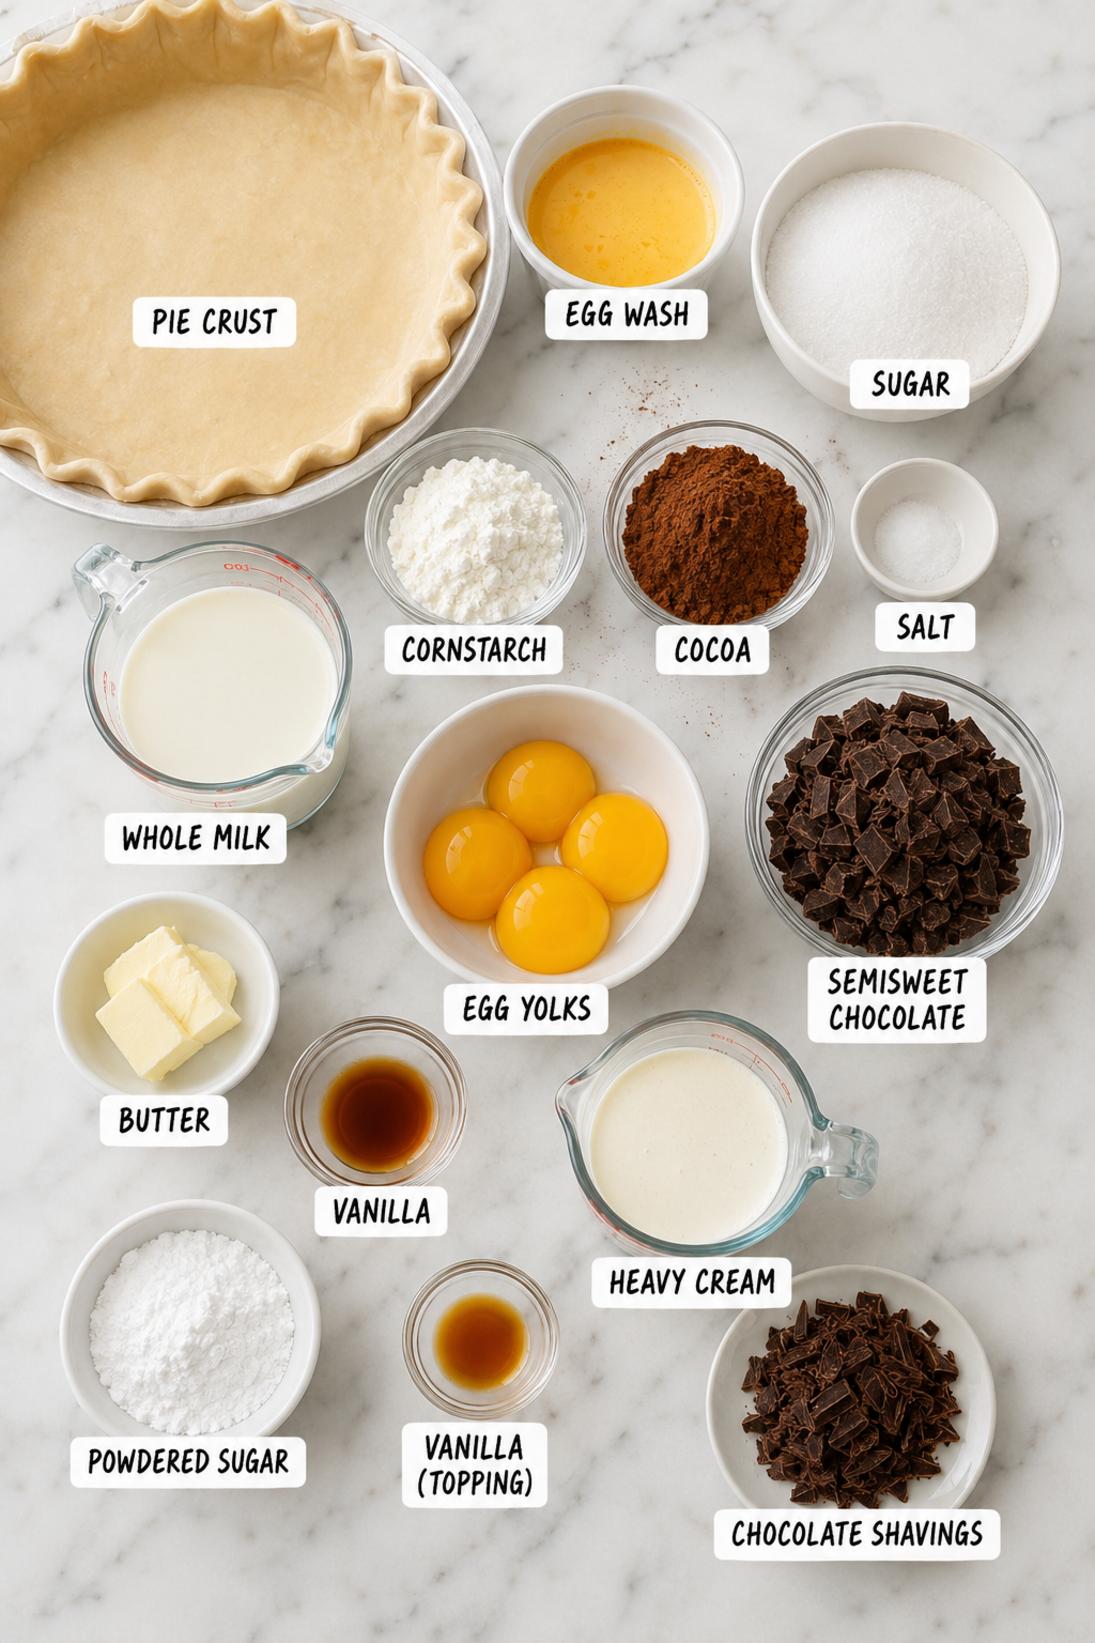
- Pie crust: I use a standard 9-inch unbaked pie crust here. Homemade or store-bought both work, just make sure it fits a 9-inch pie dish and you can crimp the edges.
- Egg: This is just for an optional egg wash on the crust. It gives the edges a nicer color and a slightly shinier finish, but you can skip it if you want.
Chocolate Filling
- Granulated sugar: Regular white sugar is what I use for a clean, classic sweetness.
- Cornstarch: This is what thickens the custard so it actually slices once it’s chilled. Don’t swap it for flour here.
- Unsweetened cocoa powder: Natural cocoa works, and Dutch-process is even better if you want a deeper chocolate flavor.
- Fine salt: Don’t skip it. It keeps the filling from tasting flat.
- Whole milk: Whole milk gives you that creamy custard texture. You can also do a mix of milk and half-and-half if you like it richer.
- Egg yolks: Yolks make the filling feel like a true custard, not just a thick chocolate sauce.
- Semisweet chocolate: Semisweet is my go-to here because it tastes chocolatey without getting too sweet. Chop it fairly small so it melts quickly.
- Unsalted butter: A little butter at the end makes the custard smoother and gives it a softer set.
- Vanilla extract: Vanilla rounds out the cocoa and makes the filling taste more finished.
Topping
- Heavy whipping cream: Use cold heavy cream so it whips up faster and holds its shape better.
- Powdered sugar: Powdered sugar dissolves easily, so the whipped cream stays smooth.
- Vanilla extract: Just enough to give the topping a little flavor.
- Chocolate shavings: Totally optional, but it’s an easy way to make the pie look like it came from a bakery. A vegetable peeler and a chocolate bar works well.
Recipe Instructions
- Preheat the oven: Heat the oven to 375°F.
- Shape the crust: Fit the pie crust into a 9-inch pie dish and crimp the edges.
- Dock the crust: Prick the bottom of the crust all over with a fork, then line it with parchment paper and fill with pie weights.
- Bake the crust: Bake until the edges are lightly golden, about 15 minutes.
- Finish baking: Carefully remove the weights and parchment, then bake 5 minutes more. If using egg wash, brush it on during the last 2 minutes of baking.
- Cool the crust: Let the crust cool completely before filling.
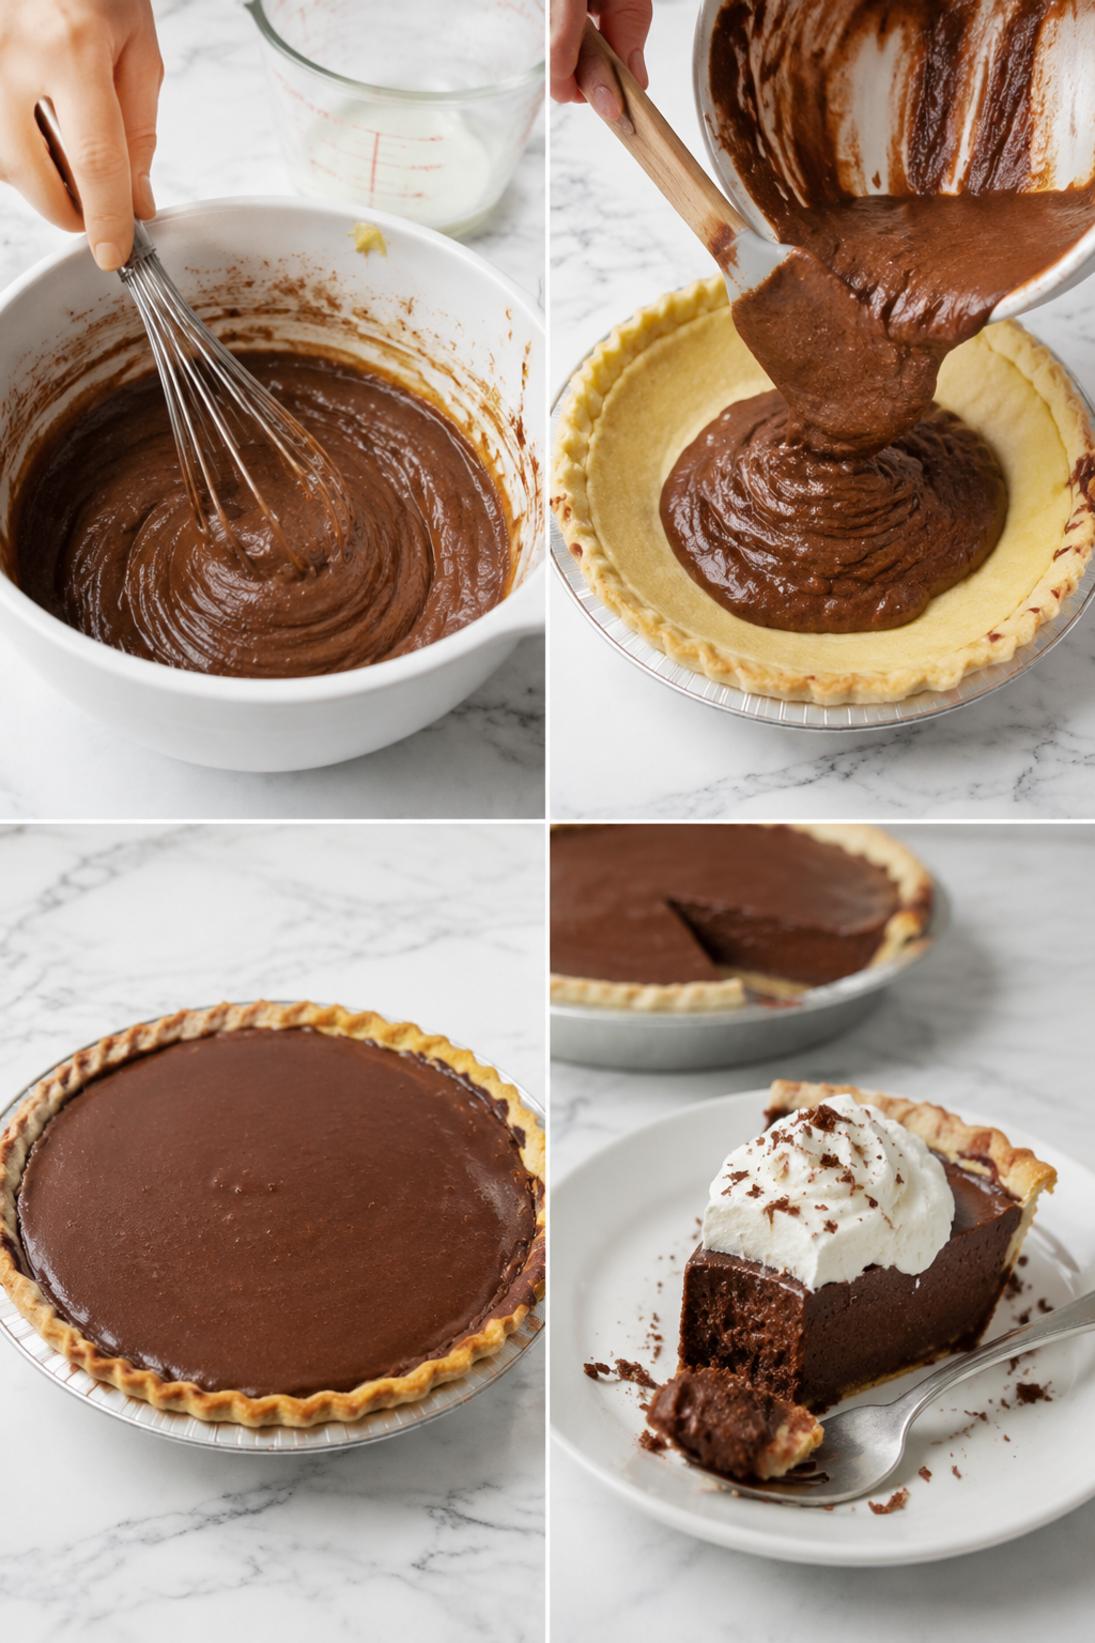
- Whisk the dry ingredients: In a saucepan, whisk together the sugar, cornstarch, cocoa powder, and salt.
- Add the milk: Slowly whisk in the milk until the mixture is smooth.
- Cook the custard base: Cook over medium heat, whisking constantly, until thickened and bubbling, about 6 to 8 minutes.
- Temper the yolks: Whisk the egg yolks in a bowl. Ladle in a little of the hot mixture while whisking, then whisk the warmed yolks back into the saucepan.
- Cook until glossy: Cook 1 to 2 minutes more, whisking, until the custard is glossy and thick.
- Add chocolate and butter: Remove from heat and stir in the chopped chocolate, butter, and vanilla until smooth.
- Strain the filling: Strain the filling through a fine mesh sieve into the cooled crust.
- Chill: Press plastic wrap directly onto the surface of the filling, then chill until set, at least 4 hours.
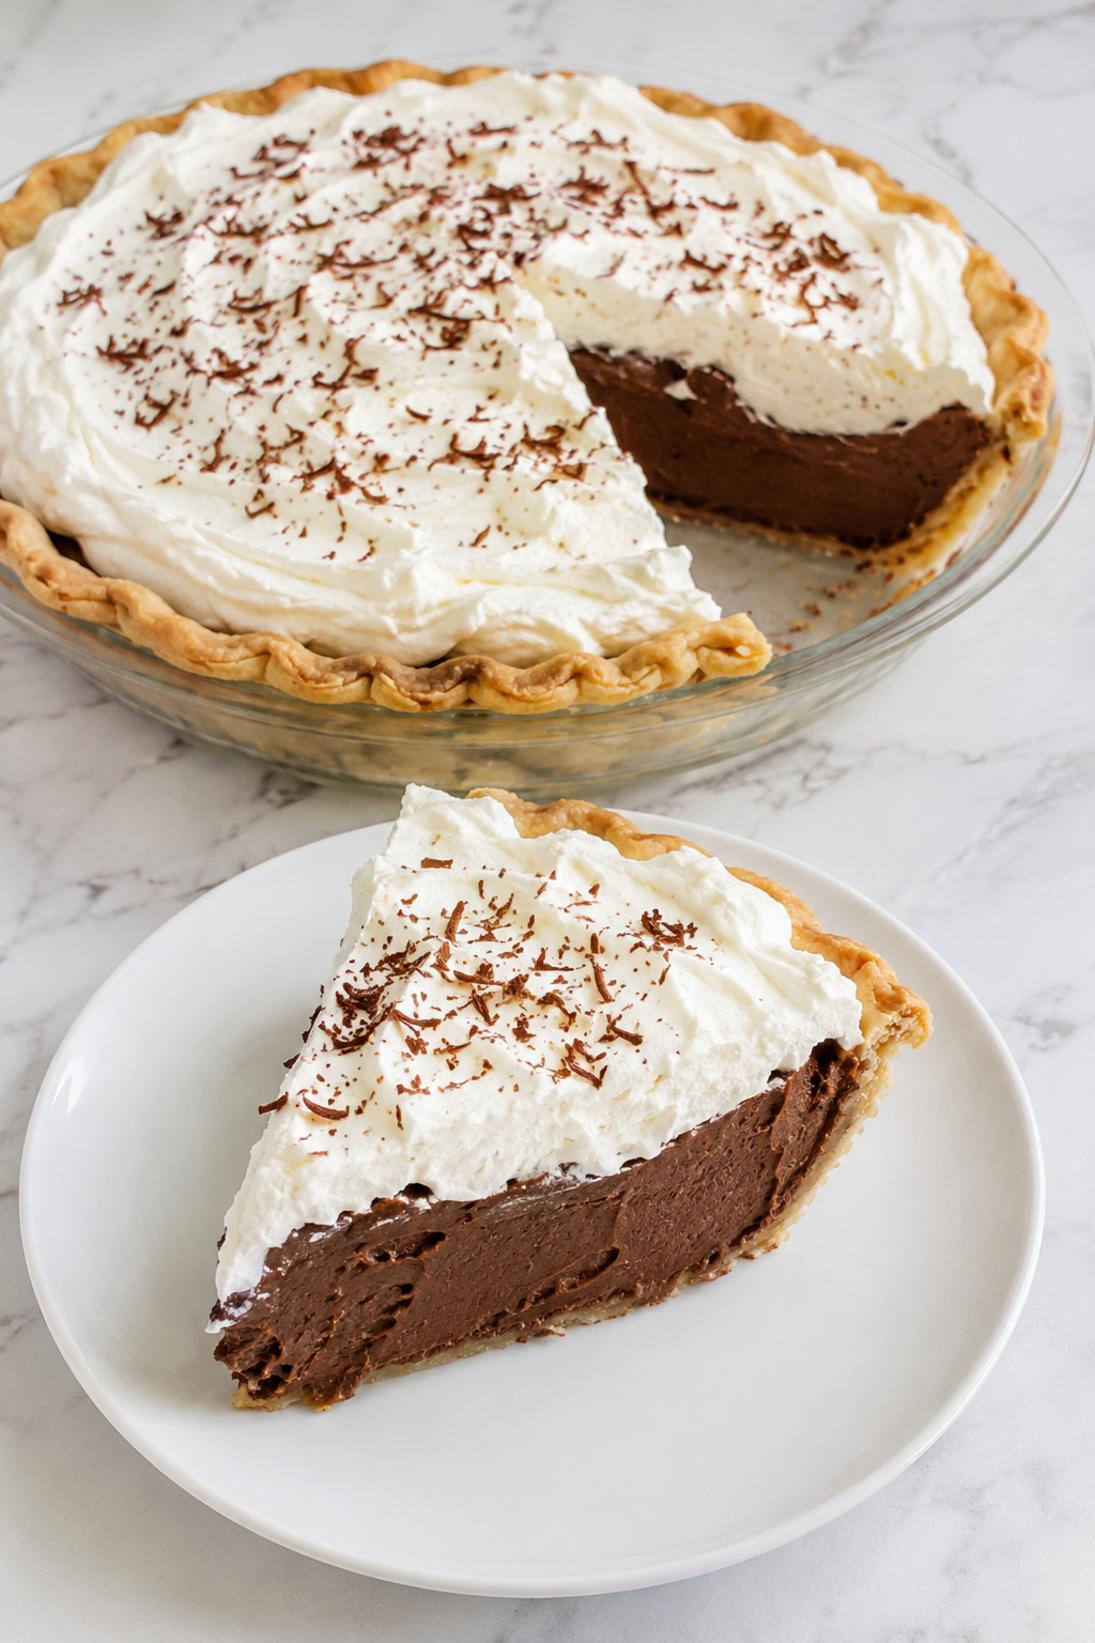
- Whip the cream: Whip the heavy cream with powdered sugar and vanilla to medium peaks.
- Top and serve: Spread or pipe the whipped cream over the pie, garnish with chocolate shavings if you like, and slice cold.
Some of my tips!
This is the part that really makes a difference. If you only read one section, make it this one because this is where I share the little trick that helps the recipe turn out so well.
Recipe Tips & Tricks
Let the crust cool completely. If the crust is even a little warm, the custard can soften it. I usually bake the crust first, then make the filling while it cools.
Whisk the custard constantly. Cornstarch thickens fast once it gets going, and that’s when lumps happen. Steady whisking keeps it smooth.
Temper the yolks slowly. Add the hot mixture in a thin stream or small ladles while whisking. Rushing this part is how you end up with little bits of cooked egg.
Strain if it looks at all lumpy. Even if you whisk well, a quick pass through a sieve makes the filling extra smooth. It’s worth the 30 seconds.
Use Dutch-process cocoa if you have it. It’s a little darker and more chocolate-forward. Natural cocoa is still good, so don’t stress if that’s what’s in your pantry.
Make some touches!
There are plenty of easy ways to serve this depending on the occasion. Keep it simple, or add a few small touches to make it feel a little more special.
Serving Suggestions
- Fresh berries: Strawberries or raspberries are nice on the plate next to a slice. The fruit keeps it from feeling too heavy.
- Extra chocolate on top: Chocolate shavings are classic, but a light dusting of cocoa powder also looks good and takes two seconds.
- Espresso or strong coffee: This is really good with coffee, especially if you like your desserts on the richer side. I usually go with plain black coffee.
- Salted caramel drizzle: A little drizzle over each slice is great if you want a sweeter finish. I keep it light so it doesn’t cover up the chocolate.
Save it for later
This section covers how to store leftovers and what parts of the recipe you can prepare ahead of time.
Storage and Make Ahead
Store the pie covered in the fridge for up to 3 days. It slices best when it’s cold, so I don’t let it sit out long except for serving.
You can make the crust and filling ahead and keep the pie chilled, then add the whipped cream the day you plan to serve it. The whipped cream holds up pretty well, but it looks nicest when it’s fresh.
If you want to make the whipped cream ahead, keep it in the fridge and give it a quick whisk right before topping the pie. If it gets a little soft, a few quick turns usually brings it back.
A few quick answers
This section covers a few extra details that may help before you head to the recipe card.
Recipe FAQs
Can I use Dutch-process cocoa?
Yes. Dutch-process cocoa gives the filling a deeper color and a slightly smoother chocolate flavor. Natural unsweetened cocoa works too, so use what you have.
Why is my chocolate custard lumpy?
Usually it’s from the custard thickening too quickly or the egg yolks not being tempered slowly enough. The easiest fix is to strain the filling through a fine mesh sieve before you pour it into the crust.
Can I use half-and-half instead of all whole milk?
You can. I like using 2 cups whole milk and 1 cup half-and-half when I want a richer custard. I wouldn’t go all half-and-half unless you’re okay with a heavier filling.
How long does the pie need to chill before slicing?
At least 4 hours. Overnight is even better if you have the time, especially if you want really clean slices.
Can I use a store-bought crust?
Yes, a store-bought 9-inch crust works fine here. Just make sure you still blind-bake it so it stays crisp under the filling.
You might also like
Before you go, take a look at a few other recipes below the recipe card. They use similar ingredients in a different way and are worth saving too.
MORE DINNER RECIPES TO TRY



Bakery Chocolate Pie
INGREDIENTS
Crust
- 1 9 inch pie crust unbaked
- 1 egg beaten for egg wash optional.
Chocolate Filling
- 3/4 cup granulated sugar
- 1/4 cup cornstarch
- 1/4 cup unsweetened cocoa powder
- 1/4 tsp fine salt
- 3 cups whole milk
- 4 large egg yolks
- 4 oz semisweet chocolate chopped
- 2 tbsp unsalted butter
- 2 tsp vanilla extract.
Topping
- 1 cup heavy whipping cream
- 2 tbsp powdered sugar
- 1/2 tsp vanilla extract
- chocolate shavings for garnish optional.
INSTRUCTIONS
Crust
- Heat oven to 375 F
- fit pie crust into a 9 inch pie dish and crimp edges
- dock the bottom with a fork and line with parchment then fill with pie weights
- bake until edges are lightly golden about 15 minutes then remove weights and bake 5 minutes more
- cool completely and brush with egg wash during the last 2 minutes optional.
Chocolate Filling
- In a saucepan whisk sugar cornstarch cocoa and salt
- slowly whisk in milk until smooth then cook over medium heat whisking constantly until thickened and bubbling 6 to 8 minutes
- whisk egg yolks in a bowl then temper with a ladle of hot mixture and whisk back into the saucepan
- cook 1 to 2 minutes until glossy and thick
- remove from heat and stir in chopped chocolate butter and vanilla until smooth.
Chill and Serve
- Strain filling through a fine mesh sieve into the cooled crust and press plastic wrap directly onto the surface
- chill until set at least 4 hours
- whip cream with powdered sugar and vanilla to medium peaks and spread or pipe over the pie
- garnish with chocolate shavings and slice cold.


