

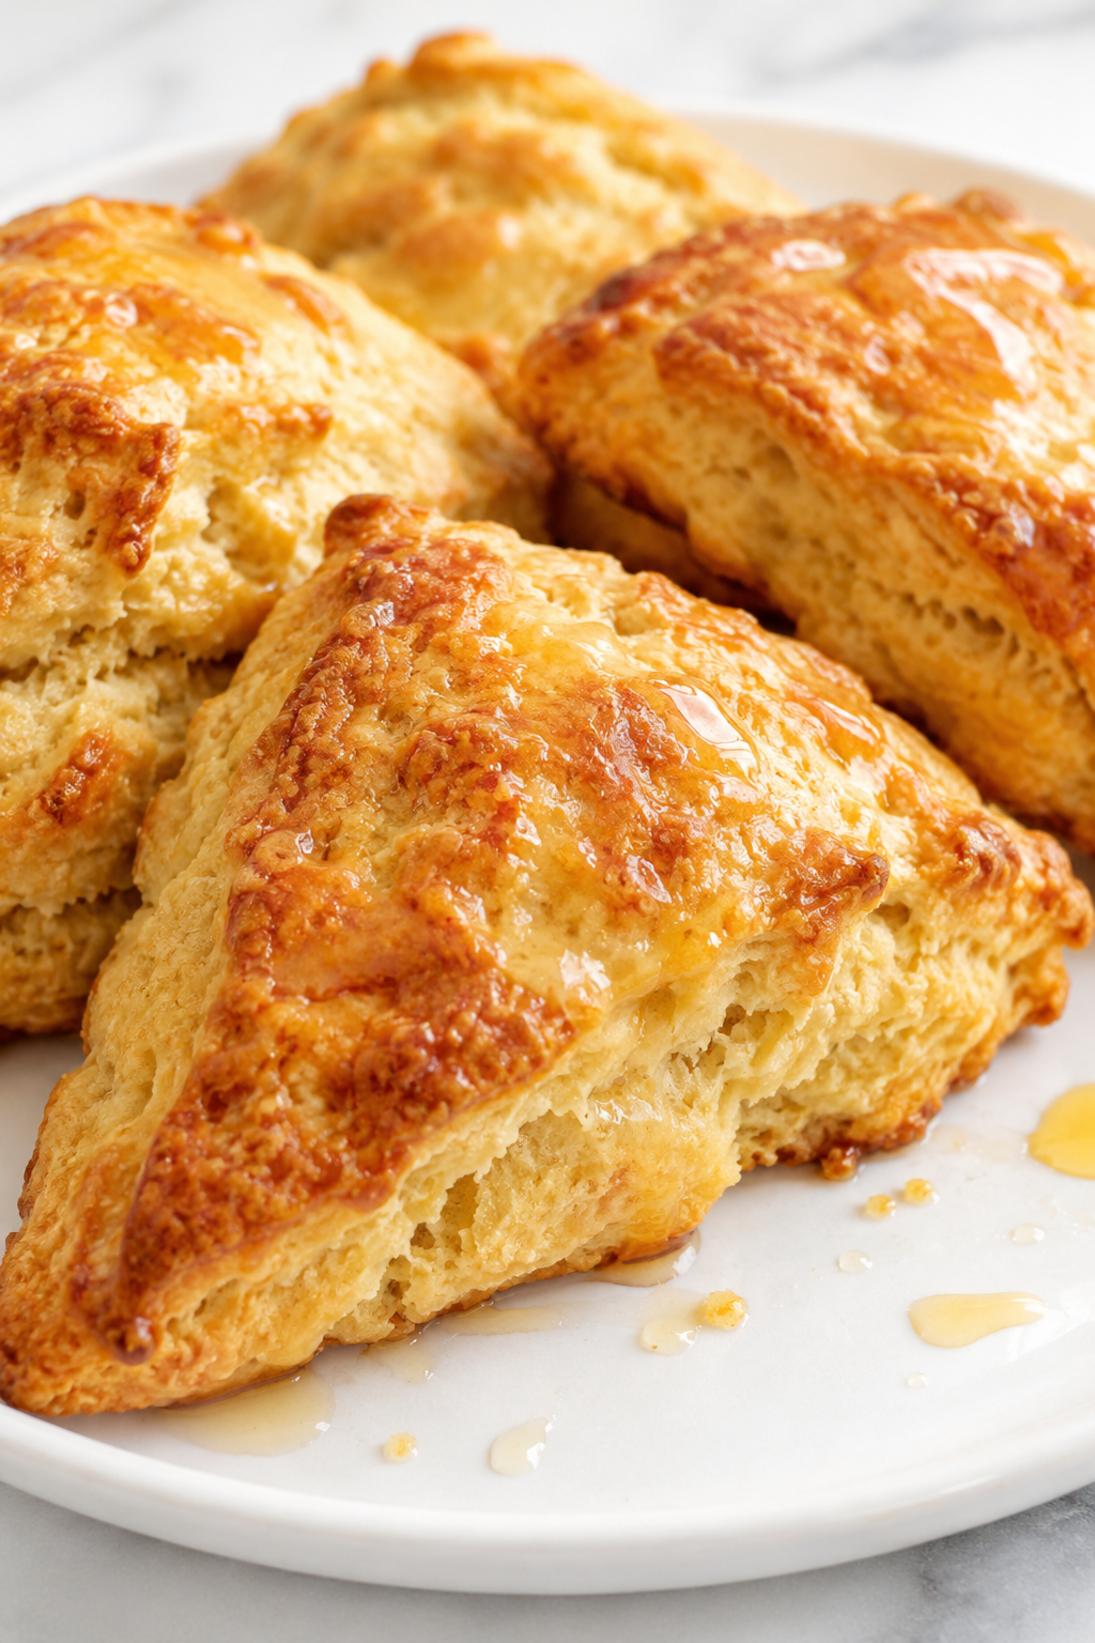
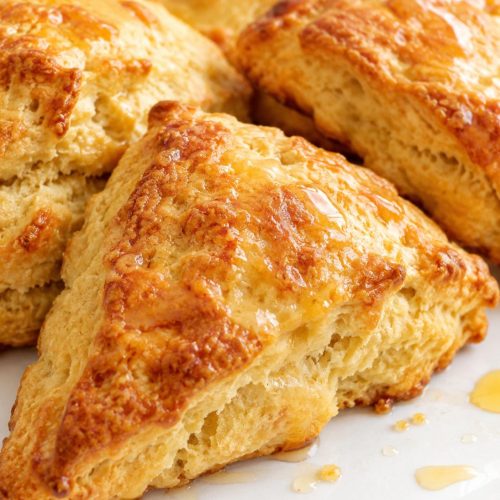
Buttermilk Honey Scones are my go-to when I want a tender, flaky breakfast pastry that still feels simple and homey. They’re lightly sweet, not dessert-sweet, and the honey keeps the flavor warm and mellow.
What makes these stand out for me is the mix of cold butter and tangy buttermilk, plus that honey glaze on top. The scones bake up with crisp edges, a soft center, and just enough sweetness to make plain butter optional (though I still do it).
I like these for weekend breakfast, brunch tables, or as a bake-and-share treat that doesn’t need frosting or fancy decorating. They’re especially nice with coffee or tea, and they hold up well if you want to pack one for later.
Why You’ll Love This Recipe
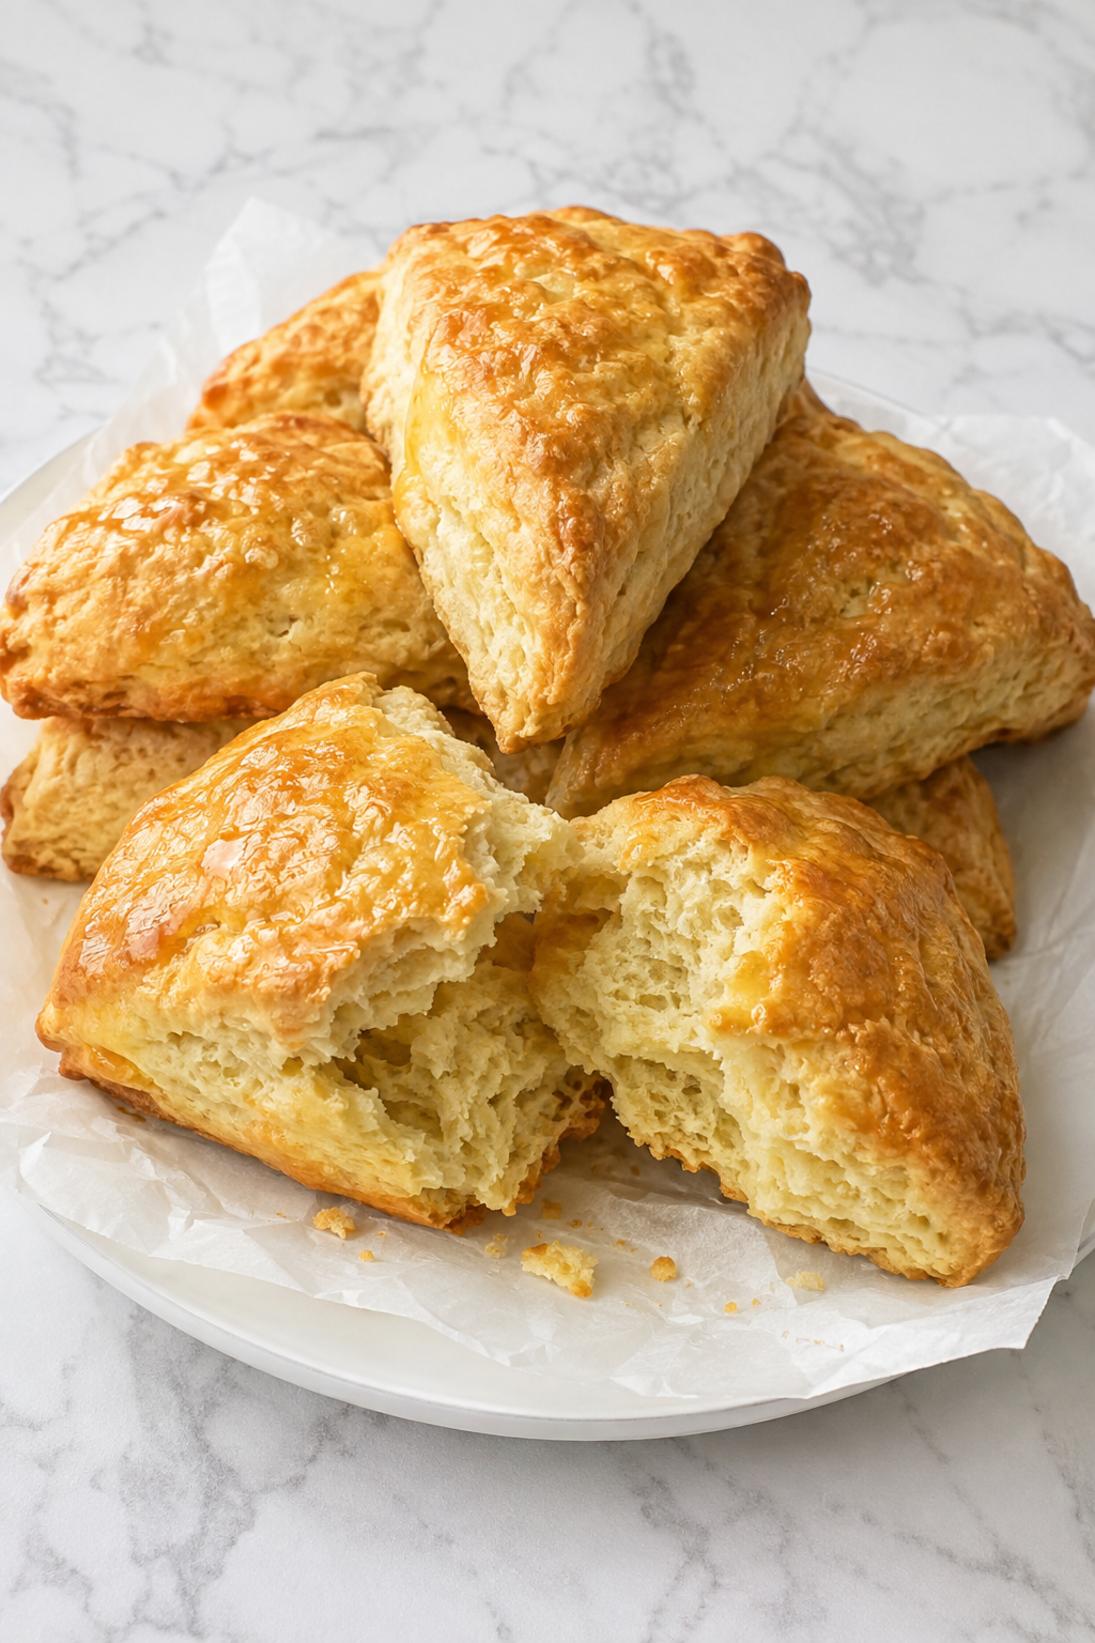
Flaky texture: Keeping everything cold gives you that layered, bakery-case kind of crumble, but in a very doable home-kitchen way.
Not too sweet: The scones themselves are gently sweet, then the honey glaze finishes them off without turning them into cake.
Quick bake: From mixing bowl to oven is fast, so they’re realistic for a morning when you actually want fresh baked goods.
Simple ingredients: Nothing strange here—just classic pantry and fridge staples that work really well together.
Easy to make ahead: You can freeze the unbaked wedges and bake what you need, which is nice if you want “fresh” scones without mixing dough every time.
Ingredients You’ll Need
Dry
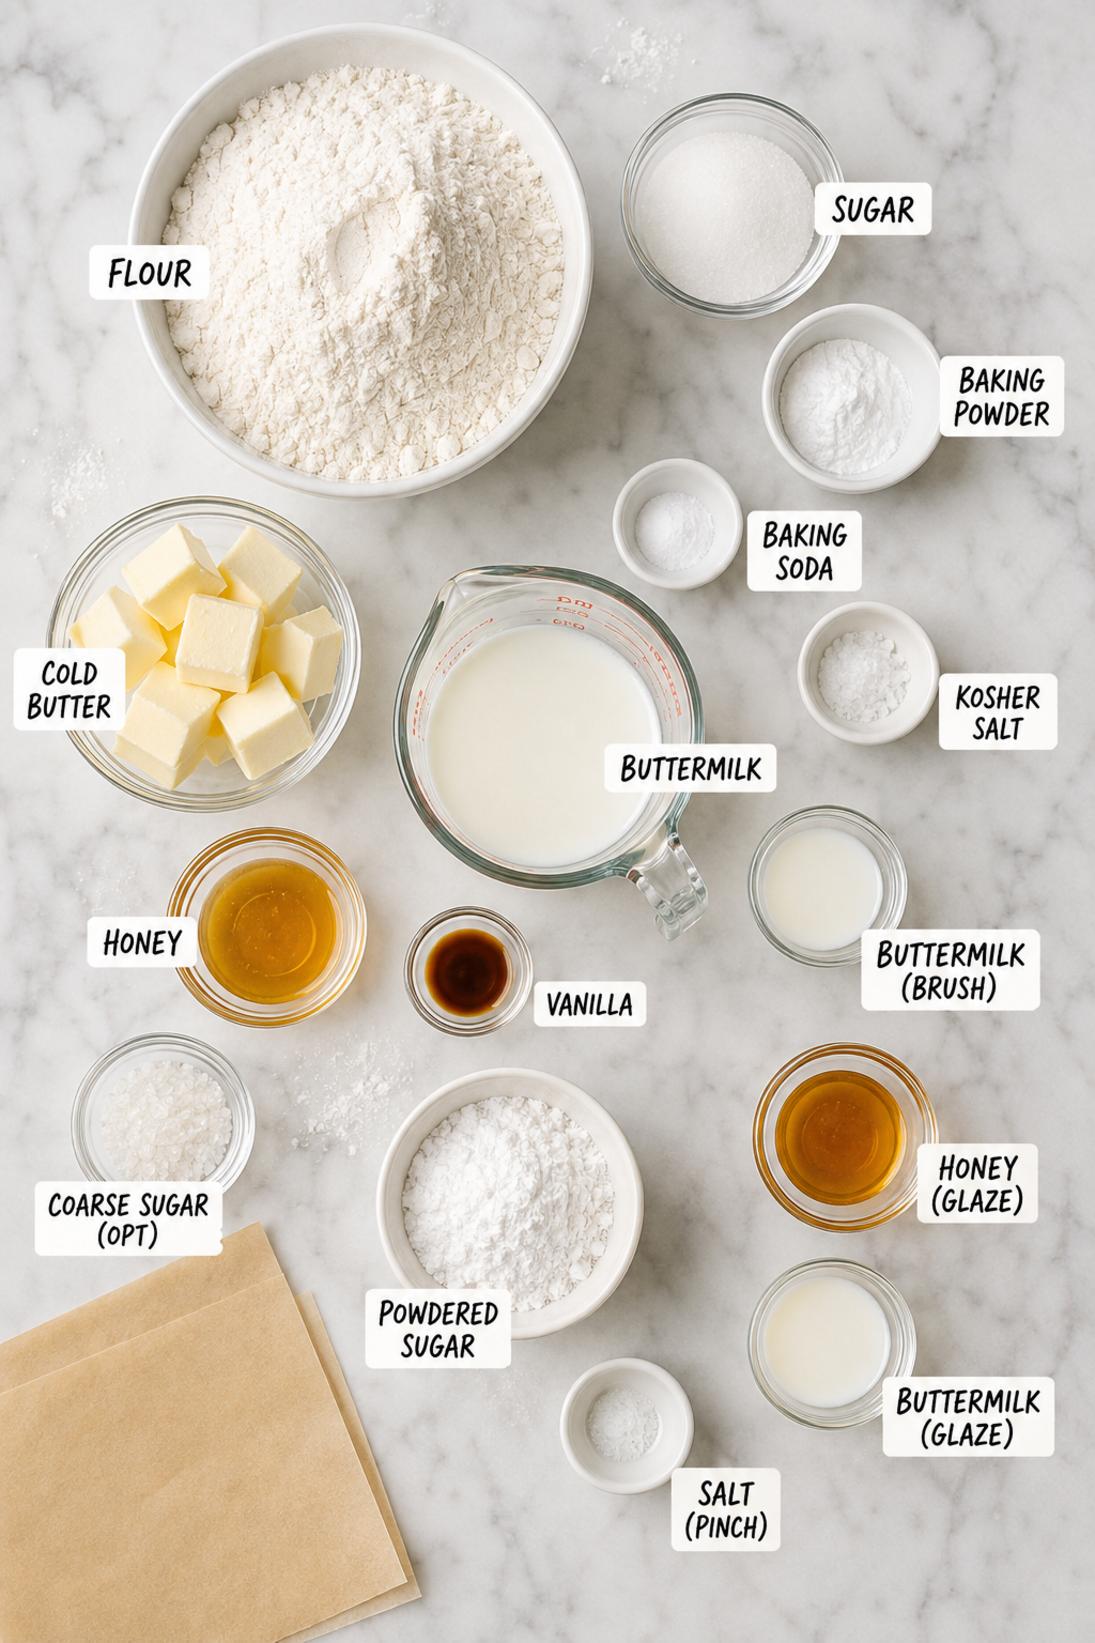
- All-purpose flour: I use regular flour here, and it gives a nice balance of tender middle and sturdy edges so the wedges don’t fall apart.
- Granulated sugar: Just enough to lightly sweeten the dough. If you like a sweeter scone, the glaze is where it really happens.
- Baking powder: This is the main lift for tall, puffy scones. Make sure yours is fresh—old baking powder makes flat scones.
- Baking soda: A little baking soda plays well with the buttermilk and helps the scones brown.
- Kosher salt: Don’t skip it. It keeps the sweetness from tasting flat, especially once you add the honey.
Butter
- Unsalted butter: Cold butter is the whole point for flake. I like cubing it, but grating works too if you want it to mix in quickly.
Wet
- Buttermilk: Use it cold. It adds a little tang and keeps the crumb tender.
- Honey: Honey gives a softer sweetness than plain sugar. Any mild honey works; I usually avoid very strong varieties here.
- Vanilla extract: Just a small amount, but it makes the honey taste more rounded.
Finish
- Buttermilk: Brushing the tops helps with browning and gives the coarse sugar something to stick to.
- Coarse sugar: Optional, but I like the little crunch on top. Turbinado sugar is great if you have it.
Honey Glaze
- Powdered sugar: This dissolves quickly for a smooth glaze. If it’s lumpy, sift it or whisk a little longer.
- Honey: A spoonful in the glaze keeps the flavor consistent with the scones and gives a soft honey note.
- Buttermilk: Start with a little and add more as needed. The glaze should drizzle, not run.
- Salt: A tiny pinch makes the glaze taste less sugary and more “finished.”
Recipe Instructions
- Preheat the oven: Heat the oven to 400°F and line a baking sheet with parchment paper.
- Mix the dry ingredients: Whisk the flour, sugar, baking powder, baking soda, and salt together in a large bowl.
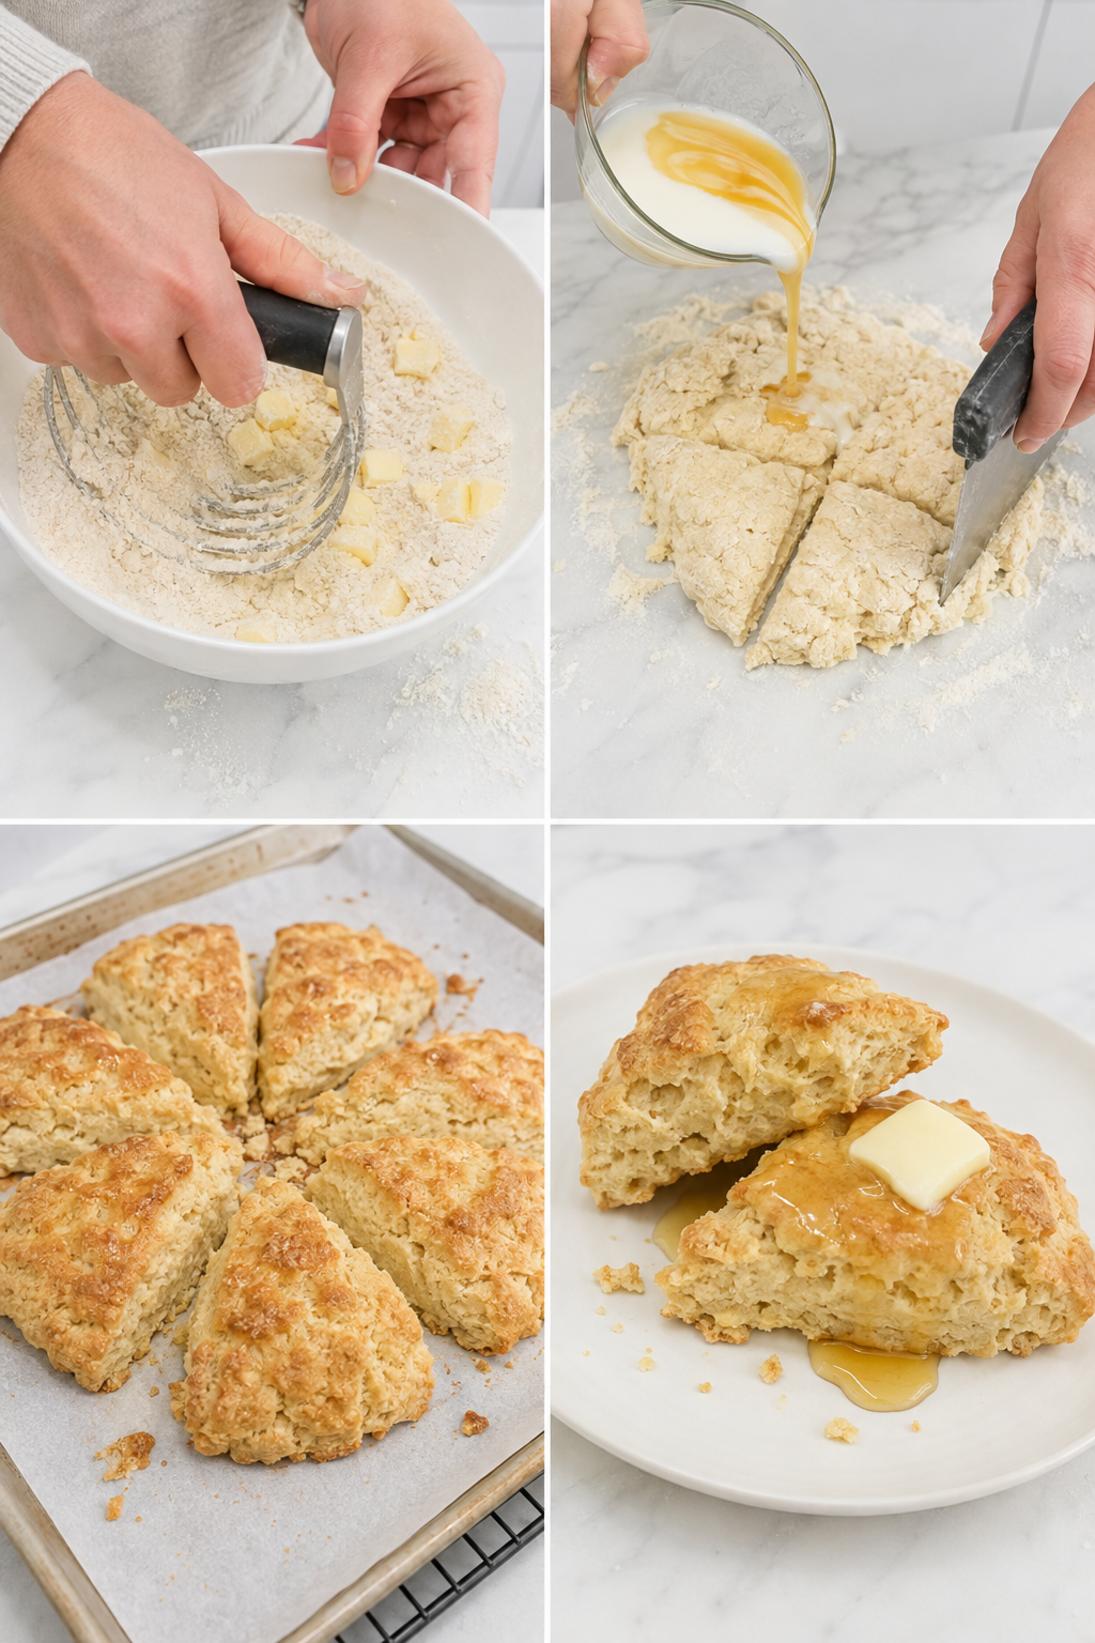
- Cut in the butter: Add the cold butter and cut it into the dry mix until you still have pea-size pieces throughout.
- Mix the wet ingredients: In a small bowl, whisk the cold buttermilk with the honey and vanilla until combined.
- Make the dough: Pour the wet mixture into the dry ingredients and fold just until you get a shaggy dough and you don’t see big patches of dry flour.
- Shape the scones: Turn the dough out onto a lightly floured surface and gently press it into a 1-inch-thick circle.
- Cut the wedges: Cut the circle into 8 wedges and transfer them to the baking sheet, leaving space between each one.
- Brush the tops: Brush the tops with a little buttermilk and sprinkle with coarse sugar if you’re using it.
- Bake: Bake for 15 to 18 minutes, until puffed and golden.
- Cool: Let the scones cool on the pan for about 10 minutes before glazing.
- Make the glaze: Whisk the powdered sugar, honey, a pinch of salt, and enough buttermilk to make a thick drizzle.
- Glaze the scones: Drizzle the glaze over warm or cooled scones, then let it set for about 5 minutes.
Some of my tips!
This is the part that really makes a difference. If you only read one section, make it this one because this is where I share the little trick that helps the recipe turn out so well.
Recipe Tips & Tricks
Keep everything cold. Cold butter and cold buttermilk make a big difference in how flaky the scones turn out. If your kitchen is warm, pop the dough in the fridge for a bit before you cut the wedges.
Stop mixing early. When the dough looks shaggy and a little messy, that’s the right time to stop. If you work it until it’s smooth, the scones tend to bake up tough.
Flour your hands, not the dough. I use a light dusting on the counter and a little on my hands so the dough doesn’t stick. Too much extra flour can make the scones dry.
Watch the bake time. Pull them when they’re puffed and nicely golden on top. If you wait for “deep brown,” the centers can dry out.
Make the glaze thick. Start with less buttermilk and add a little at a time. A thicker glaze sits on top instead of soaking in.
Make some touches!
There are plenty of easy ways to serve this depending on the occasion. Keep it simple, or add a few small touches to make it feel a little more special.
Serving Suggestions
- Coffee or espresso: These are really good with coffee. I like them with something plain like black coffee or a latte.
- Tea: A strong breakfast tea or Earl Grey is a nice match. The honey glaze works especially well with tea.
- Butter: If you skip the glaze or go light on it, a little salted butter on a warm scone is simple and classic.
- Fresh berries: Blueberries, strawberries, or raspberries are easy on the side. It makes the plate feel a little more like brunch.
Save it for later
This section covers how to store leftovers and what parts of the recipe you can prepare ahead of time.
Storage and Make Ahead
Store baked scones at room temperature in a covered container for a couple of days. If they’re glazed, I usually let the glaze set fully before stacking.
To freshen them up, warm a scone briefly in the microwave, or heat in a low oven until just warm. The glaze will soften a bit, which is fine.
If you want to make these ahead, freeze the unbaked wedges on a sheet until firm, then transfer to a freezer bag. Bake from frozen and add a few extra minutes to the bake time.
You can also freeze baked scones. Thaw at room temperature, then warm lightly if you want them softer.
A few quick answers
This section covers a few extra details that may help before you head to the recipe card.
Recipe FAQs
Can I make these without buttermilk?
Yes. Mix regular milk with a little lemon juice, let it sit for a few minutes, then use it the same way you’d use buttermilk. The flavor is slightly less tangy, but the scones still turn out really well.
Why did my scones turn out tough?
Usually it’s from overmixing the dough or adding too much extra flour while shaping. Mix just until the dough comes together, and keep the handling gentle.
Can I use whole wheat flour?
You can swap in some whole wheat flour for a heartier texture. I like doing a partial swap so they still stay fairly tender.
How do I know when the scones are done?
Look for puffed wedges with a golden top and set edges. If you tap one lightly, it should feel firm on the outside but not hard.
Should I glaze them warm or cool?
Either works. Glazing warm scones gives you a slightly melty look, and glazing cooled scones makes the drizzle sit more clearly on top.
You might also like
Before you go, take a look at a few other recipes below the recipe card. They use similar ingredients in a different way and are worth saving too.
MORE DINNER RECIPES TO TRY


Buttermilk Honey Scones
INGREDIENTS
Dry
- 2 cups all-purpose flour
- 2 tbsp granulated sugar
- 1 tbsp baking powder
- 1/2 tsp baking soda
- 1/2 tsp kosher salt.
Butter
- 6 tbsp unsalted butter cold and cubed or grated.
Wet
- 3/4 cup buttermilk cold
- 1/4 cup honey
- 1 tsp vanilla extract.
Finish
- 1 tbsp buttermilk for brushing
- coarse sugar optional.
Honey Glaze
- 1/2 cup powdered sugar
- 1 tbsp honey
- 1 to 2 tbsp buttermilk
- pinch of salt.
INSTRUCTIONS
Prep and Dough
- Heat oven to 400 F and line a baking sheet with parchment paper
- whisk dry ingredients in a bowl
- cut in cold butter until pea-size pieces remain
- whisk buttermilk with honey and vanilla then pour into dry mixture and fold just until a shaggy dough forms.
Shape and Bake
- Turn dough onto a lightly floured surface and gently press into a 1 inch thick circle
- cut into 8 wedges and transfer to the baking sheet with space between
- brush tops with buttermilk and add coarse sugar if using
- bake until puffed and golden 15 to 18 minutes then cool 10 minutes.
Glaze
- Whisk powdered sugar with honey
- salt
- and enough buttermilk to make a thick drizzle
- drizzle over warm or cooled scones and let set 5 minutes.


