

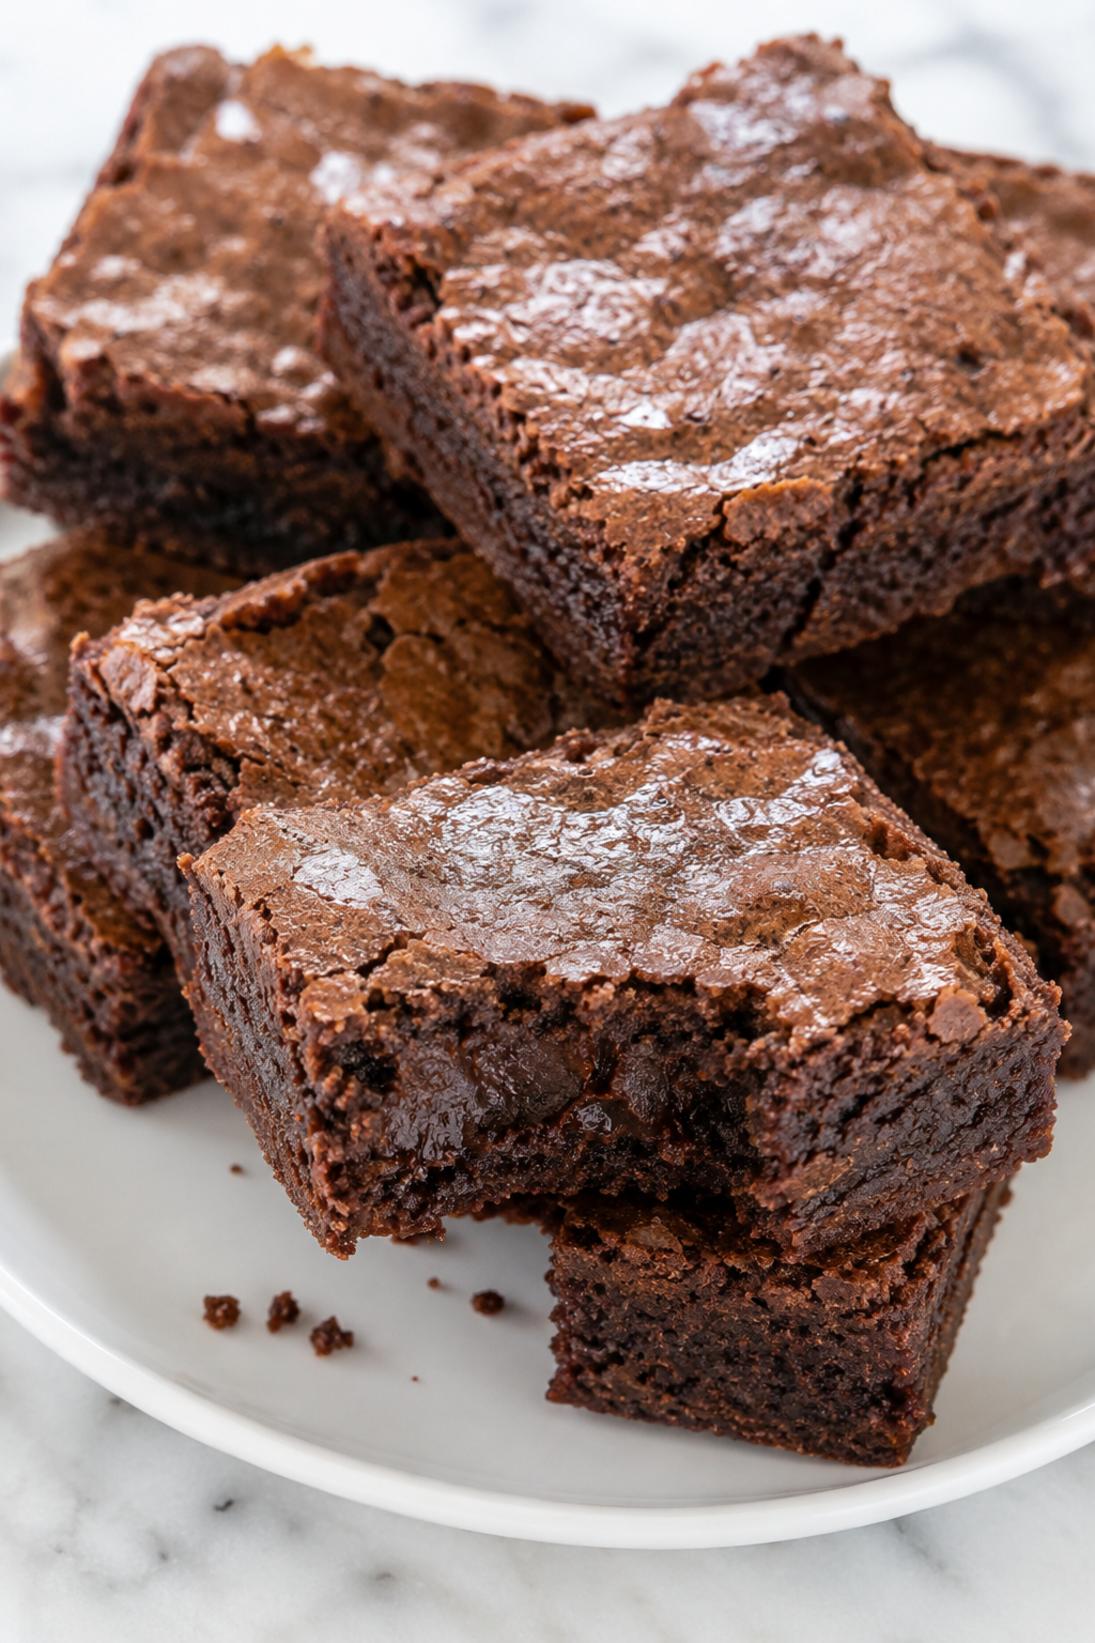
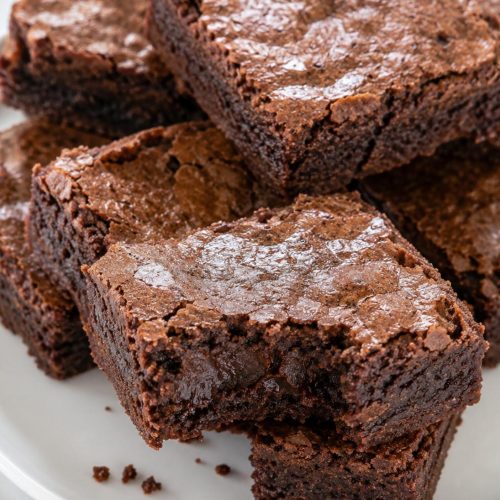
Chewy Brownie Bars are my go-to when I want a fudgy, dense brownie that still has that crackly top people expect. They slice neatly, travel well, and they taste like real chocolate instead of just “sweet.”
I like this version because the middle stays soft and chewy while the edges set up just enough. The cocoa-forward flavor is strong, and the texture hits that sweet spot between brownie and bar cookie.
These are especially good for cookie trays, bake sales, potlucks, and anytime you need a dessert that’s easy to portion. For me, they’re also a solid weekend bake when I want something simple and chocolatey to keep on the counter.
Why You’ll Love This Recipe
Soft and Chewy: The centers stay chewy and fudgy, not cakey, as long as you don’t push the bake time too far.
Real Crackly Top: That shiny, papery top is the best part to me, and this batter gives it to you reliably.
One-Bowl Friendly: It’s the kind of brownie bar recipe I make when I don’t feel like hauling out extra bowls and equipment.
Easy to Slice and Share: A 9×13 pan makes a good amount, and the bars cut into clean squares once they’re cooled.
Choose Your Mix-Ins: Keep them plain, add chocolate chips, add walnuts, or do both depending on who you’re baking for.
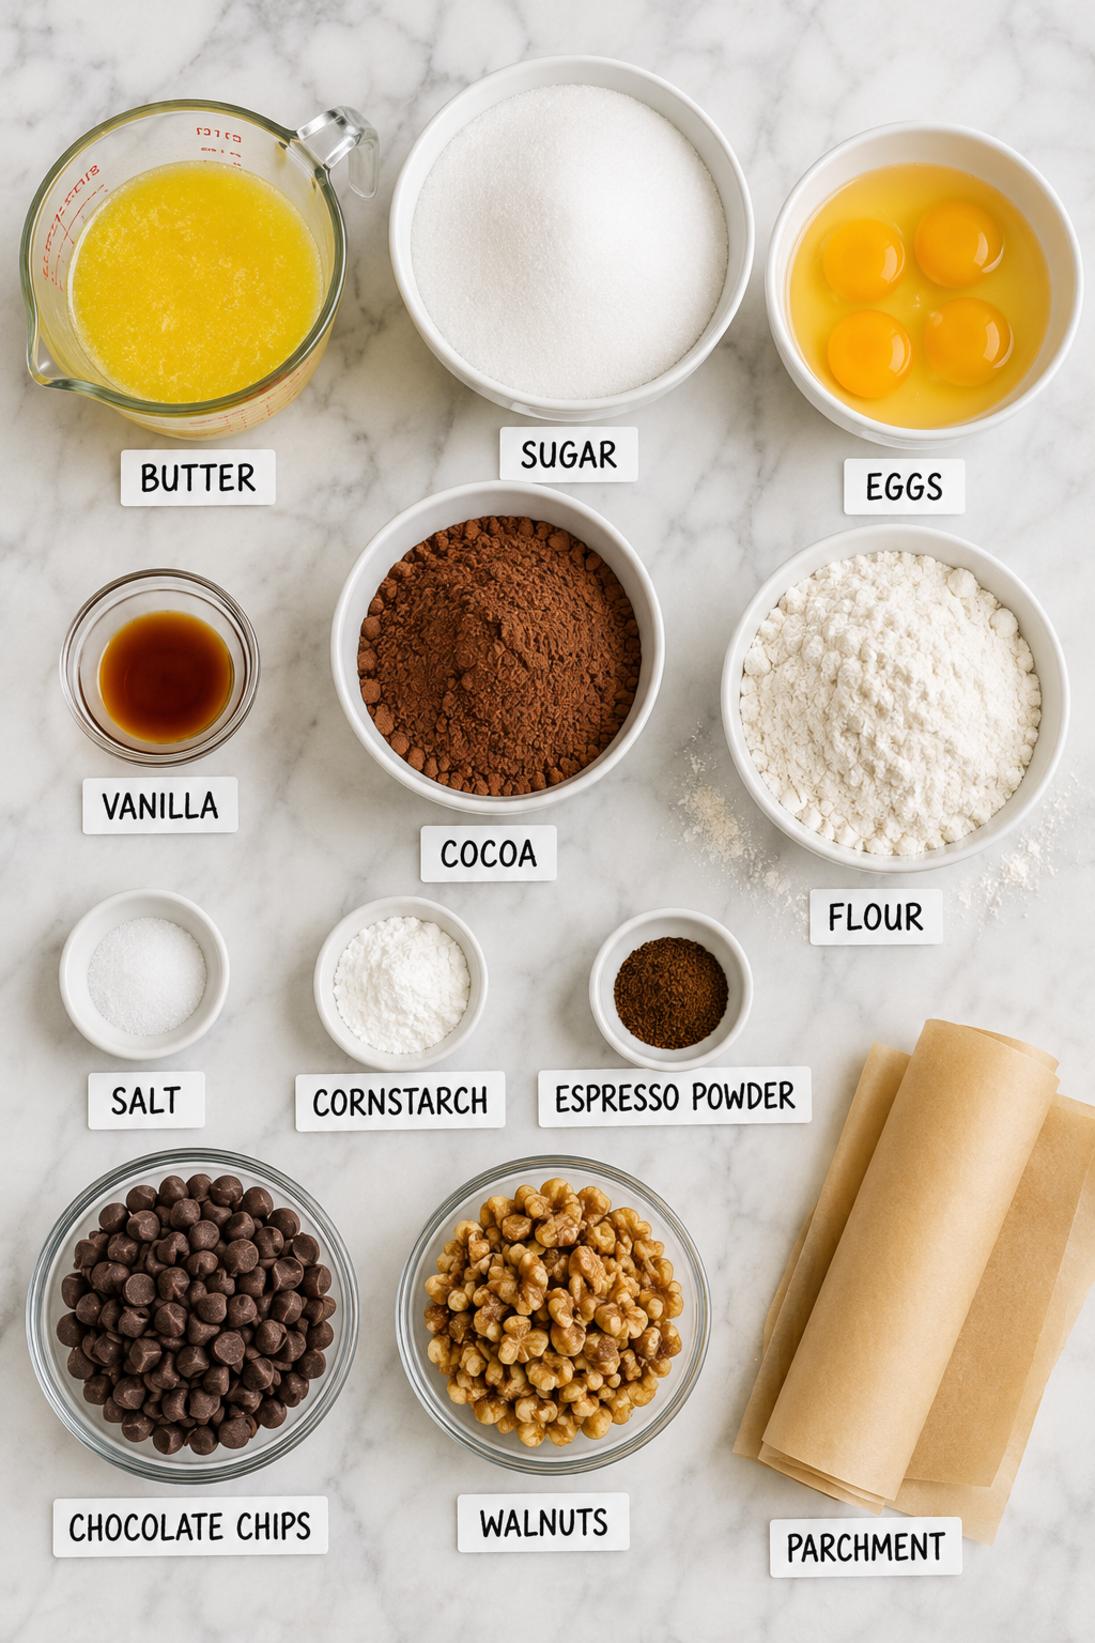
Ingredients You’ll Need
Brownie Batter
- Unsalted butter: Melted butter keeps these dense and chewy. I like letting it cool slightly so it doesn’t cook the eggs when you mix.
- Granulated sugar: This is what helps you get that crackly top and the classic brownie bar texture. I stick with white sugar here.
- Eggs: Room-temp eggs mix in more smoothly and help the batter get thick and glossy.
- Vanilla extract: Don’t skip it. It makes the chocolate taste more rounded.
- Unsweetened cocoa powder: This is where most of the chocolate flavor comes from, so use a cocoa you actually like. Natural cocoa is great, and you can swap in some Dutch-process for a deeper flavor.
- All-purpose flour: Regular flour is all you need. Too much flour is what turns brownies cakey, so keep it simple.
- Fine salt: It keeps the chocolate from tasting flat. Fine salt blends in better than coarse here.
- Cornstarch: This helps with the chewiness and keeps the bars a little softer once cooled. It’s a small ingredient that actually matters in this recipe.
- Espresso powder (optional): It won’t make the bars taste like coffee. It just bumps up the chocolate flavor a bit.
Mix Ins Optional
- Semisweet chocolate chips: Semisweet is my favorite for brownie bars because it doesn’t get too sweet. Chopped chocolate works too if that’s what you have.
- Walnuts (optional): I like the crunch, but they’re easy to leave out. If your walnuts taste a little bitter, toast them first.
Recipe Instructions
- Preheat the oven: Heat the oven to 350°F and set the rack to the middle.
- Prepare the pan: Line a 9×13-inch baking pan with parchment paper, leaving some overhang, then lightly grease it.
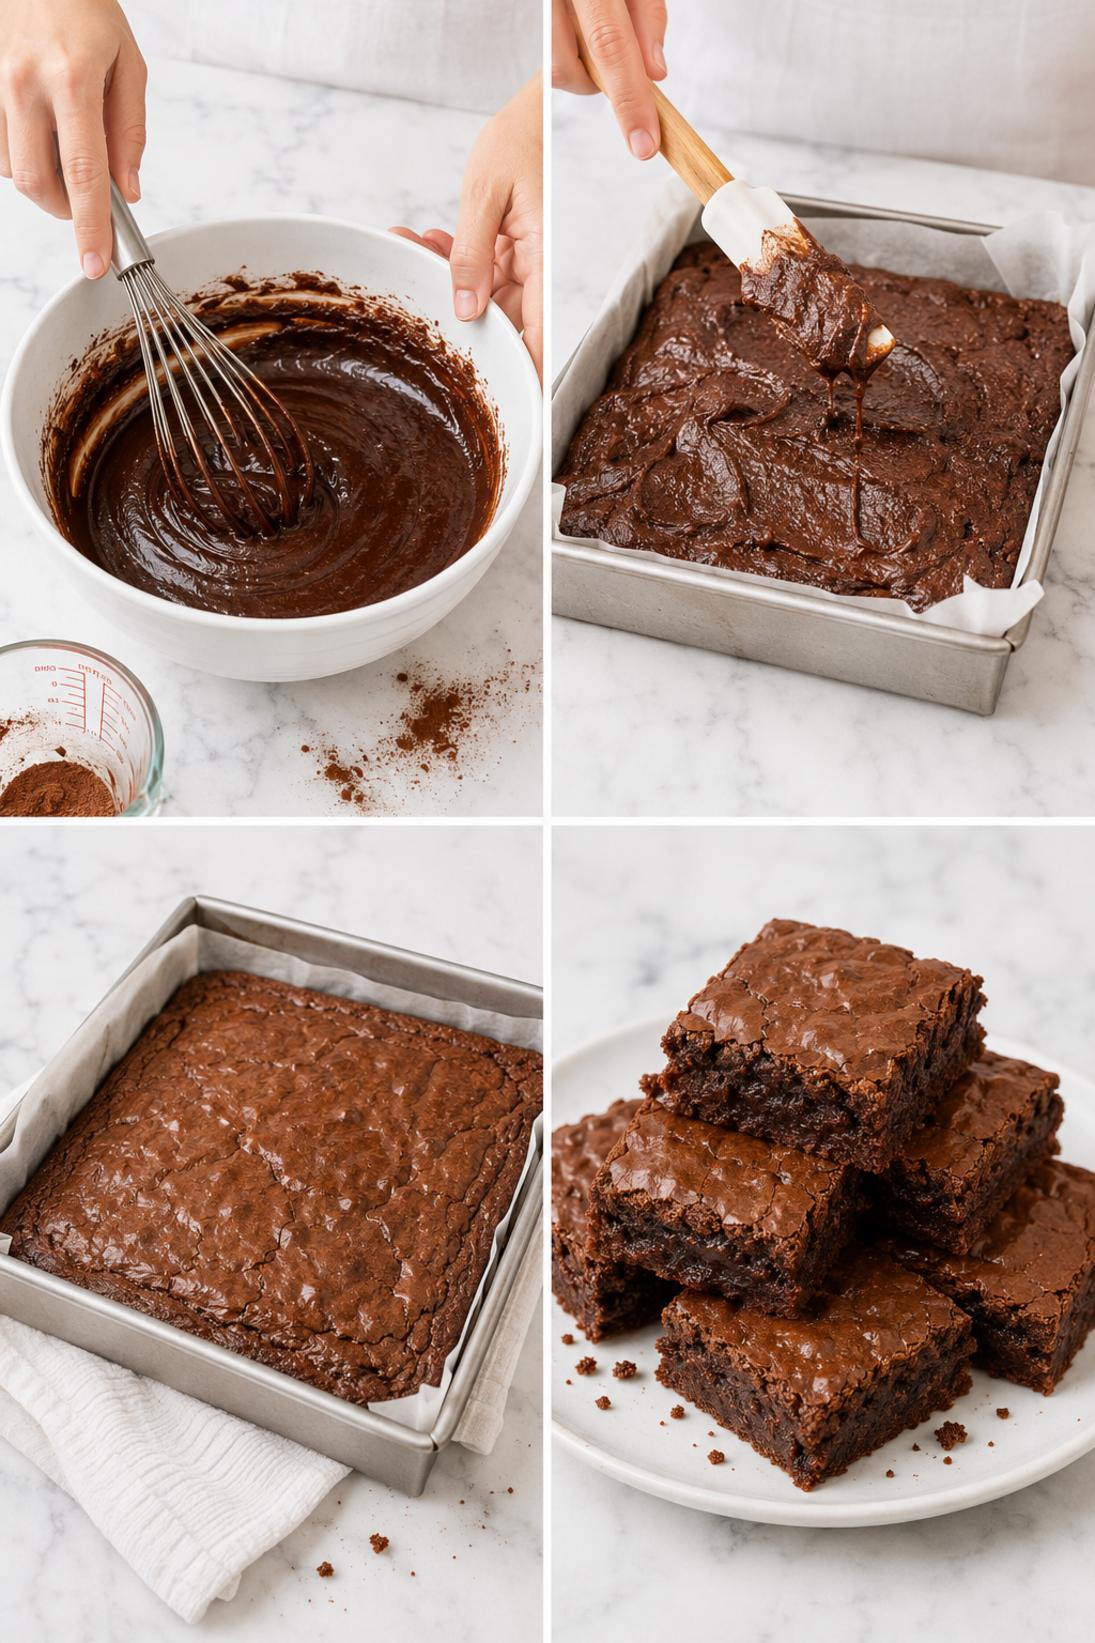
- Whisk butter and sugar: In a large bowl, whisk the melted (slightly cooled) butter and sugar until it looks glossy.
- Add the eggs: Whisk in the eggs one at a time, mixing well after each, until the batter looks thicker and smooth.
- Add vanilla: Whisk in the vanilla extract until combined.
- Add the dry ingredients: Sift in the cocoa powder, flour, salt, cornstarch, and espresso powder (if using), then fold just until you don’t see dry streaks.
- Fold in mix-ins: Fold in the chocolate chips and walnuts, if using.
- Spread the batter: Spread the batter evenly in the pan and smooth the top.
- Bake: Bake for about 22 to 28 minutes, until the edges are set and a toothpick in the center comes out with moist crumbs (not wet batter).
- Cool and slice: Cool completely in the pan, then lift out using the parchment and slice into bars.
Some of my tips!
This is the part that really makes a difference. If you only read one section, make it this one because this is where I share the little trick that helps the recipe turn out so well.
Recipe Tips & Tricks
Don’t overbake them. If you want chewy brownie bars, pull them when the center still gives you moist crumbs on a toothpick. If you wait for the toothpick to come out clean, they’ll be drier once cooled.
Whisk until glossy. That quick whisking step with the butter, sugar, and eggs is what helps with the crackly top. You don’t need a mixer, but do give it a real whisk.
Sift the cocoa if it’s lumpy. Cocoa powder likes to clump, and you’ll feel those little bitter pockets in the baked bars. A quick sift makes the batter smoother.
Fold the flour in gently. Once the dry ingredients go in, stop mixing as soon as you don’t see dry streaks. Overmixing pushes the texture in a more cakey direction.
Chill before slicing if you want clean cuts. If you’re serving these neatly (or packing them up), a short chill helps a lot. I usually do about 30 minutes, then slice.
Make some touches!
There are plenty of easy ways to serve this depending on the occasion. Keep it simple, or add a few small touches to make it feel a little more special.
Serving Suggestions
- Milk: A cold glass of milk is classic with chewy brownies. This is my usual move when I keep them on the counter for snacking.
- Coffee or espresso: These are really good with coffee, especially if you used the espresso powder in the batter. Black coffee or a latte both work.
- Ice cream: Serve a bar with vanilla ice cream on the side if you want a simple plated dessert. If the bars are room temp, a quick 10 seconds in the microwave helps.
- Fresh berries: Strawberries or raspberries are nice if you want something fresh on the plate. I usually just set a handful next to the bar.
Save it for later
This section covers how to store leftovers and what parts of the recipe you can prepare ahead of time.
Storage and Make Ahead
Store the bars airtight at room temperature. They hold up well for a few days and stay chewy. I keep them in a container with a tight lid.
If you want extra neat slices, you can chill the pan before cutting. It makes the chocolate chips less smudgy and the edges cleaner.
For longer storage, freeze individual portions or freeze a whole slab wrapped well. Let them thaw at room temperature when you’re ready to serve.
If you like them a little warm, a short microwave warm-up works fine. Just keep it brief so they don’t turn tough.
A few quick answers
This section covers a few extra details that may help before you head to the recipe card.
Recipe FAQs
How do I know when chewy brownie bars are done?
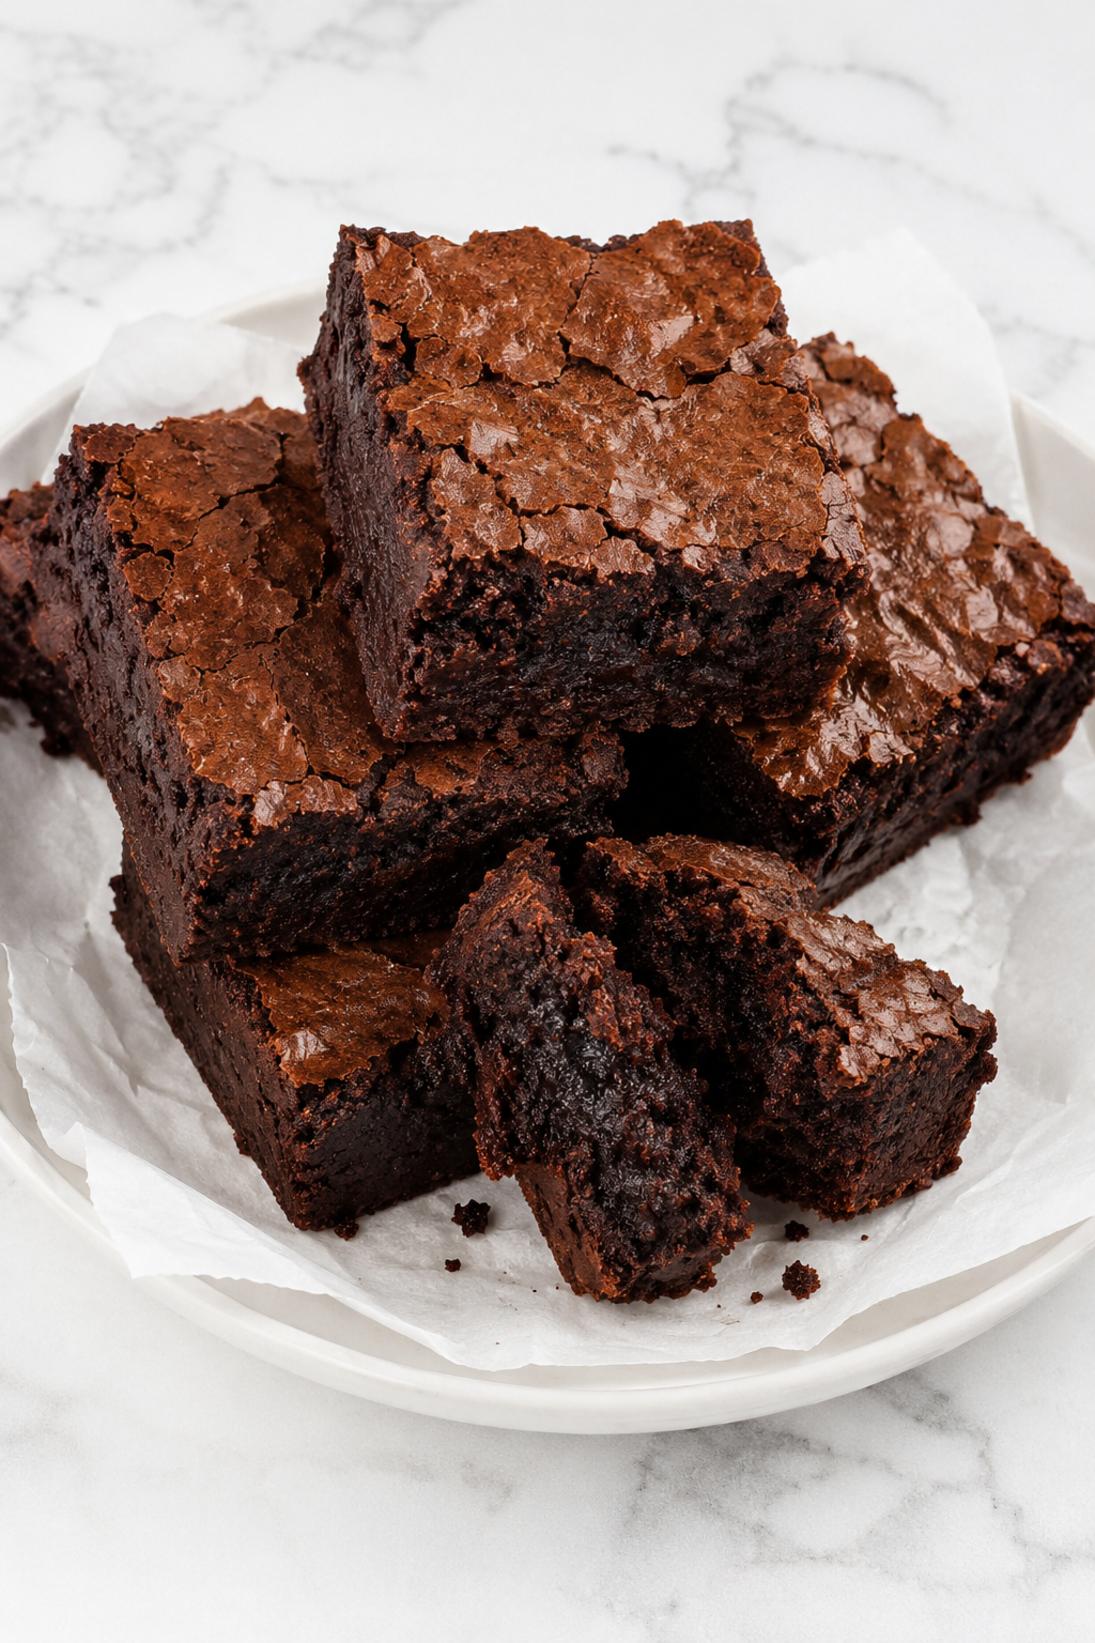
Look for set edges and a center that’s no longer wet. A toothpick should come out with moist crumbs, not clean and not coated in raw batter.
Can I use Dutch-process cocoa powder?
Yes. You can replace up to half of the cocoa with Dutch-process for a deeper chocolate flavor. I like doing a half-and-half mix when I have both.
Do I have to use chocolate chips or nuts?
Nope. They’re optional, and the bars are still great plain. If you want a smoother slice, leaving out chips and nuts makes cutting easier.
Why are my brownie bars cakey instead of chewy?
The two big reasons are overbaking and mixing too much after the flour goes in. Pull them a little earlier next time, and fold the dry ingredients in just until combined.
Can I swap the chocolate chips for something else?
Yes. Chopped chocolate works, and peanut butter chips are also good here if you like that combo. I’d keep the mix-ins to about the same amount so the bars still slice well.
You might also like
Before you go, take a look at a few other recipes below the recipe card. They use similar ingredients in a different way and are worth saving too.
MORE DINNER RECIPES TO TRY


Chewy Brownie Bars
INGREDIENTS
Brownie Batter
- 1 cup unsalted butter melted and slightly cooled
- 1 3 4 cups granulated sugar
- 4 large eggs room temperature
- 2 tsp vanilla extract
- 3 4 cup unsweetened cocoa powder
- 1 cup all purpose flour
- 1 tsp fine salt
- 1 tbsp cornstarch
- 1 tsp espresso powder optional.
Mix Ins Optional
- 1 cup semisweet chocolate chips
- 1 2 cup chopped walnuts optional.
INSTRUCTIONS
Prep
- Heat oven to 350 degrees F and set rack to middle
- line a 9x13 inch baking pan with parchment leaving overhang and lightly grease
- whisk melted butter and sugar until glossy then whisk in eggs one at a time until thickened and smooth then whisk in vanilla
- sift in cocoa powder flour salt cornstarch and espresso powder then fold just until no dry streaks remain.
Bake and Cool
- Fold in chocolate chips and nuts if using then spread batter evenly in pan and smooth the top
- bake until the edges are set and a toothpick in the center comes out with moist crumbs not wet batter about 22 to 28 minutes
- cool completely in pan then lift out by parchment and slice into bars.


