

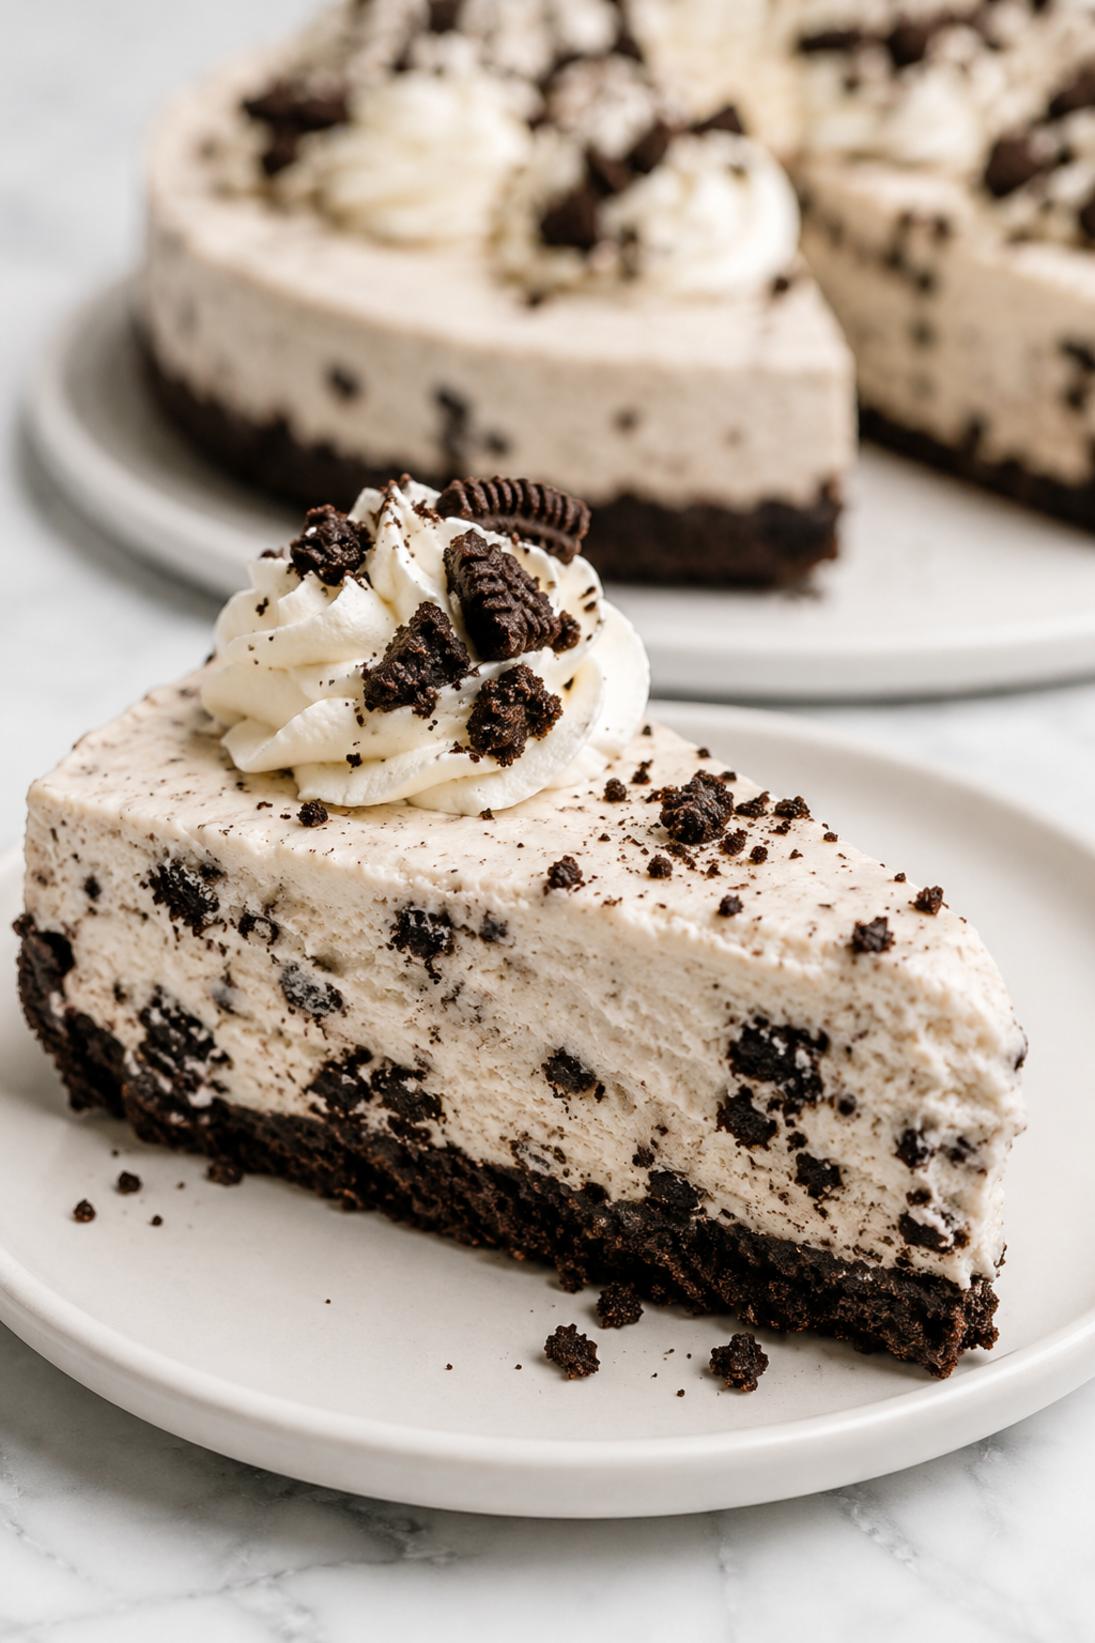
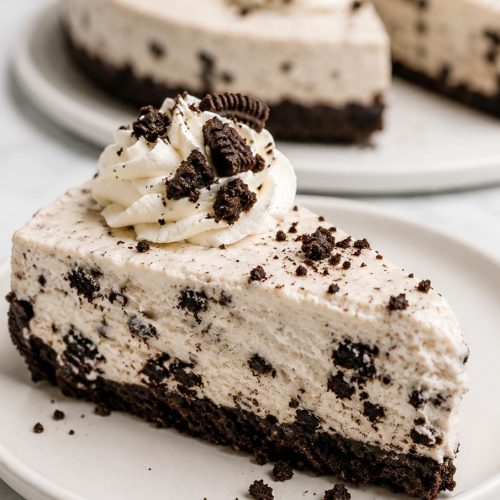
Cookies and Cream Icebox Cheesecake is my kind of summer dessert: a no-bake cheesecake with an Oreo cookie crust and a chilled, creamy filling. It’s rich, cold, and very “cookies and cream” in the best way.
The texture is what makes it for me. The filling is light and fluffy (not dense like some no-bake cheesecakes), and the chopped Oreos stay a little crisp in spots after chilling, which I really like.
I usually serve this when I want a dessert I can slice cleanly and put on a platter. It’s especially good after a warm-weather dinner, and I think it’s at its best with extra crushed Oreos on top and a simple whipped cream garnish.
Why You’ll Love This Recipe
No-bake ease: No oven, no water bath, and no babysitting. It’s mostly mixing, folding, and letting the fridge do the work.
Light filling: Whipped cream folded into the cream cheese makes the texture airy and sliceable, not heavy.
Real Oreo flavor: You get Oreos in the crust and Oreos in the filling, so it actually tastes like cookies and cream instead of just vanilla cheesecake.
Make-ahead friendly: This is the kind of dessert I like to prep the day before, then just slice and serve when I’m ready.
Easy to dress up: A quick sprinkle of crushed cookies and a little whipped cream makes it look finished with almost no effort.
Ingredients You’ll Need
Oreo Crust
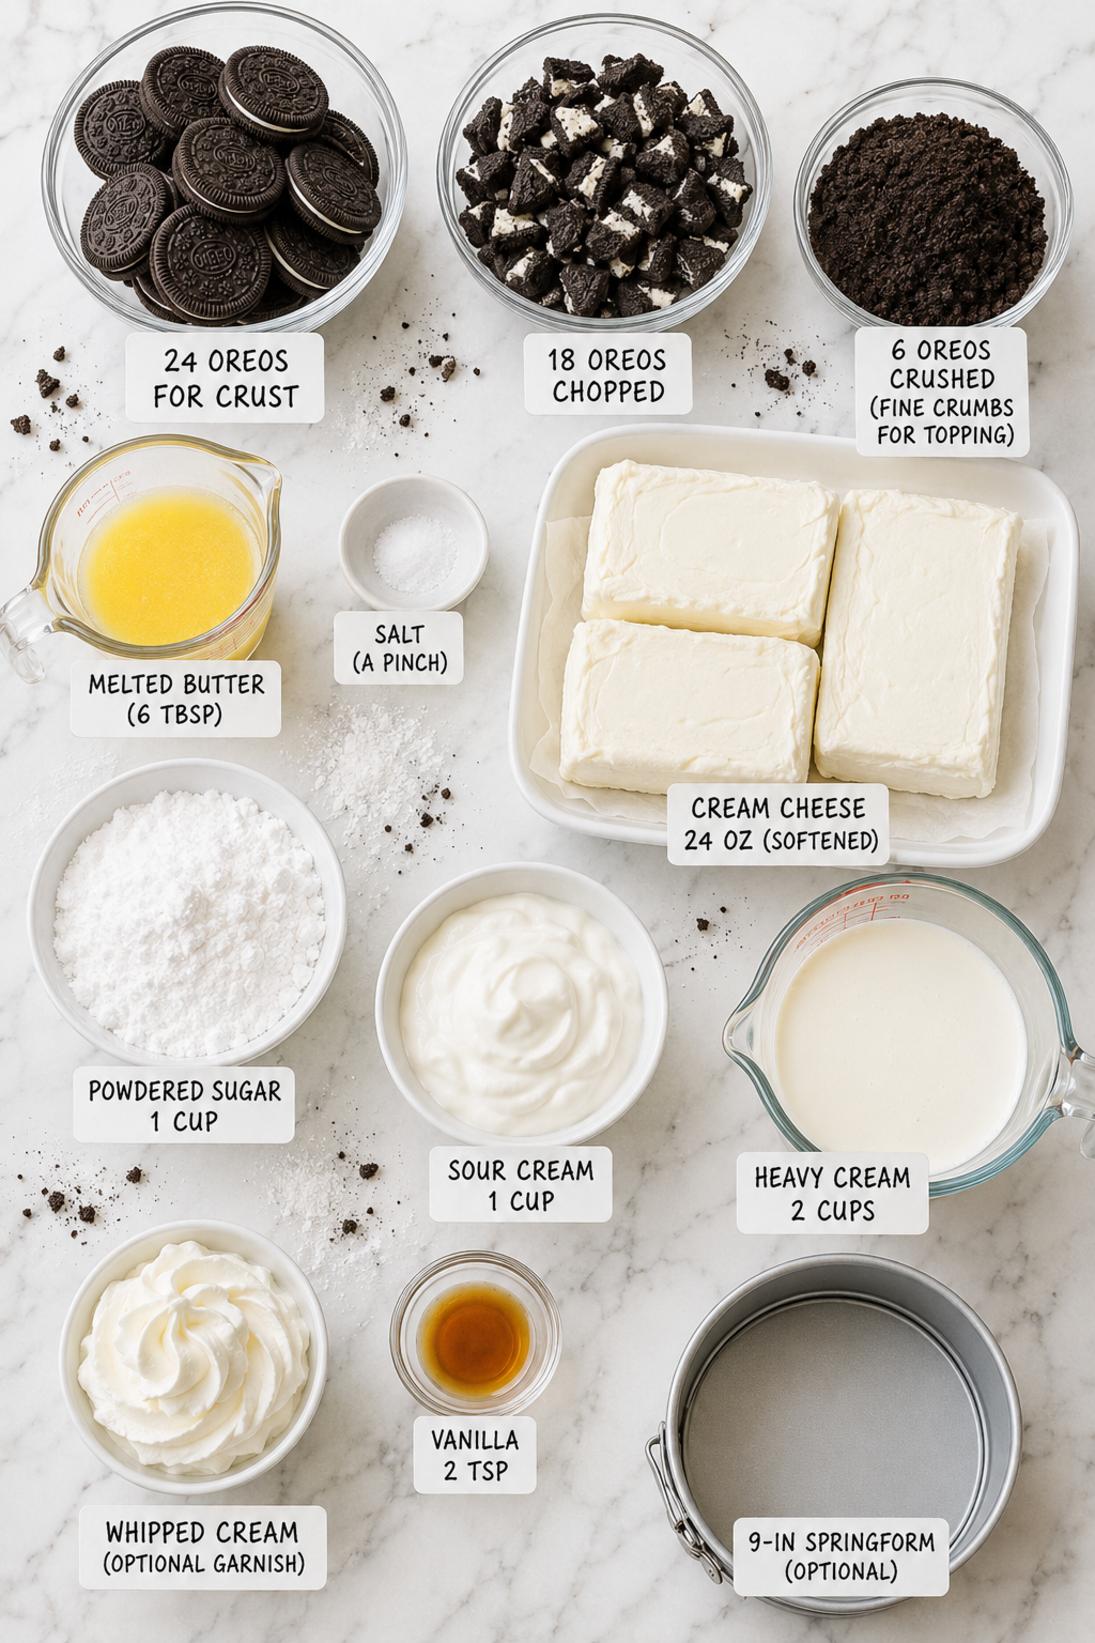
- Oreo sandwich cookies: I use regular Oreos here (not Double Stuf). The filling in the cookies helps the crust hold together.
- Unsalted butter: Melted butter is what turns the crumbs into a press-in crust. Unsalted lets you control the salt level.
- Salt: Just a small pinch makes the chocolate cookies taste more like chocolate and keeps the crust from tasting flat.
Cheesecake Filling
- Cream cheese: Use full-fat and let it soften so it beats smooth. If it’s cold, you’ll fight lumps the whole time.
- Powdered sugar: This sweetens and also keeps the filling silky. Granulated sugar can feel a little gritty in no-bake cheesecake.
- Sour cream: Full-fat sour cream gives a little tang and makes the filling taste more like classic cheesecake.
- Heavy whipping cream: Cold cream whips up better and gives the filling that light, mousse-like texture.
- Vanilla extract: I like a real vanilla extract here because it’s a simple flavor and it shows.
- Oreo sandwich cookies: Roughly chopped is perfect. You want some bigger pieces so you actually notice the cookies when you slice.
Optional Topping
- Oreo sandwich cookies: Crushed cookies on top add crunch and make it look like a cookies-and-cream dessert right away.
- Whipped cream: Totally optional, but it’s nice for serving, especially if you’re putting this on a dessert table.
Recipe Instructions
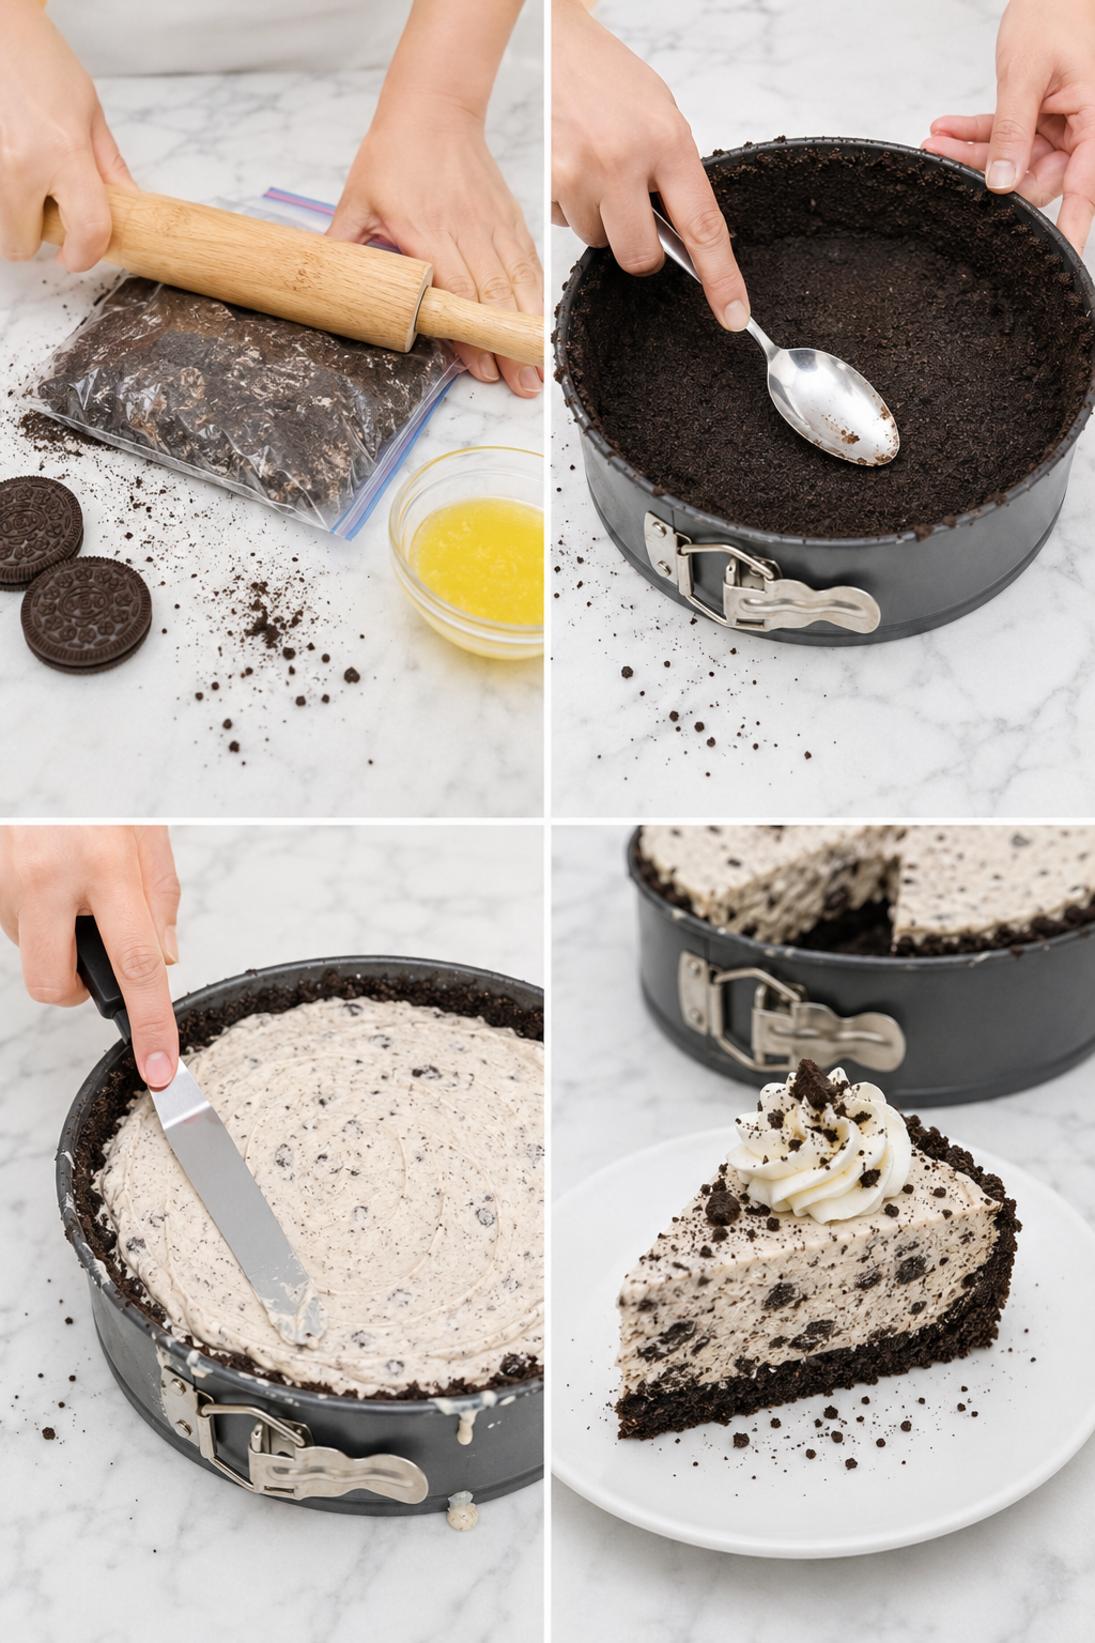
- Crush the cookies: Crush the Oreos into fine crumbs. A food processor is easiest, but a zip-top bag and rolling pin works too.
- Mix the crust: Stir the cookie crumbs with melted butter and a pinch of salt until everything looks evenly moistened.
- Press the crust: Press the crumbs firmly into the bottom and slightly up the sides of a 9-inch springform pan. Use the bottom of a measuring cup to pack it down well.
- Chill the crust: Refrigerate the crust for about 15 minutes so it firms up while you make the filling.
- Beat the cream cheese: Beat the softened cream cheese and powdered sugar until smooth and lump-free. Scrape the bowl so you don’t leave any pockets of cream cheese behind.
- Add sour cream and vanilla: Mix in the sour cream and vanilla extract until fully combined and smooth.
- Whip the cream: In a separate bowl, whip the cold heavy cream to stiff peaks. Stop once it holds its shape; overwhipping can make it grainy.
- Fold the mixtures: Fold the whipped cream into the cream cheese mixture in two additions, folding gently until you don’t see streaks.
- Fold in Oreos: Fold in the chopped Oreos just until they’re spread through the filling.
- Fill the pan: Spoon the filling over the chilled crust and smooth the top.
- Chill: Cover and refrigerate until fully set, at least 8 hours and preferably overnight.
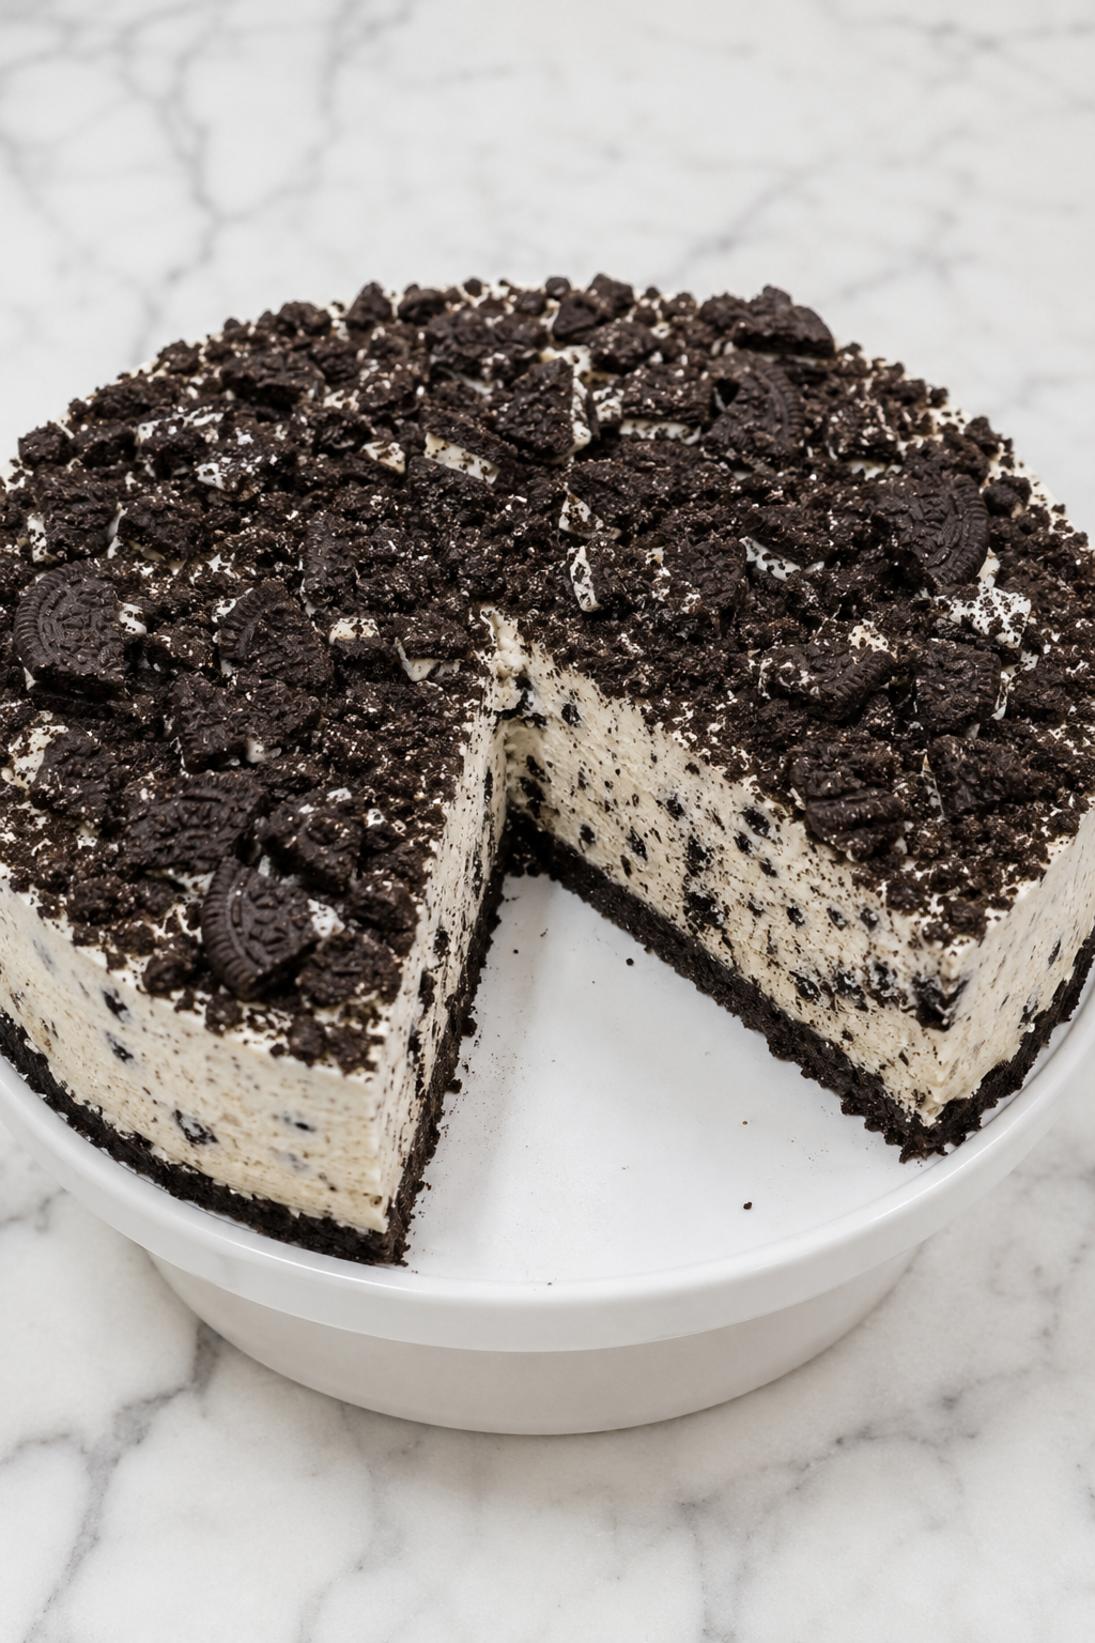
- Top and slice: Sprinkle with crushed Oreos and add whipped cream if you want. Slice with a warm, dry knife for clean cuts.
Some of my tips!
This is the part that really makes a difference. If you only read one section, make it this one because this is where I share the little trick that helps the recipe turn out so well.
Recipe Tips & Tricks
Use full-fat dairy. This is one of those recipes where low-fat cream cheese or sour cream tends to go soft and a little loose. Full-fat gives a better set and a nicer slice.
Start with truly softened cream cheese. If it still feels cool and firm, you’ll end up with little lumps that never quite smooth out. I like to let it sit at room temp until it’s easy to press with a spoon.
Whip to stiff peaks, then stop. You want the whipped cream to hold its shape so the filling stays light. If you go too far and it starts looking chunky, the final texture won’t be as smooth.
Fold gently, especially at the end. A light hand keeps the filling fluffy. If you stir hard, you knock out the air you just whipped in.
Warm the knife for clean slices. Run a knife under hot water, wipe it dry, then slice. Repeat between cuts if you want tidy edges.
Make some touches!
There are plenty of easy ways to serve this depending on the occasion. Keep it simple, or add a few small touches to make it feel a little more special.
Serving Suggestions
- Whipped cream: I like a simple swirl of whipped cream on each slice. It also helps the crushed Oreos stick if you’re adding them at the last minute.
- Chocolate sauce: A small drizzle of chocolate sauce is nice if you want it a little more dessert-y. Keep it light so it doesn’t overpower the cookies-and-cream flavor.
- Fresh berries: Strawberries or raspberries on the side are a good contrast to all the chocolate and cream. I usually do this when I’m serving it after a heavier meal.
- Cold coffee: An iced coffee or cold brew is really good with this. The bitterness works well with the sweet filling.
Save it for later
This section covers how to store leftovers and what parts of the recipe you can prepare ahead of time.
Storage and Make Ahead
Store leftovers covered in the fridge for up to 4 days. Keep it in the springform pan or transfer slices to a container with a lid. It slices best when it’s cold.
You can make this recipe ahead the day before you need it. I actually prefer it that way because the cheesecake sets fully and the crust holds together better.
If you want to freeze it, freeze individual portions so you can thaw only what you need. Thaw in the fridge overnight for the cleanest texture.
A few quick answers
This section covers a few extra details that may help before you head to the recipe card.
Recipe FAQs
Do I have to use a springform pan?
A springform pan is the easiest because you can release the sides and lift the cheesecake out cleanly. If you don’t have one, you can use a deep-dish pie plate, but plan on serving it more like pie slices and don’t expect the same sharp edges.
How long does it need to chill before slicing?
At least 8 hours in the fridge is where it starts slicing well. Overnight is even better, especially if your kitchen is warm or your fridge runs a little full.
Can I use gluten-free sandwich cookies?
Yes. Gluten-free chocolate sandwich cookies work well in both the crust and the filling. Just keep the same approach and press the crust firmly so it holds together.
My filling seems soft—what went wrong?
Most of the time it’s either under-whipped cream, warm cream, or not enough chill time. Full-fat cream cheese and sour cream also make a big difference for setting.
Can I add gelatin for a firmer set?
You can, and it’s helpful if you want extra stability for warmer weather or longer serving times. Bloom unflavored gelatin in cold water, melt it, cool it slightly, then mix it into the filling before you fold in the whipped cream.
You might also like
Before you go, take a look at a few other recipes below the recipe card. They use similar ingredients in a different way and are worth saving too.
MORE DINNER RECIPES TO TRY


Cookies and Cream Icebox Cheesecake
INGREDIENTS
Oreo Crust
- 24 Oreo sandwich cookies
- 6 tbsp unsalted butter melted
- pinch of salt.
Cheesecake Filling
- 24 oz cream cheese softened
- 1 cup powdered sugar
- 1 cup sour cream
- 2 cups heavy whipping cream cold
- 2 tsp vanilla extract
- 18 Oreo sandwich cookies roughly chopped.
Topping Optional
- 6 Oreo sandwich cookies crushed
- whipped cream for garnish.
INSTRUCTIONS
Oreo Crust
- Crush Oreo cookies into fine crumbs
- mix crumbs with melted butter and salt until evenly moistened
- press firmly into the bottom and slightly up the sides of a 9 inch springform pan
- chill in the refrigerator for 15 minutes to set.
Cheesecake Filling
- Beat cream cheese and powdered sugar until smooth and lump free
- mix in sour cream and vanilla until fully combined
- in a separate bowl whip heavy cream to stiff peaks
- fold whipped cream into the cream cheese mixture in two additions until no streaks remain
- fold in chopped Oreos
- spread filling evenly over the chilled crust and smooth the top
- cover and refrigerate until fully set at least 8 hours and preferably overnight.
Topping Optional
- Sprinkle with crushed Oreos and add whipped cream if desired
- slice with a warm dry knife for clean cuts.


