

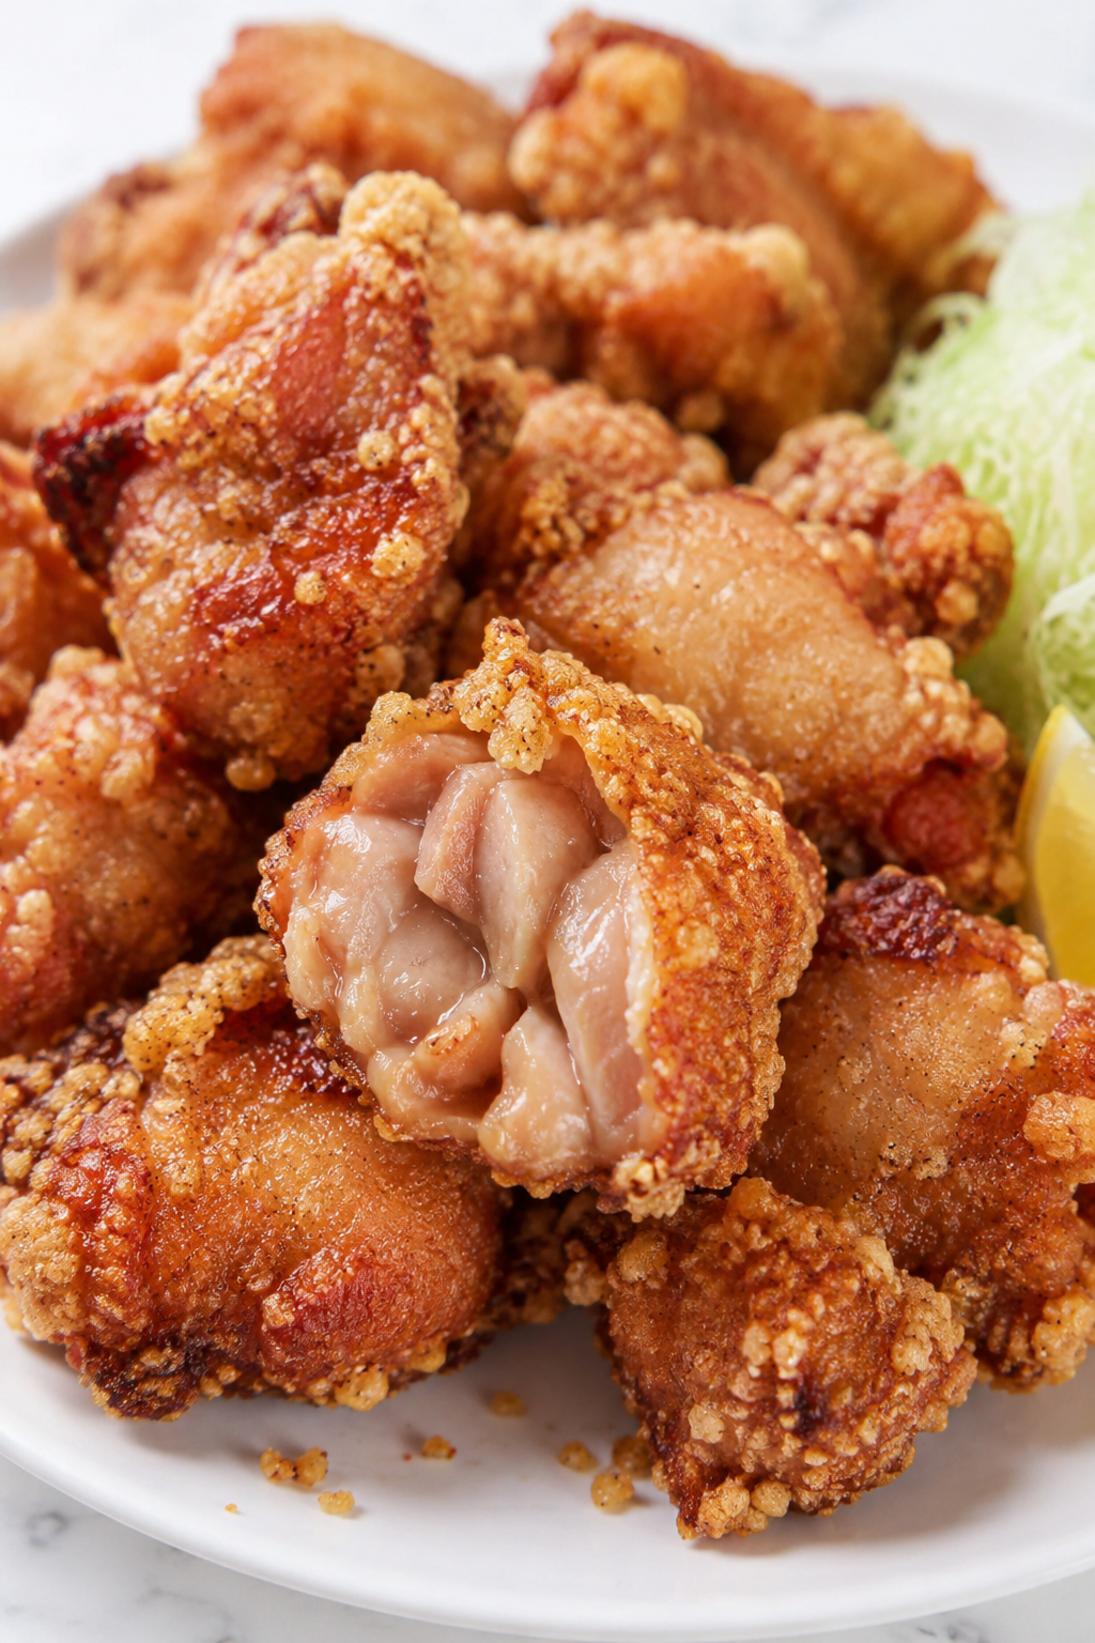
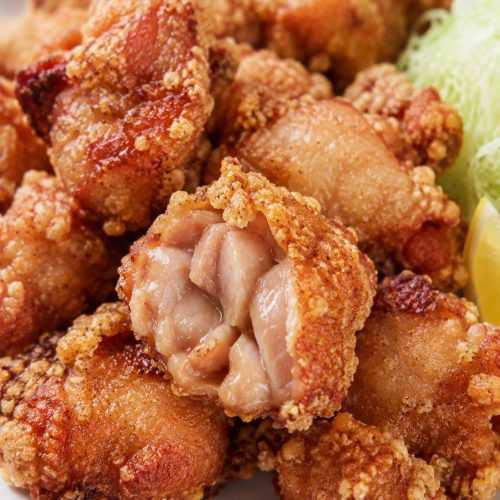
Crispy Japanese Fried Chicken (karaage) is the kind of dinner I make when I want something extra crunchy but still juicy, with a real hit of soy, ginger, and garlic.
This version has a simple marinade that tastes classic to me, and the coating is light but craggy in the best way. I also really like the double-fry here because it gives that dry, crisp shell that stays crunchy long enough to actually enjoy it.
I serve this as a main with rice and something fresh, or I’ll put it out as a snacky platter with lemon wedges and Japanese mayo. It’s especially good when you want a fried chicken night that feels a little different.
Why You’ll Love This Recipe
Real karaage texture: That light potato starch coating gives you a crisp, shattery crust instead of a thick batter.
Deep savory flavor: The soy, ginger, and garlic marinade makes the chicken taste seasoned all the way through, not just salty on the outside.
Juicy chicken: I stick with thighs here because they stay tender and forgiving, even with frying.
Extra-crispy finish: The quick second fry is what gets you that darker golden color and the crunch that karaage is known for.
Easy to serve: Lemon, a little mayo, and maybe some shichimi is all you need. It works as dinner, a party plate, or lunch the next day.
Ingredients You’ll Need
Chicken
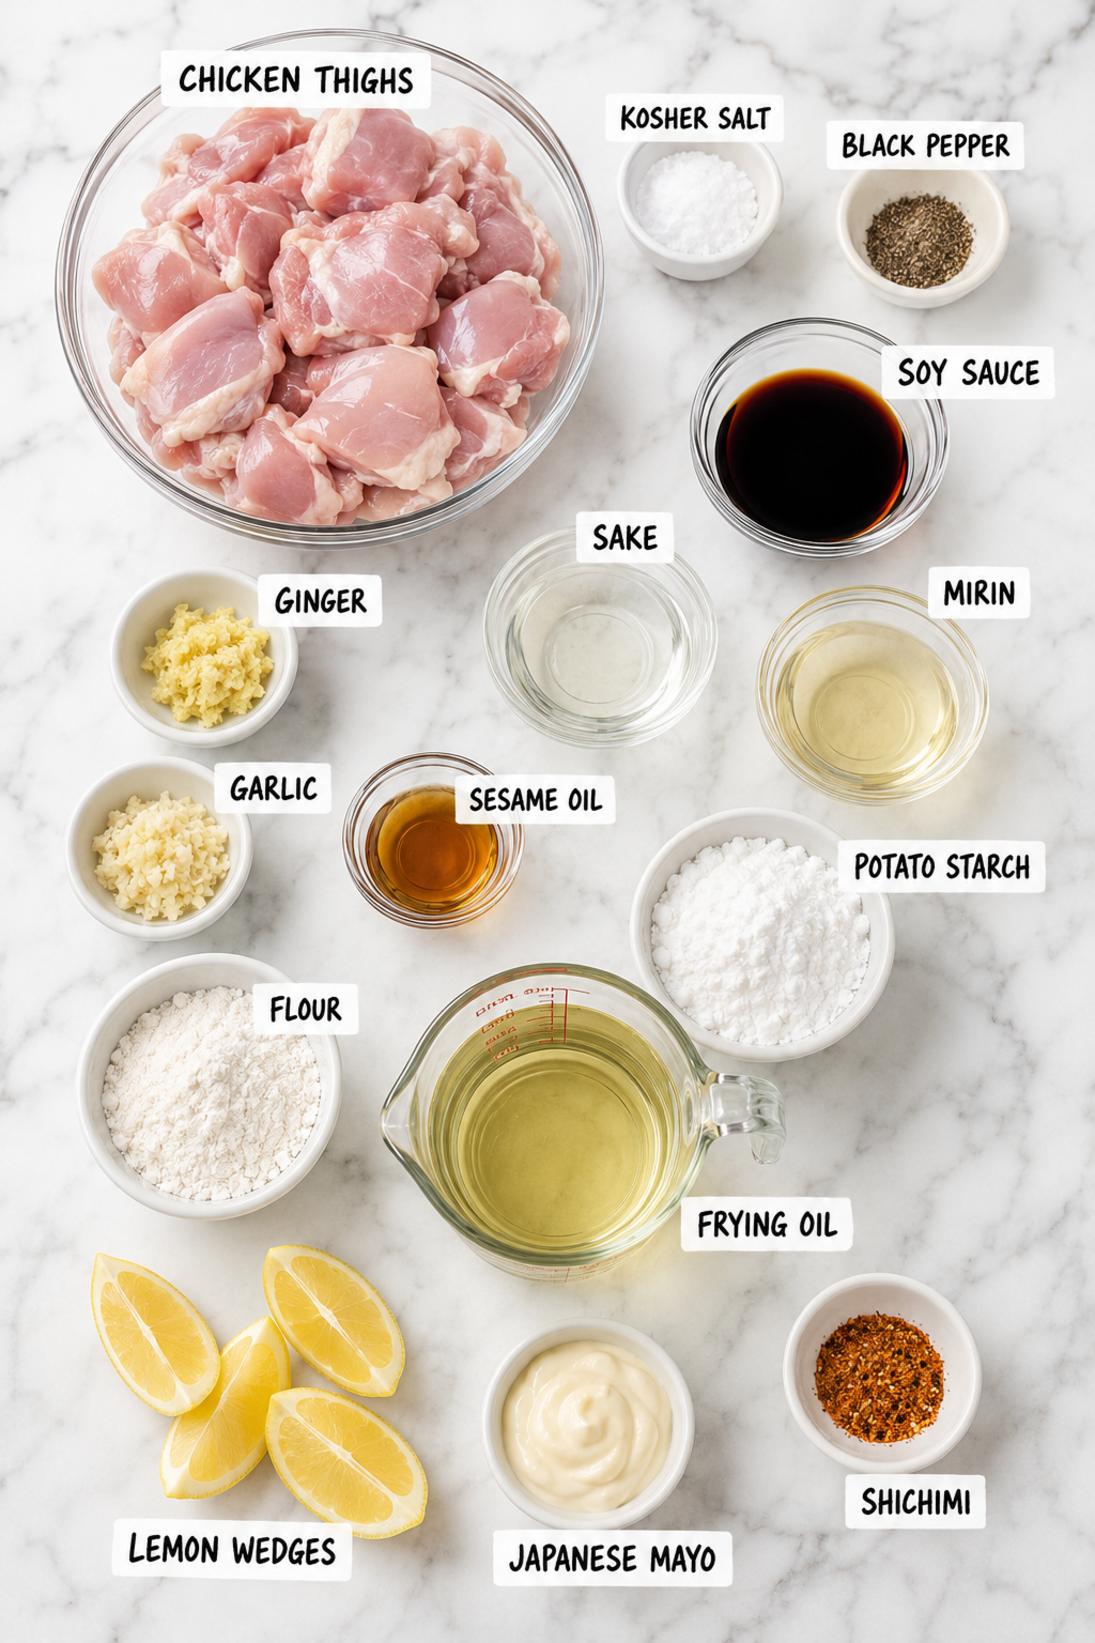
- Boneless skinless chicken thighs: Thighs are my pick for karaage because they stay juicy and don’t dry out as easily. Cut them into similar-sized pieces so they fry evenly.
- Kosher salt: This seasons the chicken itself, not just the coating. I keep it simple here.
- Black pepper: Just enough for a little bite in the background.
Marinade
- Soy sauce: Use regular soy sauce here (not sweet soy). It gives that classic karaage savory base.
- Sake: Helps mellow the soy and gives the marinade a more rounded taste. Dry cooking sake is fine.
- Mirin: Adds a gentle sweetness and shine. If yours is very sweet, keep the rest of the seasonings as written and don’t add extra sugar.
- Fresh ginger: Fresh is best here. Grated ginger gives you more punch than sliced.
- Garlic: I like it minced pretty small so it clings to the chicken and perfumes the crust.
- Toasted sesame oil (optional): You don’t need it, but a small drizzle gives a nice nutty note.
Coating
- Potato starch: This is the crisp factor. It fries up lighter and crunchier than flour alone.
- All-purpose flour: I mix in a little flour so the coating clings well and browns nicely.
Frying and Serving
- Neutral frying oil: Use something like canola, vegetable, sunflower, or peanut oil. You want an oil that can handle frying without adding its own flavor.
- Lemon wedges: Don’t skip this if you can help it. A squeeze of lemon wakes everything up.
- Japanese mayonnaise (optional): Creamy and a little tangy, especially good if you like dipping.
- Shichimi togarashi (optional): Great if you want a little heat and citrusy spice on top.
Recipe Instructions
- Prep the chicken: Pat the chicken dry with paper towels, then put it in a medium bowl.
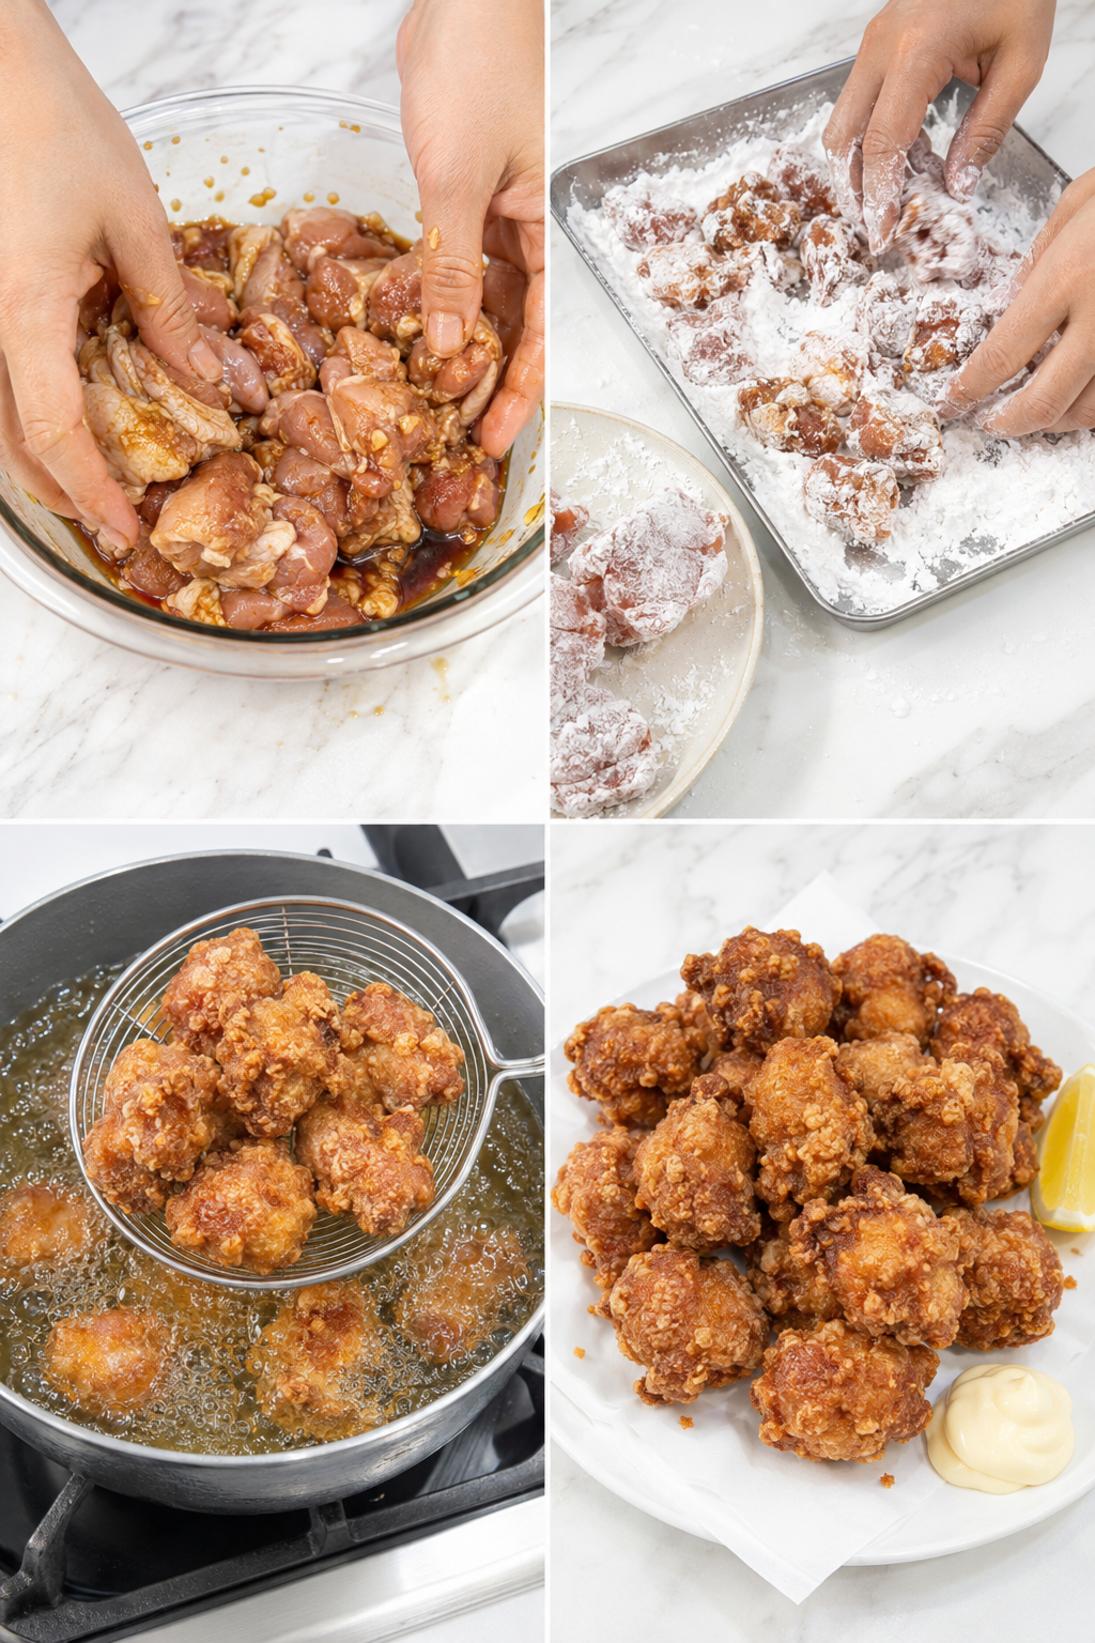
- Season and marinate: Add the salt, pepper, soy sauce, sake, mirin, ginger, garlic, and sesame oil (if using). Mix well, cover, and marinate in the refrigerator for 30 minutes.
- Mix the coating: Combine the potato starch and flour in a shallow bowl and set it next to the chicken.
- Coat the chicken: Drain off excess marinade, then toss the chicken pieces in the coating until they’re evenly covered.
- Rest the coating: Let the coated chicken rest for about 5 minutes so the starch hydrates and the crust fries up craggier.
- Fry the first time: Heat the oil to 325°F in a heavy pot. Fry the chicken in batches without crowding, about 4 to 5 minutes per batch, until lightly golden and cooked through.
- Rest the chicken: Transfer the chicken to a rack and rest it for about 3 minutes while you finish the first fry batches.
- Fry the second time: Increase the oil temperature to 350°F. Refry each batch for 1 to 2 minutes, until deep golden and very crisp.
- Drain and season: Drain on a rack and season lightly with salt to taste while it’s still hot.
- Serve: Serve right away with lemon wedges and optional Japanese mayonnaise or shichimi togarashi.
Some of my tips!
This is the part that really makes a difference. If you only read one section, make it this one because this is where I share the little trick that helps the recipe turn out so well.
Recipe Tips & Tricks
Use thighs, not breast. Thighs stay tender and give you that classic karaage bite. Breast can work, but it goes dry faster and the timing is less forgiving.
Keep the pieces close in size. If a few pieces are much bigger, they’ll need longer in the oil and the smaller ones can overcook. I aim for one-and-a-half inch chunks.
Let the coating sit for a few minutes. That short rest helps the potato starch grab onto the chicken and turn into those rough little edges. It’s a small step, but it shows up in the crust.
Don’t crowd the pot. Too much chicken at once drops the oil temperature and the coating can turn heavy. Frying in batches is annoying, but it’s worth it here.
Keep the oil temp steady. I like using a thermometer and adjusting the heat as you go. If the oil runs cool, the crust absorbs oil and won’t crisp the same way.
Hold finished batches on a rack. A rack keeps the bottom from steaming and going soft. If you need to, keep batches warm in a 200°F oven while you finish frying.
Make some touches!
There are plenty of easy ways to serve this depending on the occasion. Keep it simple, or add a few small touches to make it feel a little more special.
Serving Suggestions
- Rice: A bowl of steamed Japanese rice is the simple, obvious move. I like a little extra lemon on the chicken if I’m doing rice and nothing else.
- Cabbage: Thinly shredded cabbage (or a quick bagged slaw mix) is really nice next to fried karaage. A light drizzle of Kewpie or a splash of rice vinegar works well.
- Vegetables: Quick cucumber salad, blanched green beans, or sautéed bok choy all fit the flavors here. I usually keep the veggies pretty plain.
- Dipping and garnish: Set out lemon wedges, Japanese mayo, and shichimi togarashi so everyone can do their own plate. A little extra sprinkle of salt right at the table isn’t a bad idea either.
Save it for later
This section covers how to store leftovers and what parts of the recipe you can prepare ahead of time.
Storage and Make Ahead
Store leftovers covered in the fridge for up to 3 days. Karaage is best right after frying, but leftovers are still good for lunch.
For reheating, I prefer the oven or toaster oven at 400°F until hot and crisp again. The microwave will warm it through, but the coating will soften.
You can marinate the chicken ahead for a few hours in the fridge if that’s easier for your schedule. I don’t usually go overnight because the texture can get a little too soft.
If you want to freeze it, freeze the cooked and cooled chicken on a tray, then move it to a container once solid. Reheat from frozen in the oven until hot and crisp.
A few quick answers
This section covers a few extra details that may help before you head to the recipe card.
Recipe FAQs
Can I use cornstarch instead of potato starch?
Yes. Cornstarch works well and you’ll still get a crispy coating, just a little less crackly than potato starch. If that’s what you have, go for it.
Why do you fry karaage twice?
The first fry cooks the chicken through gently, and the second fry is what really crisps and browns the coating. It also helps drive off moisture so the crust stays crunchy.
How do I know the chicken is cooked through?
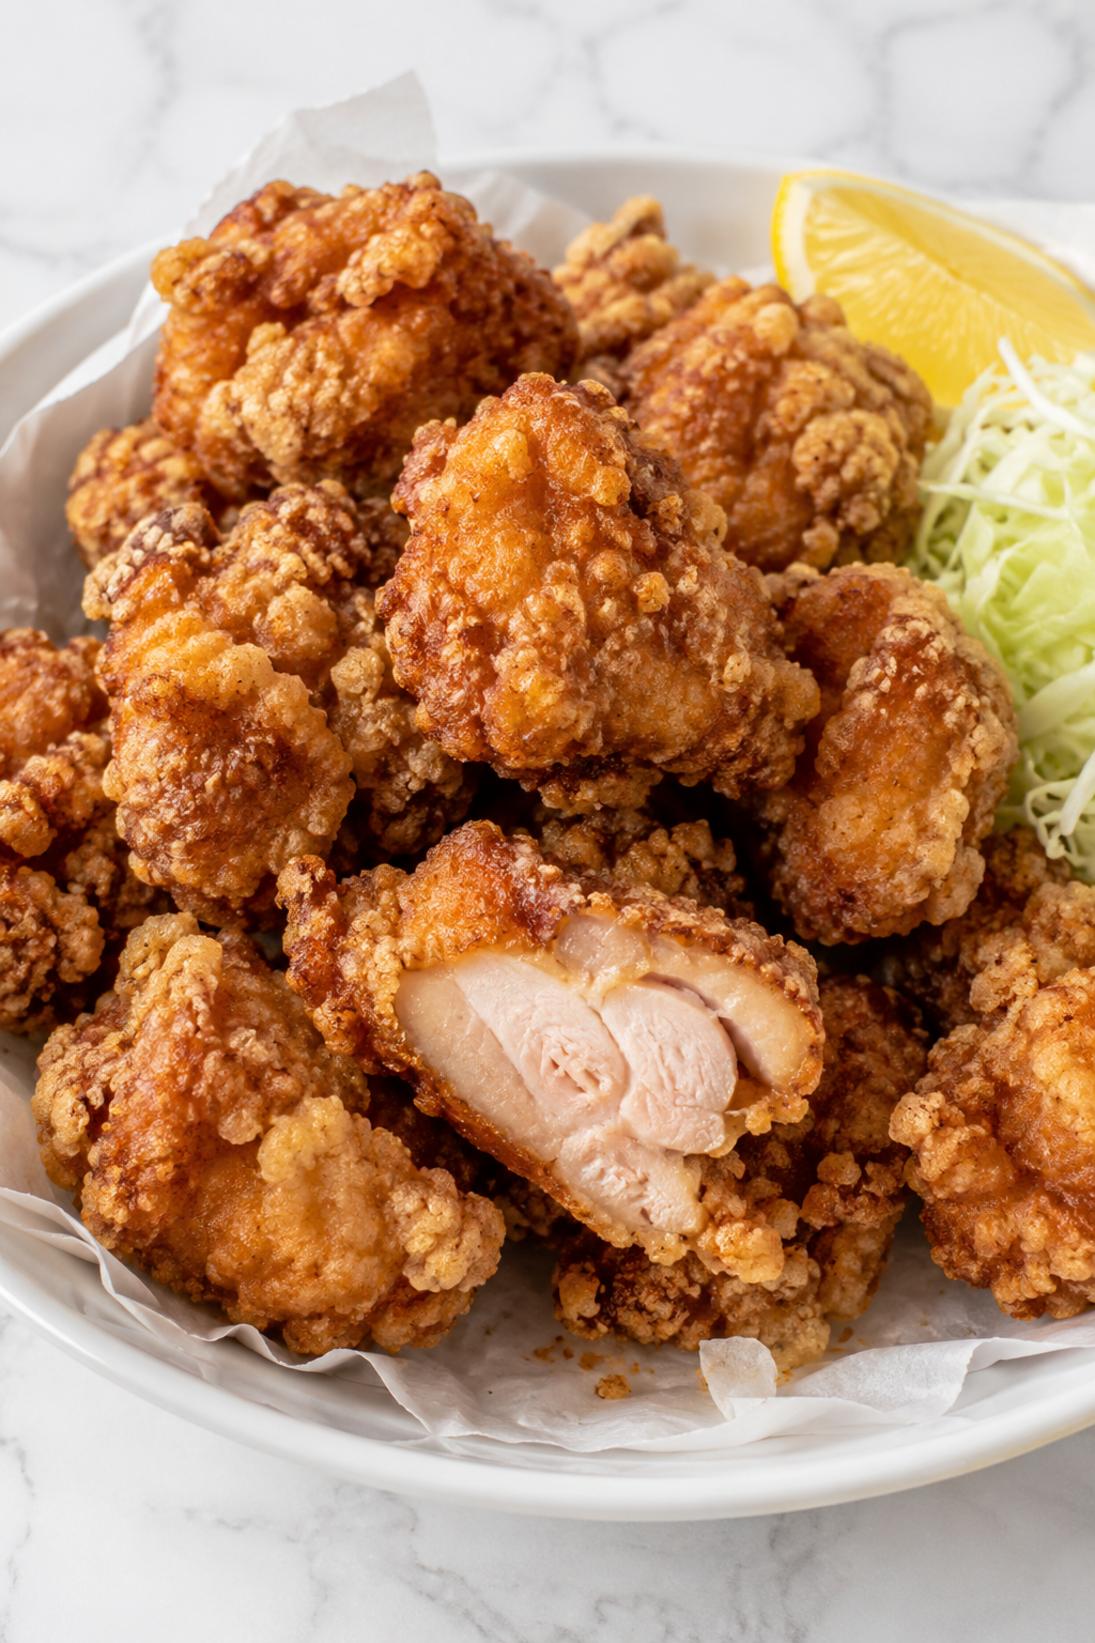
The pieces should be lightly golden after the first fry and feel firm when you lift one out. If you use a thermometer, aim for about 165°F in the thickest piece.
Can I make this in an air fryer?
You can, but it won’t be quite the same as classic karaage. If you air fry, spray the coated chicken well with oil, cook in a single layer, and expect a lighter, drier crunch.
What oil is best for frying karaage?
I use a neutral oil like canola, vegetable, sunflower, or peanut oil. Olive oil isn’t a great fit here because the flavor is stronger and it’s not as friendly for deep frying.
You might also like
Before you go, take a look at a few other recipes below the recipe card. They use similar ingredients in a different way and are worth saving too.
MORE DINNER RECIPES TO TRY


Crispy Japanese Fried Chicken
INGREDIENTS
Chicken
- 1.5 lb boneless skinless chicken thighs cut into 1.5 inch pieces
- 1 tsp kosher salt
- ½ tsp black pepper.
Marinade
- 2 tbsp soy sauce
- 1 tbsp sake
- 1 tbsp mirin
- 1 tbsp grated fresh ginger
- 2 cloves garlic minced
- 1 tsp toasted sesame oil optional.
Coating
- ¾ cup potato starch
- ¼ cup all purpose flour.
Frying and Serving
- 6 cups neutral frying oil
- lemon wedges for serving
- Japanese mayonnaise optional
- shichimi togarashi optional.
INSTRUCTIONS
Prep and Marinate
- Pat chicken dry and place in a bowl
- add salt and pepper plus soy sauce sake mirin ginger garlic and sesame oil then mix well
- cover and marinate 30 minutes in the refrigerator.
Coat
- Combine potato starch and flour in a shallow bowl
- drain excess marinade from chicken and toss in coating until evenly covered
- rest coated chicken 5 minutes to hydrate the starch for a craggier crust.
Fry
- Heat oil to 325 F in a heavy pot
- fry chicken in batches without crowding until lightly golden and cooked through about 4 to 5 minutes per batch
- transfer to a rack and rest 3 minutes
- increase oil to 350 F and refry each batch 1 to 2 minutes until deep golden and very crisp
- drain on a rack and season lightly with salt to taste.
Serve
- Serve immediately with lemon wedges and optional Japanese mayonnaise or shichimi togarashi.


