

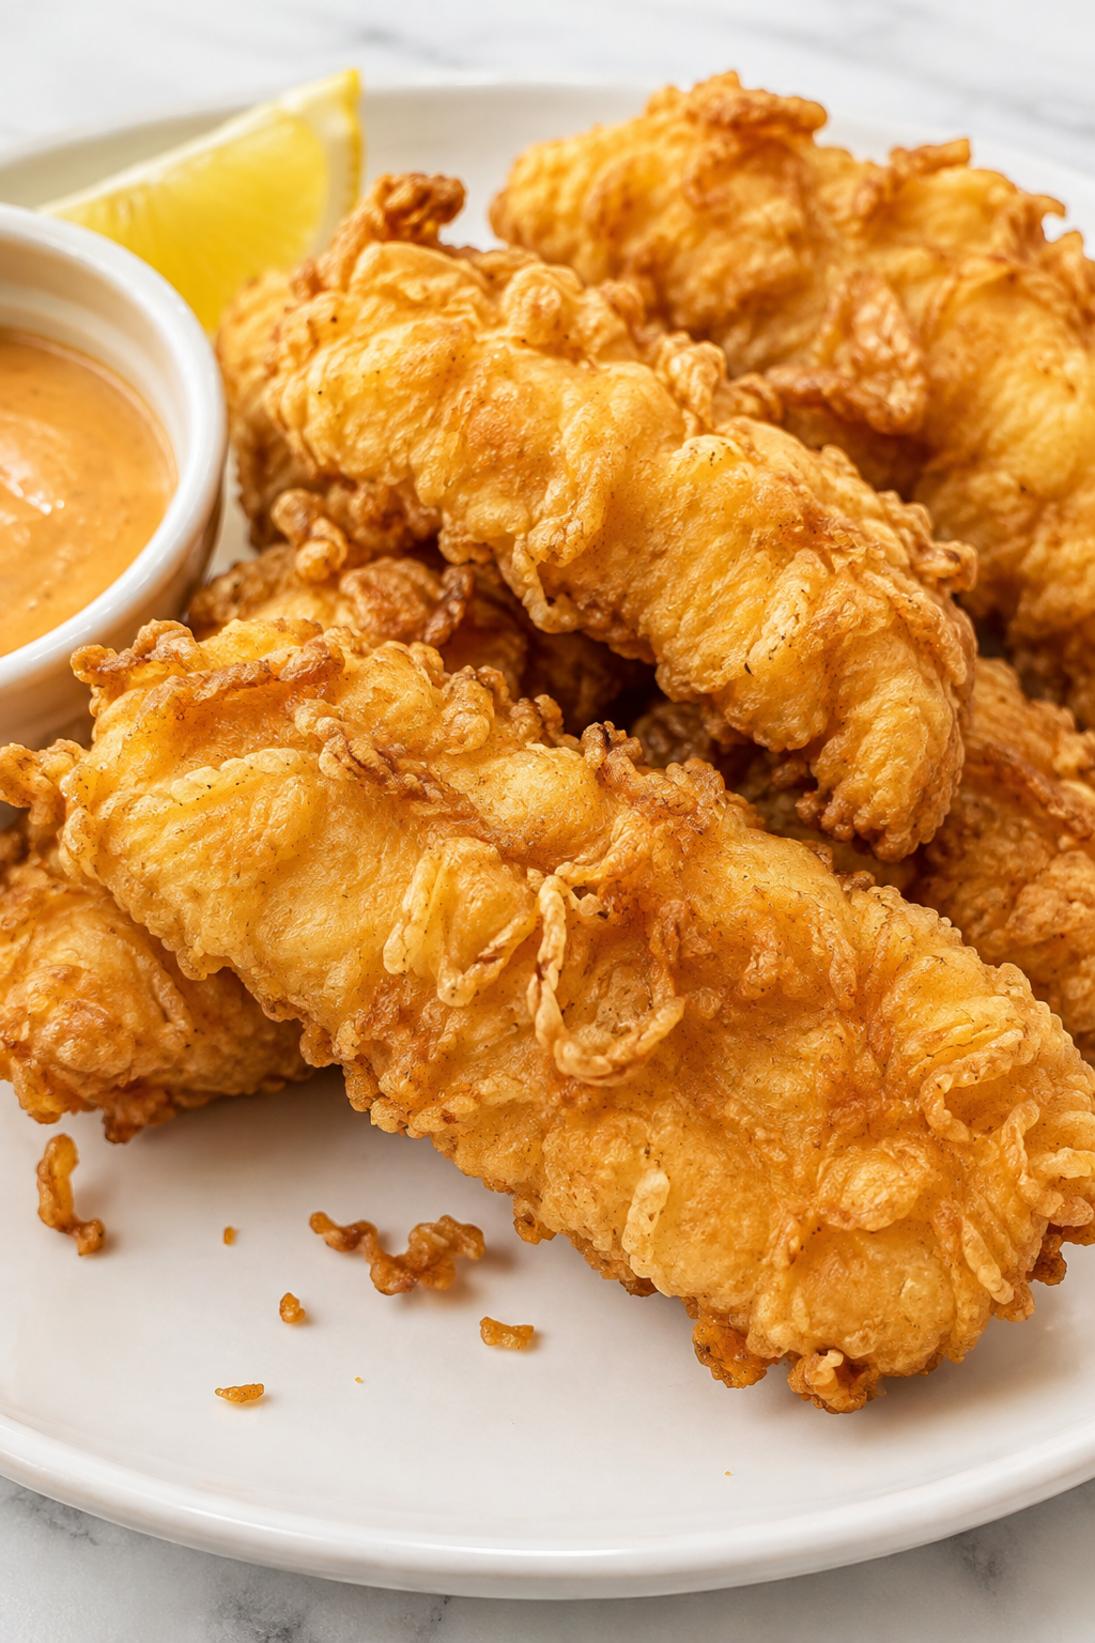
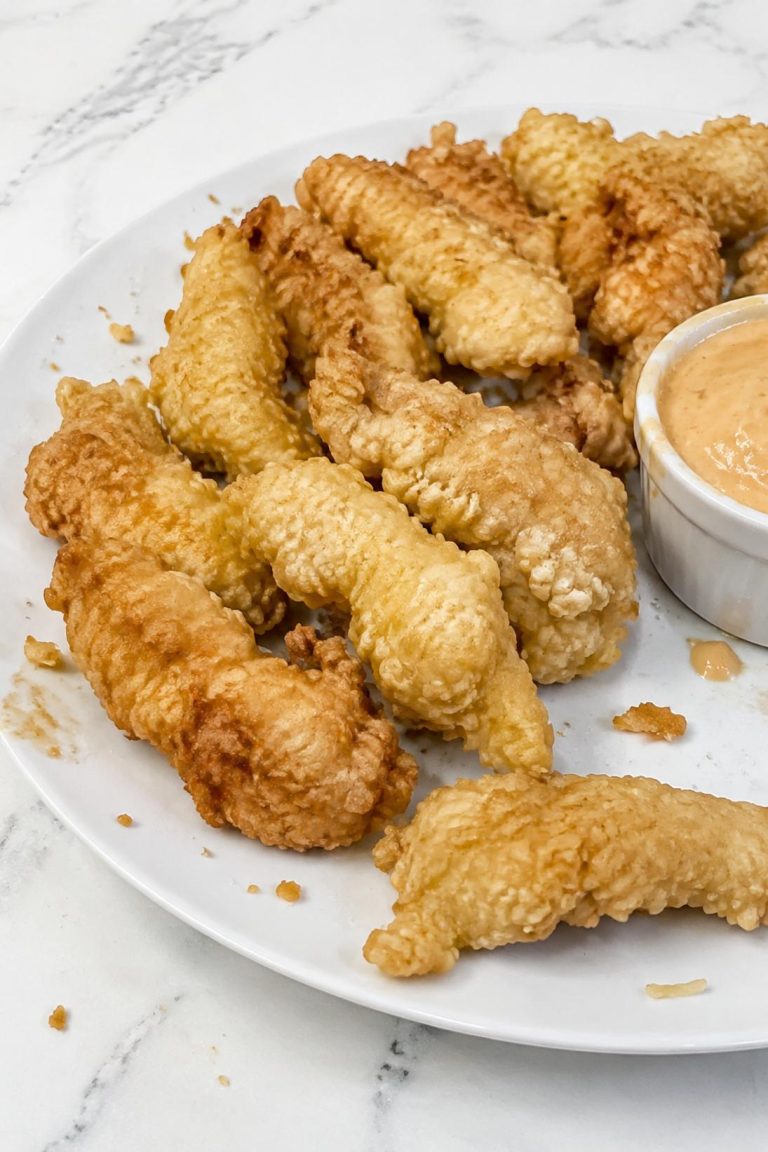
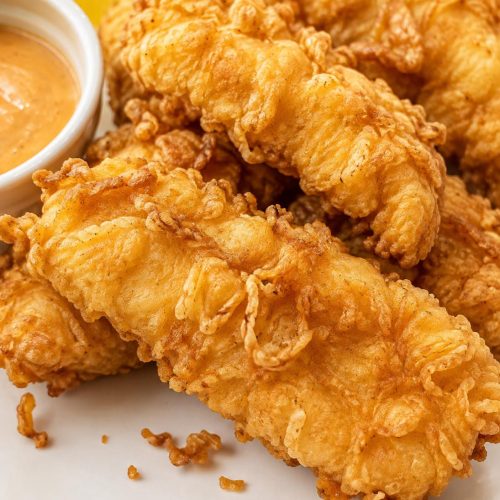
Crispy Tempura Chicken Tenders are my go-to when I want extra crunchy chicken with a light, airy coating instead of a heavy breading.
The batter fries up thin and crisp with that tempura-style snap, and the buttermilk keeps the chicken tender and juicy. I like the little bit of garlic and paprika in the mix because it gives the coating a little more flavor without taking over.
For me, these are best as a simple dinner with a dipping sauce, or as a fun snack platter with lemon wedges and a few different sauces on the side.
Why You’ll Love This Recipe
Light, crispy coating: The tempura-style batter fries up thin and crackly, so you get crunch without a thick shell.
Juicy chicken: The quick buttermilk rest keeps the tenders tender and seasoned all the way through.
Fast dinner: Once the oil is hot, the batches cook quickly and you can have them on the table without much fuss.
Easy to customize: Keep it simple with lemon and salt, or go spicy with sriracha mayo, sweet with honey mustard, or classic with ranch.
Great for dipping: These hold up well to sauces, so they’re perfect for setting out with a few options and letting everyone pick.
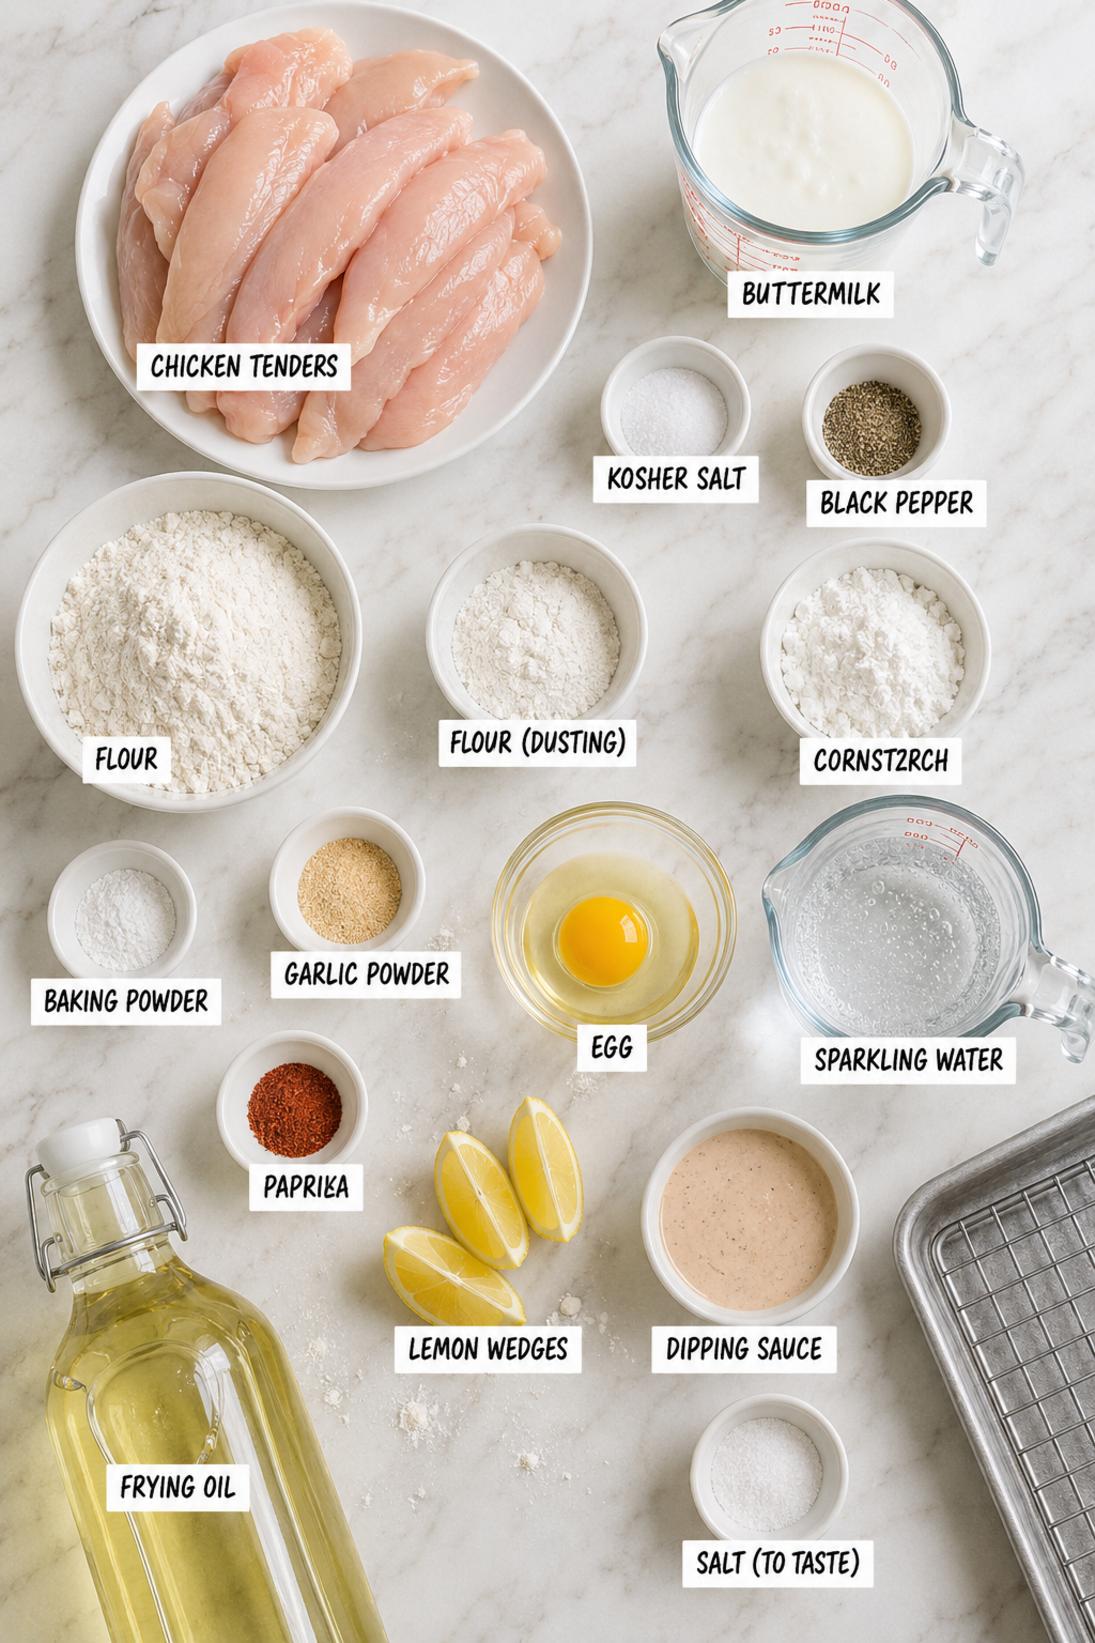
Ingredients You’ll Need
Chicken
- Chicken tenders: I like using actual tenders since they cook evenly and stay juicy, but chicken breast cut into strips works too.
- Buttermilk: This is a quick soak, not a long marinade. It helps the seasoning stick and keeps the chicken tender.
- Kosher salt: Seasoning the chicken early makes a difference here, even with a short rest.
- Black pepper: Nothing fancy, just enough to give the chicken a little bite.
Tempura Batter
- All-purpose flour: I use regular flour here. You’ll also want a little extra for dusting the chicken before it hits the batter.
- Cornstarch: This is what helps the batter fry up crisp and light instead of bready.
- Baking powder: A small amount keeps the coating airy. Don’t skip it.
- Garlic powder: Gives the batter some flavor without needing fresh garlic (fresh can burn in the oil).
- Paprika: Adds a little color and a mild warmth. Smoked paprika works too if that’s what you have.
- Egg: Helps the batter hold together and cling to the chicken.
- Ice-cold sparkling water: Cold is the point. The bubbles keep the batter light; club soda is totally fine.
- Salt: I like to season the batter lightly, then finish with a pinch of salt right after frying.
Frying and Serving
- Neutral frying oil: Use something like canola, vegetable, or peanut oil. You want a high smoke point and clean flavor.
- Lemon wedges: A squeeze of lemon cuts through the fried coating in the best way.
- Dipping sauce: I usually do a mix (kewpie mayo + sriracha, honey mustard, or even a simple soy-based dip).
Recipe Instructions
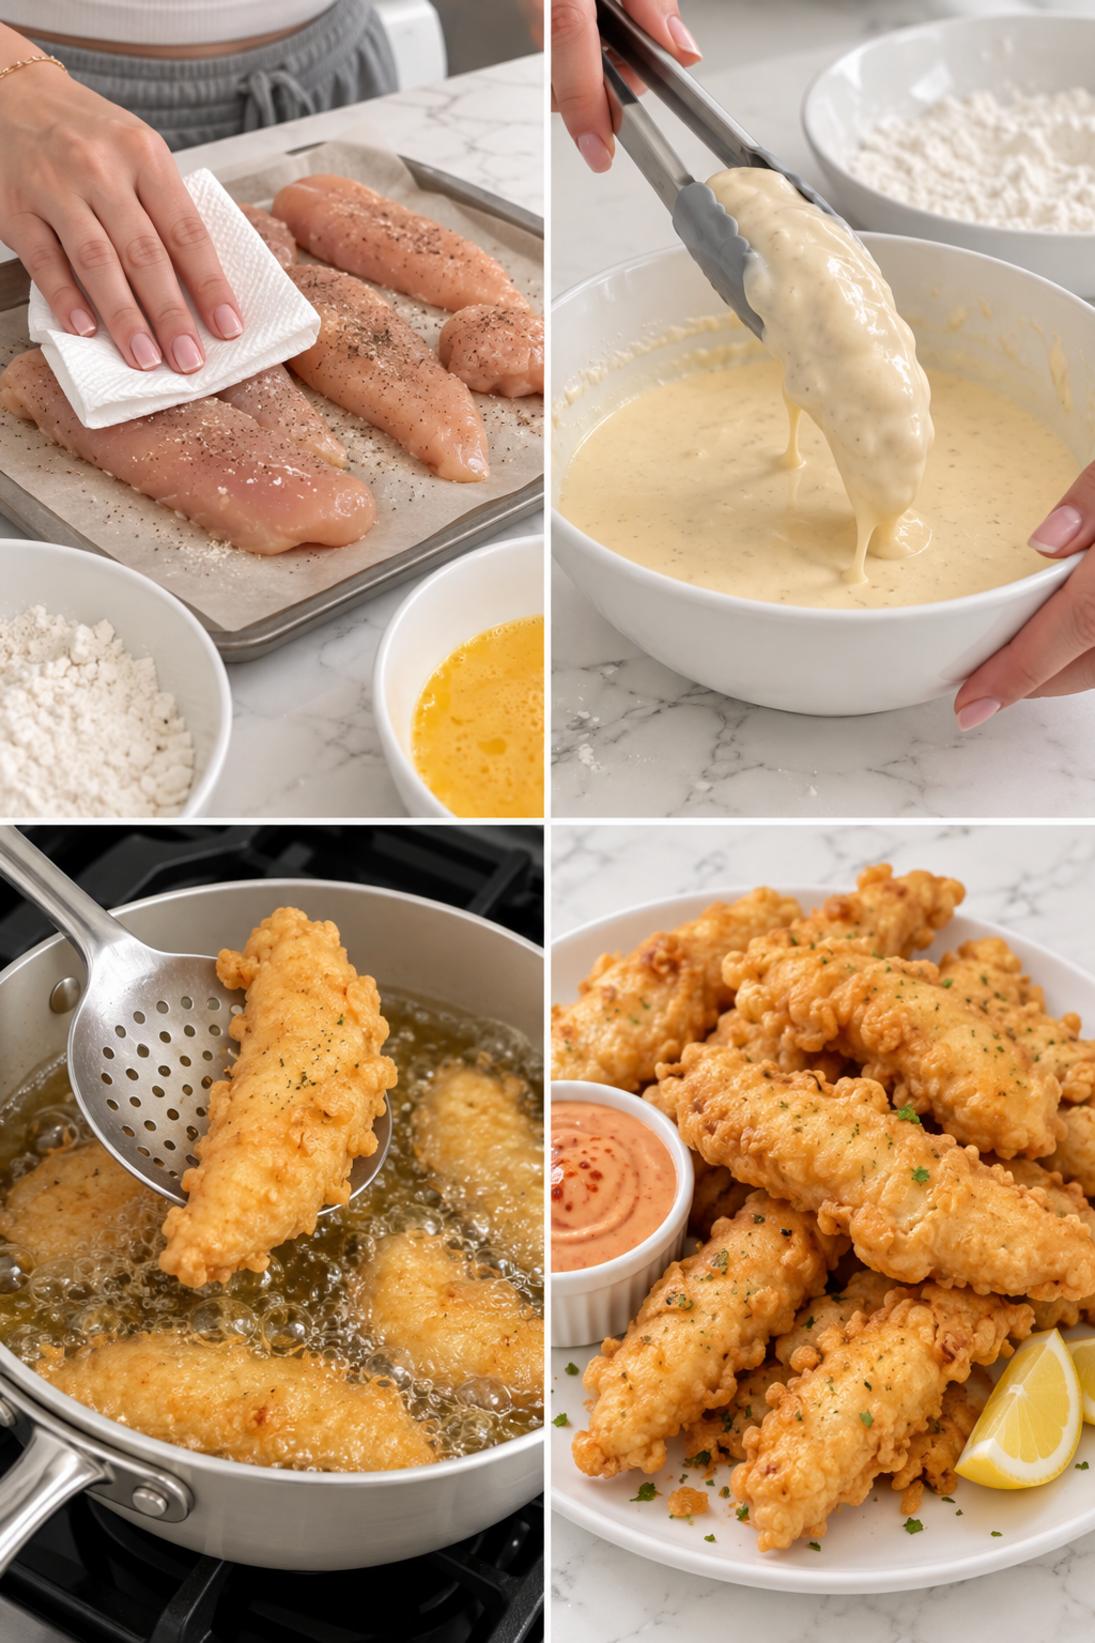
- Season the chicken: Combine the chicken tenders, buttermilk, kosher salt, and black pepper in a bowl. Let it rest for about 10 minutes while you get everything else ready.
- Set up the station: Set a wire rack over a sheet pan for draining. Pour the oil into a deep pot and heat it to 350°F.
- Mix the dry batter ingredients: In a medium bowl, whisk together the flour, cornstarch, baking powder, garlic powder, and paprika.
- Add the wet ingredients: Whisk in the egg, then whisk in the ice-cold sparkling water just until combined. Stop while you still have a few small lumps.
- Dust the chicken: Shake off excess buttermilk from each tender, then lightly dust all sides with flour.
- Batter the chicken: Dip each tender into the batter and let the excess drip off for a few seconds.
- Fry: Fry in batches for 6 to 8 minutes total, turning once, until deep golden and the chicken reaches 165°F in the thickest part.
- Drain and season: Move the fried tenders to the wire rack to drain, then season with salt while they’re still hot.
- Serve: Serve right away with lemon wedges and your dipping sauce of choice.
Some of my tips!
This is the part that really makes a difference. If you only read one section, make it this one because this is where I share the little trick that helps the recipe turn out so well.
Recipe Tips & Tricks
Keep everything cold. Cold sparkling water and a cool bowl help the batter fry up light. If your kitchen is warm, you can even chill the flour mix for a bit.
Don’t overmix the batter. A few lumps are fine and actually better here. If you whisk it smooth, the coating can end up heavier.
Hold the oil around 350°F. The temperature drops when you add chicken, so give it a moment to come back between batches. A thermometer makes this much easier.
Don’t crowd the pot. Too many pieces at once drops the oil temp fast and the coating won’t crisp the same way.
Use a rack, not paper towels. Draining on a rack keeps the bottom from steaming, so the coating stays crisp longer.
Make some touches!
There are plenty of easy ways to serve this depending on the occasion. Keep it simple, or add a few small touches to make it feel a little more special.
Serving Suggestions
- Dipping sauces: I like setting out two or three, like sriracha mayo, honey mustard, and a soy-ginger dip. It makes these feel like a meal even if you keep the sides simple.
- Rice: Serve with steamed white rice or fried rice if you want something more filling. A little lemon or sesame on the rice is nice too.
- Slaw: A crunchy cabbage slaw (even a quick bagged mix) is good next to fried chicken. I usually keep it tangy instead of creamy.
- Vegetables: Simple roasted broccoli, blistered green beans, or sautéed snap peas all work. Anything crisp and not too saucy is a good match.
Save it for later
This section covers how to store leftovers and what parts of the recipe you can prepare ahead of time.
Storage and Make Ahead
Store leftovers covered in the fridge for up to 3 days. The coating will soften a bit, but they’re still good.
To reheat, I prefer a hot oven or air fryer until warmed through and crisp again. The microwave works in a pinch, but it won’t stay crunchy.
If you want to make parts ahead, you can mix the dry batter ingredients and keep them ready, and you can season the chicken in buttermilk a little earlier in the day. I’d wait to add the sparkling water until right before frying.
A few quick answers
This section covers a few extra details that may help before you head to the recipe card.
Recipe FAQs
Can I use club soda instead of sparkling water?
Yes. Club soda works the same way here and still gives you a light batter. Just keep it very cold.
Why do you leave small lumps in tempura batter?
Lumps usually mean you didn’t overmix it, and that’s what you want. Overmixed batter can fry up tougher and less airy.
How do I know when the chicken tenders are done?
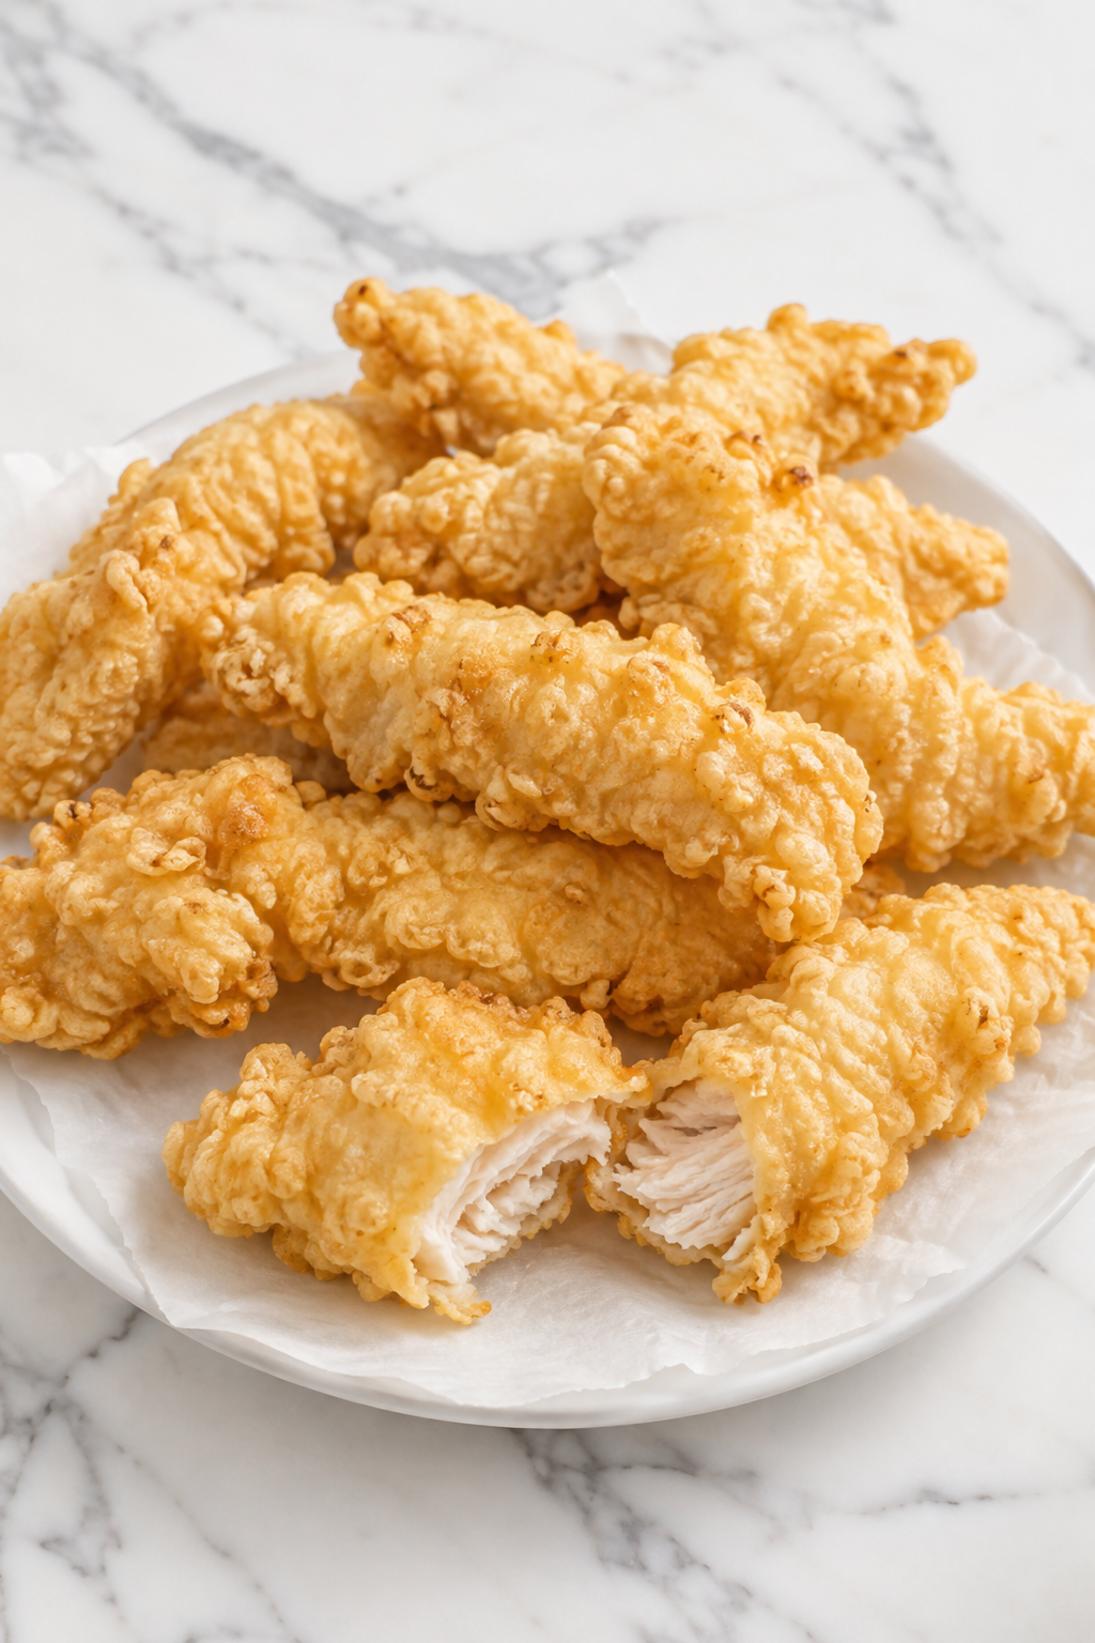
The coating should be deep golden, and the chicken should read 165°F in the thickest part. If the outside is browning too fast, your oil may be running hot.
Can I make these extra crunchy?
You can. After battering, press the tenders into a dry dredge with a little panko mixed in, then fry. It’s a slightly thicker coating, but very crunchy.
What dipping sauces go best with tempura chicken tenders?
I like sriracha mayo, honey mustard, tonkatsu sauce, or even a simple mix of soy sauce with a little lemon. Ranch is also great if you want something classic.
You might also like
Before you go, take a look at a few other recipes below the recipe card. They use similar ingredients in a different way and are worth saving too.
MORE DINNER RECIPES TO TRY

Crispy Tempura Chicken Tenders
INGREDIENTS
Chicken
- 1.5 lb chicken tenders
- 1 cup buttermilk
- 1 tsp kosher salt
- ½ tsp black pepper.
Tempura Batter
- 1 cup all purpose flour
- ½ cup cornstarch
- 1 tsp baking powder
- 1 tsp garlic powder
- ½ tsp paprika
- 1 large egg
- 1.25 cups ice cold sparkling water
- salt to taste.
Frying and Serving
- 6 cups neutral frying oil
- lemon wedges
- dipping sauce of choice.
INSTRUCTIONS
Prep Chicken
- combine chicken
- buttermilk
- salt
- and pepper then rest 10 minutes
- set a wire rack over a sheet pan
- heat oil in a deep pot to 350 F.
Batter and Fry
- whisk flour
- cornstarch
- baking powder
- garlic powder
- and paprika
- whisk in egg then sparkling water just until combined with small lumps remaining
- shake excess buttermilk from chicken then lightly dust with 0.25 cup all purpose flour
- dip chicken into batter and let excess drip
- fry in batches 6 to 8 minutes total turning once until deep golden and chicken reaches 165 F
- drain on rack and season with salt
- serve hot with lemon and dipping sauce.


