

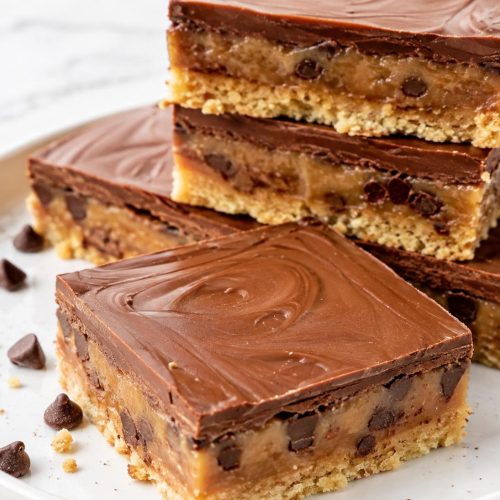
Layered Chocolate Bars are the kind of dessert I keep around when I want something chewy and gooey but still easy to portion and share. They’re basically a buttery graham cracker crust with a pile of sweet, melty layers baked on top.
The flavor is all about chocolate + butterscotch, with toasty coconut and crunchy nuts in the mix. I like this version because it sets up well for clean slices, but the center still stays a little soft in the best way.
These are especially good on a holiday cookie tray, but I also make them for potlucks and casual weekends when I’d rather bring bars than fuss with frosting or scooping cookies.

Why You’ll Love This Recipe
Soft and Chewy: The condensed milk bakes into the layers and gives you that classic gooey bar texture that stays tender for days.
Low Effort: It’s the kind of dessert that looks like you did more than you actually did. No mixer, no dough chilling, no fancy steps.
Great for Cookie Trays: These slice into neat squares, travel well, and hold up better than a lot of frosted desserts.
That Buttery Crust: The graham crust is simple, but it really matters here. It keeps the bars from feeling too sticky and gives a nice crunch at the bottom.
Easy to Tweak: You can swap the chips, change the nuts, or even skip the nuts entirely and the bars still bake up reliably.
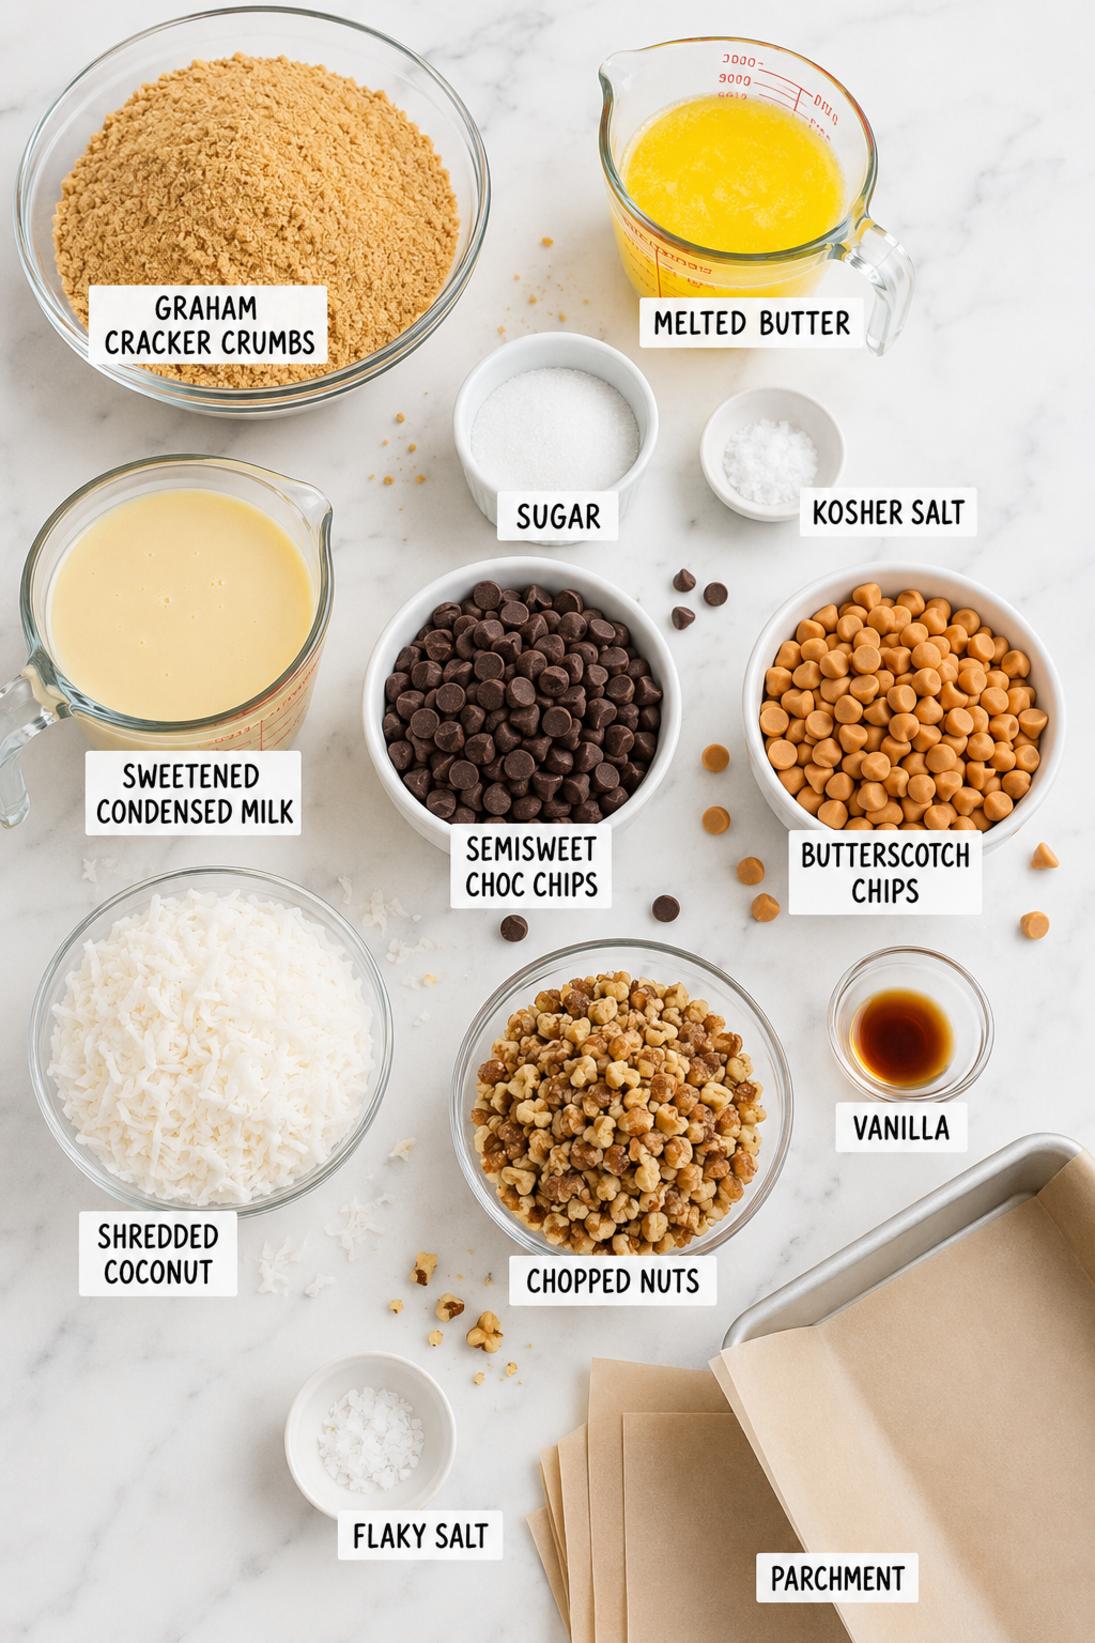
Ingredients You’ll Need
Crust
- Graham cracker crumbs: I use plain graham crumbs here. The crust is meant to be simple and buttery, and graham is the classic base for magic cookie bars and hello dolly bars.
- Unsalted butter: Melted butter is what makes the crust press in firmly and hold together when you slice. If you only have salted butter, just go easy on the added salt.
- Granulated sugar: Optional, but I usually add a little. It helps the crust taste a bit more like a cookie and less like plain crumbs.
- Kosher salt: Don’t skip it. It keeps the crust from tasting flat and it helps the chocolate layers taste more balanced.
Layers
- Sweetened condensed milk: This is the signature ingredient in seven layer bars. It bakes into the toppings and acts like the “glue” that turns everything into sliceable bars.
- Semisweet chocolate chips: Semisweet is my go-to here because it keeps the bars from getting too candy-sweet. Milk chocolate works if that’s what you have.
- Butterscotch chips: This gives that classic old-school layered bar flavor. If you prefer a darker, more chocolate-forward bar, swapping these for dark chocolate chips works well.
- Sweetened shredded coconut: The sweetened kind is traditional and it toasts nicely on top. If you want the bars less sweet, unsweetened coconut is an easy change.
- Walnuts or pecans: I like walnuts for a little bitterness, but pecans are great if you want a softer, sweeter nutty flavor. Chop them so you get crunch without huge hard pieces.
Optional
- Vanilla extract: It’s subtle, but I like adding it if I remember. It makes the whole pan smell a little more like a baked cookie bar.
- Flaky salt: A tiny sprinkle on top is nice, especially if you’re using sweetened coconut and butterscotch chips. It also makes the bars look finished.
Recipe Instructions
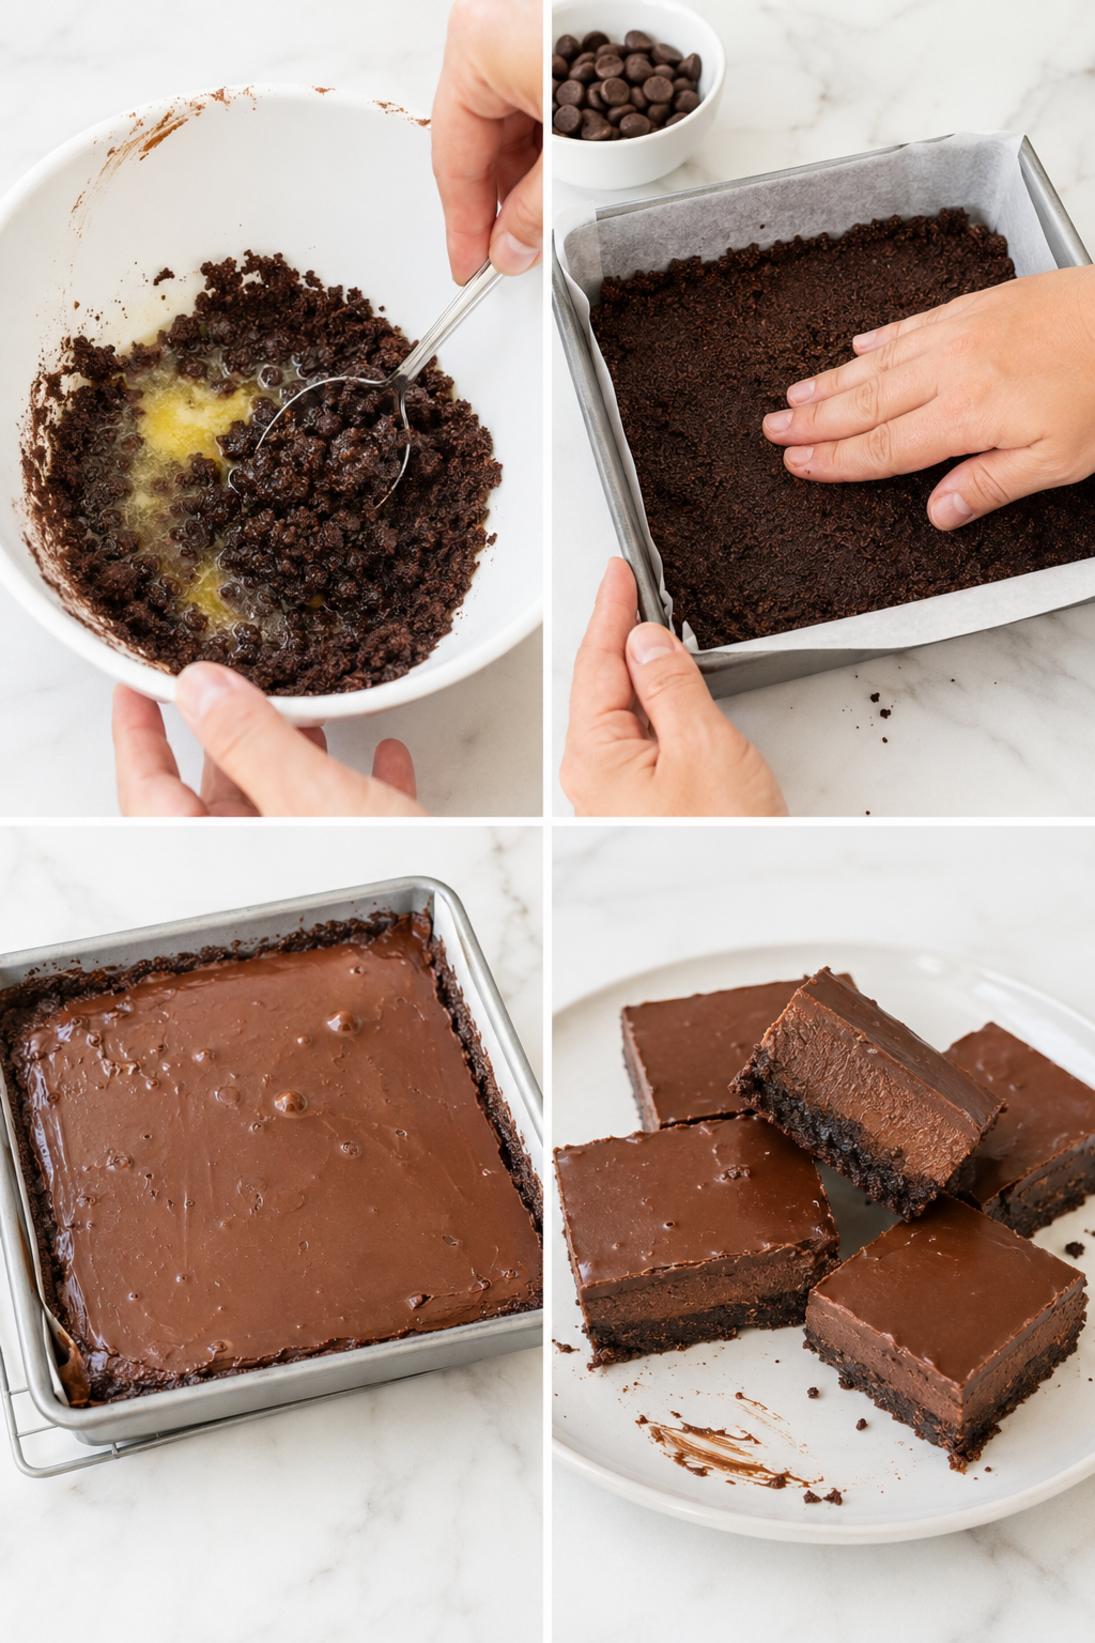
- Heat the oven: Heat the oven to 350°F. Line a 9×13-inch baking pan with parchment paper and lightly grease it so the corners don’t stick.
- Mix the crust: Stir the graham cracker crumbs with melted butter, sugar (if using), and kosher salt until the mixture looks evenly moistened.
- Press the crust: Press the crumb mixture into an even layer in the bottom of the pan. Press firmly so it holds together when you cut the bars.
- Add the chocolate chips: Sprinkle the semisweet chocolate chips evenly over the crust.
- Add the butterscotch chips: Sprinkle the butterscotch chips over the chocolate chips.
- Add the coconut: Sprinkle the shredded coconut evenly over the chip layer.
- Add the nuts: Scatter the chopped walnuts or pecans over the coconut.
- Add the condensed milk: Drizzle the sweetened condensed milk evenly over the top. Add vanilla extract if you’re using it.
- Bake: Bake for 23 to 28 minutes, until the edges are lightly golden and the center looks set.
- Cool: Let the bars cool in the pan for about 1 hour, then chill for 1 to 2 hours if you want really clean slices.
- Slice: Lift the bars out using the parchment, then slice into squares. Sprinkle with flaky salt if you like.
Some of my tips!
This is the part that really makes a difference. If you only read one section, make it this one because this is where I share the little trick that helps the recipe turn out so well.
Recipe Tips & Tricks
Use parchment paper. These bars can get sticky around the edges, and parchment makes lifting and slicing so much easier. I like to leave a little overhang on the long sides.
Press the crust firmly. If the crust is loosely packed, it can crumble when you lift the bars out. The bottom of a measuring cup works well for pressing it in evenly.
Drizzle the condensed milk slowly. If you pour it in one spot, it tends to pool and leave dry patches. I move across the pan in thin lines so it hits most of the surface.
Watch the edges near the end. The best cue is lightly golden edges and a center that doesn’t look wet. If the top is browning fast, your pan might run hot, so check a couple minutes early.
Chill before slicing. If you cut them warm, they’ll be messy (still tasty, just messy). A short chill makes the layers set so you get neat squares.
Make some touches!
There are plenty of easy ways to serve this depending on the occasion. Keep it simple, or add a few small touches to make it feel a little more special.
Serving Suggestions
- Coffee or espresso: These are rich, so a strong cup of coffee is a good match. I usually go with black coffee or an unsweetened latte.
- Milk: A cold glass of milk is classic with graham cracker crust bars. It’s also nice if you add that little pinch of flaky salt on top.
- Ice cream: Serve a bar with vanilla ice cream on the side if you want a more “dessert plate” feel. I like doing this when I’m serving them after dinner.
- Fruit: Fresh berries are an easy add-on and keep the plate from feeling too heavy. Raspberries and strawberries are both good here.
Save it for later
This section covers how to store leftovers and what parts of the recipe you can prepare ahead of time.
Storage and Make Ahead
Store the bars airtight at room temperature for up to 4 days. If your kitchen runs warm, I usually move them to the fridge so the chocolate layers stay firmer.
Refrigerate for up to 1 week for a slightly chewier, more set texture. I like them chilled for clean edges, especially if I’m packing them up to share.
If you want them longer-term, freeze the bars for up to 2 months. I freeze them in a single layer first, then transfer to a container with parchment between layers so they don’t stick.
Thaw in the fridge overnight or on the counter for a short while before serving. They’re fine to eat cold, but the flavors pop a bit more once they lose the deep chill.
A few quick answers
This section covers a few extra details that may help before you head to the recipe card.
Recipe FAQs
Are these the same as seven layer bars or magic cookie bars?
Pretty much, yes. Depending on where you’re from, these get called seven layer bars, magic cookie bars, or hello dolly bars, but the idea is the same: a graham crust with chips, coconut, nuts, and condensed milk baked into layers.
How do I know when layered chocolate bars are done?
I look for lightly golden edges and a center that looks set, not wet. The middle will still be soft while it’s hot, but it firms up a lot as it cools and chills.
Can I make these nut-free?
Yes, you can just leave the nuts out. The bars will still hold together, and you’ll get more of a coconut-and-chocolate texture.
Can I use unsweetened coconut?
You can. The bars won’t be quite as sweet and the coconut flavor tastes a little more toasty. If you’re using unsweetened coconut, I’d keep an eye on the top near the end since it can brown a bit faster.
What other chips can I use instead of butterscotch?
Dark chocolate chips are my favorite swap if you want a more chocolate-forward bar. Peanut butter chips are also good if you like that combo with chocolate, but they do make the bars sweeter.
You might also like
Before you go, take a look at a few other recipes below the recipe card. They use similar ingredients in a different way and are worth saving too.
MORE DINNER RECIPES TO TRY



Layered Chocolate Bars
INGREDIENTS
Crust
- 1 1/2 cups graham cracker crumbs
- 1/2 cup unsalted butter melted
- 2 tbsp granulated sugar optional
- 1/4 tsp kosher salt.
Layers
- 1 can 14 oz sweetened condensed milk
- 1 cup semisweet chocolate chips
- 1 cup butterscotch chips
- 1 1/3 cups sweetened shredded coconut
- 1 cup chopped walnuts or pecans.
Optional
- 1/2 tsp vanilla extract
- flaky salt for garnish.
INSTRUCTIONS
Pan and crust
- heat oven to 350 F
- line a 9x13 inch baking pan with parchment and lightly grease
- mix graham crumbs with melted butter sugar and salt
- press firmly into an even layer in the pan.
Layer and bake
- sprinkle chocolate chips evenly over crust then butterscotch chips then coconut then nuts
- drizzle sweetened condensed milk evenly over the top and add vanilla if using
- bake until edges are lightly golden and center looks set 23 to 28 minutes.
Cool and slice
- cool in pan 1 hour then chill 1 to 2 hours for clean cuts
- lift out using parchment and slice into bars
- sprinkle with flaky salt if desired.


