

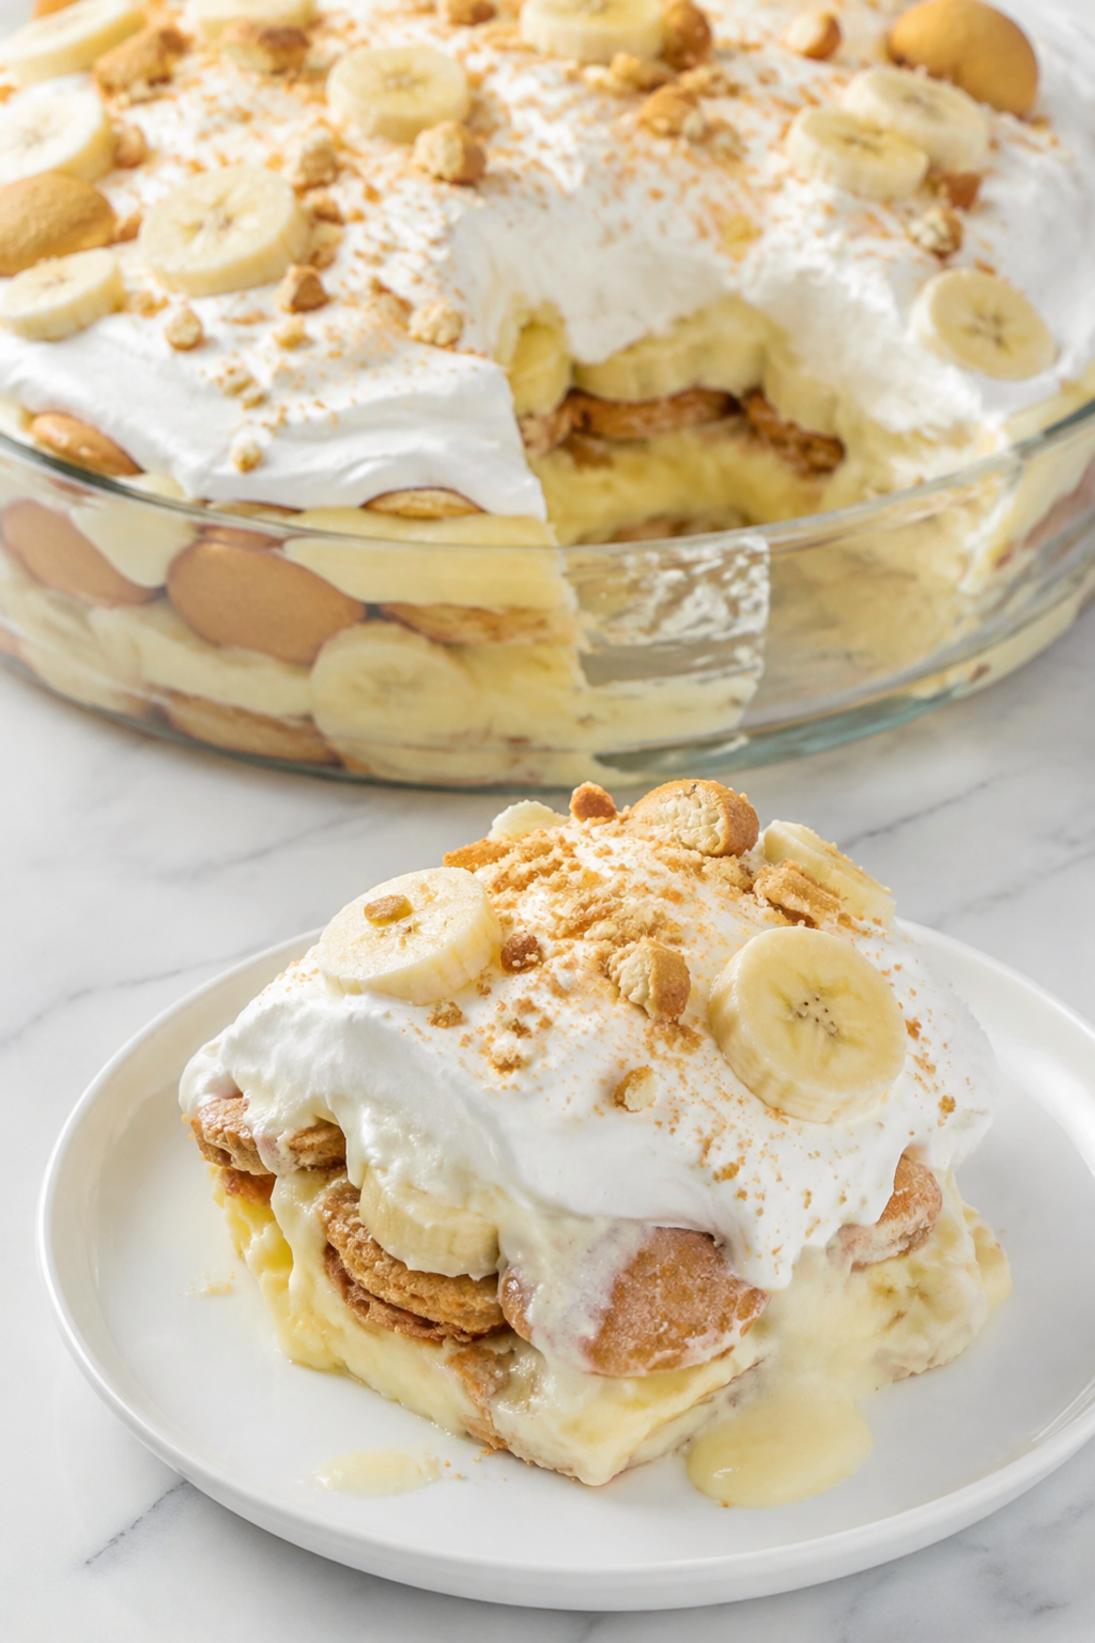
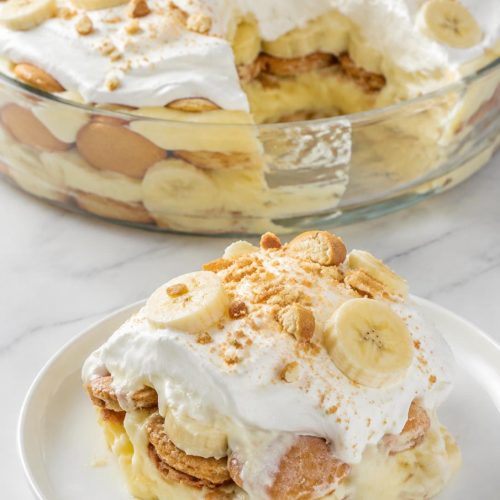
Nilla Wafer Banana Pudding is the kind of dessert I make when I want something cold, creamy, and familiar. It’s classic Southern-style layering: vanilla pudding, bananas, and those cookies that soften into the best cake-like texture.
My take keeps it simple and reliable, with a condensed milk pudding base and a generous fold of whipped topping so it sets up light but still rich. After a good chill, the wafers turn tender, the bananas mellow out, and it slices cleanly.
I like serving this straight from the fridge after dinner, at potlucks, or any time I need a make-ahead dessert that doesn’t involve baking. It’s easy to scoop, easy to portion, and it disappears fast.
Why You’ll Love This Recipe
No-bake dessert: No oven, no water bath, no fuss. It’s the kind of sweet you can make even when your kitchen is already busy.
Make-ahead friendly: This is one of those desserts that honestly gets better after it sits. The layers settle and the wafers soften just right.
Classic flavor: Vanilla pudding, bananas, and Nilla Wafers taste like banana pudding should. It’s simple and it works.
Great texture: You get creamy filling, tender cookies, and soft banana slices all in one bite. I especially like it after an overnight chill.
Easy to tweak: You can keep it traditional, swap in homemade whipped cream, or add cream cheese if you want it a little tangier.
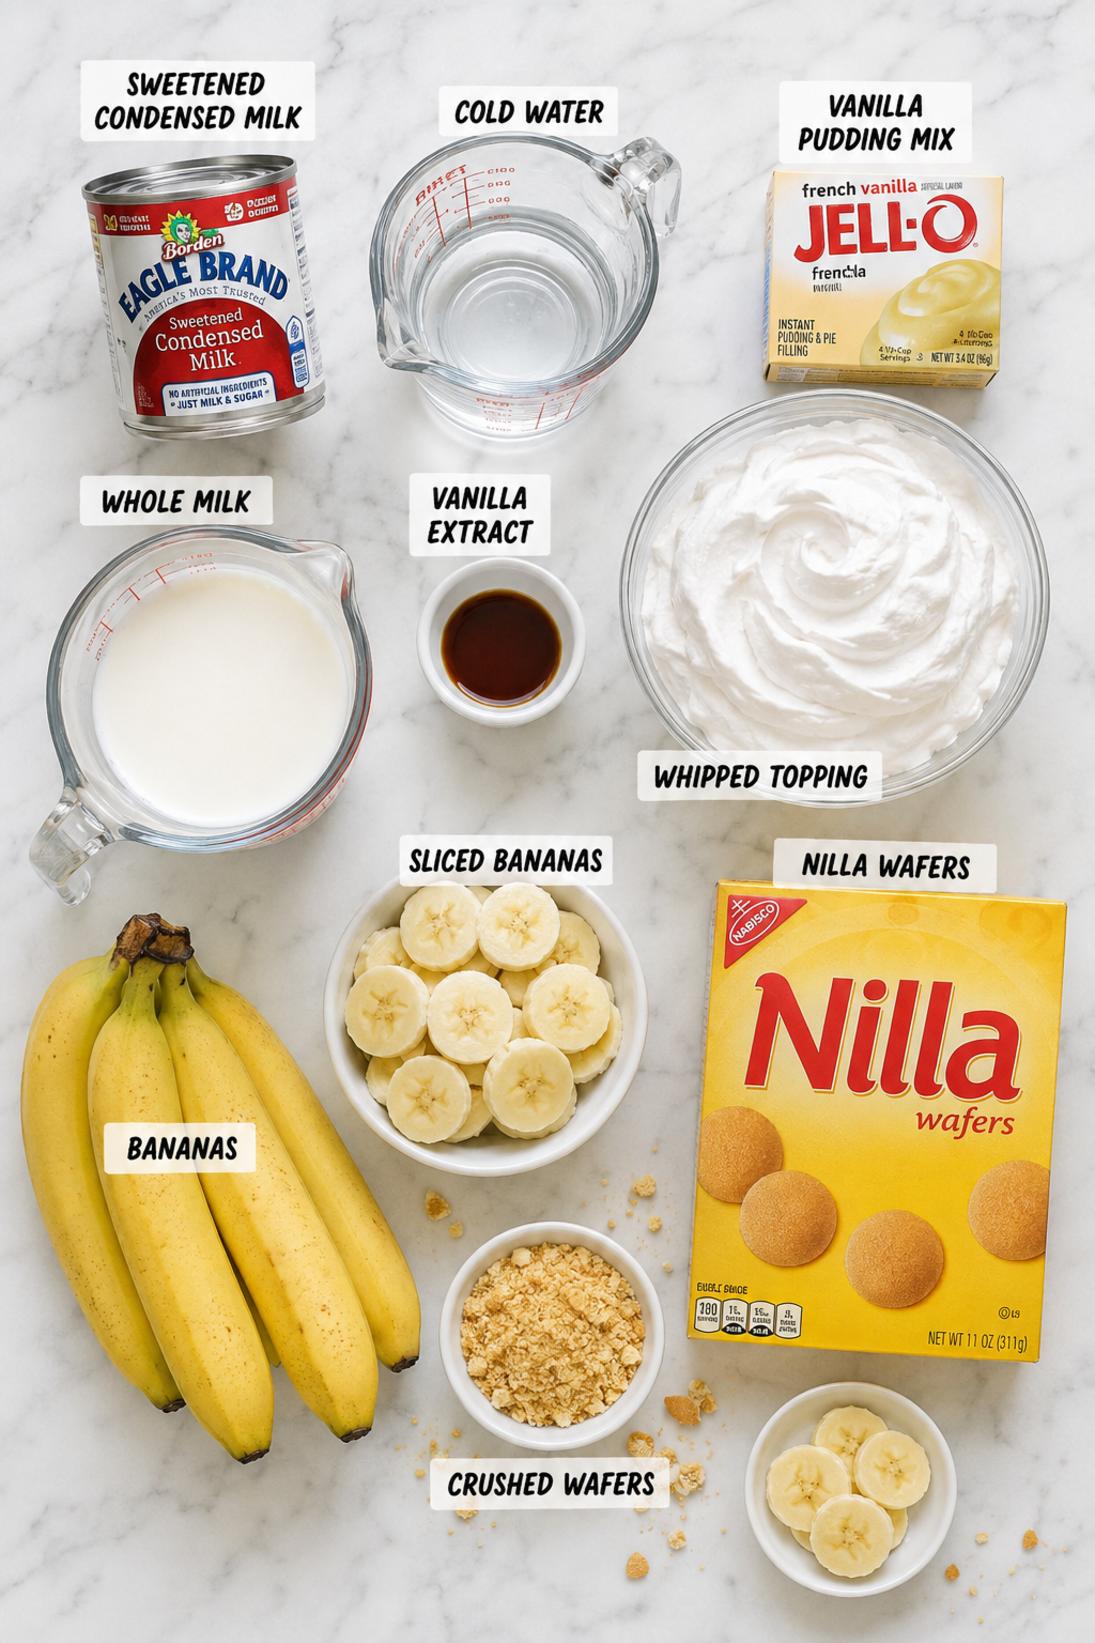
Ingredients You’ll Need
Vanilla Pudding Filling
- Sweetened condensed milk: This is what gives the pudding that classic banana pudding richness. I stick with the regular kind (not fat-free) because it sets up better.
- Cold water: Helps loosen the condensed milk so the pudding mix blends in smoothly. Make sure it’s cold so the filling thickens the way it should.
- Instant vanilla pudding mix: Use instant here, not cook-and-serve. It thickens fast and keeps this dessert truly no-bake.
- Cold whole milk: Whole milk makes the filling creamier and a little more stable. Lower-fat milk works, but the texture won’t be quite as lush.
- Vanilla extract: Just a small amount makes the pudding taste more like homemade. I use pure vanilla, but imitation is fine in a pinch.
- Whipped topping: This makes the filling light and scoopable once it chills. Thaw it first so it folds in without lumps.
Layers
- Nilla Wafers: The classic cookie for banana pudding, and for me nothing else quite tastes the same. They soften into that tender layer after chilling.
- Bananas: Ripe but still firm is the sweet spot so the slices hold their shape. If they’re super soft, they can get a little mushy in the layers.
Optional Garnish
- Crushed Nilla Wafers: A handful on top makes it look finished and adds a little texture. I like a mix of fine crumbs and a few bigger pieces.
- Banana slices: Pretty on top, but add them right before serving so they don’t brown too much.
Recipe Instructions
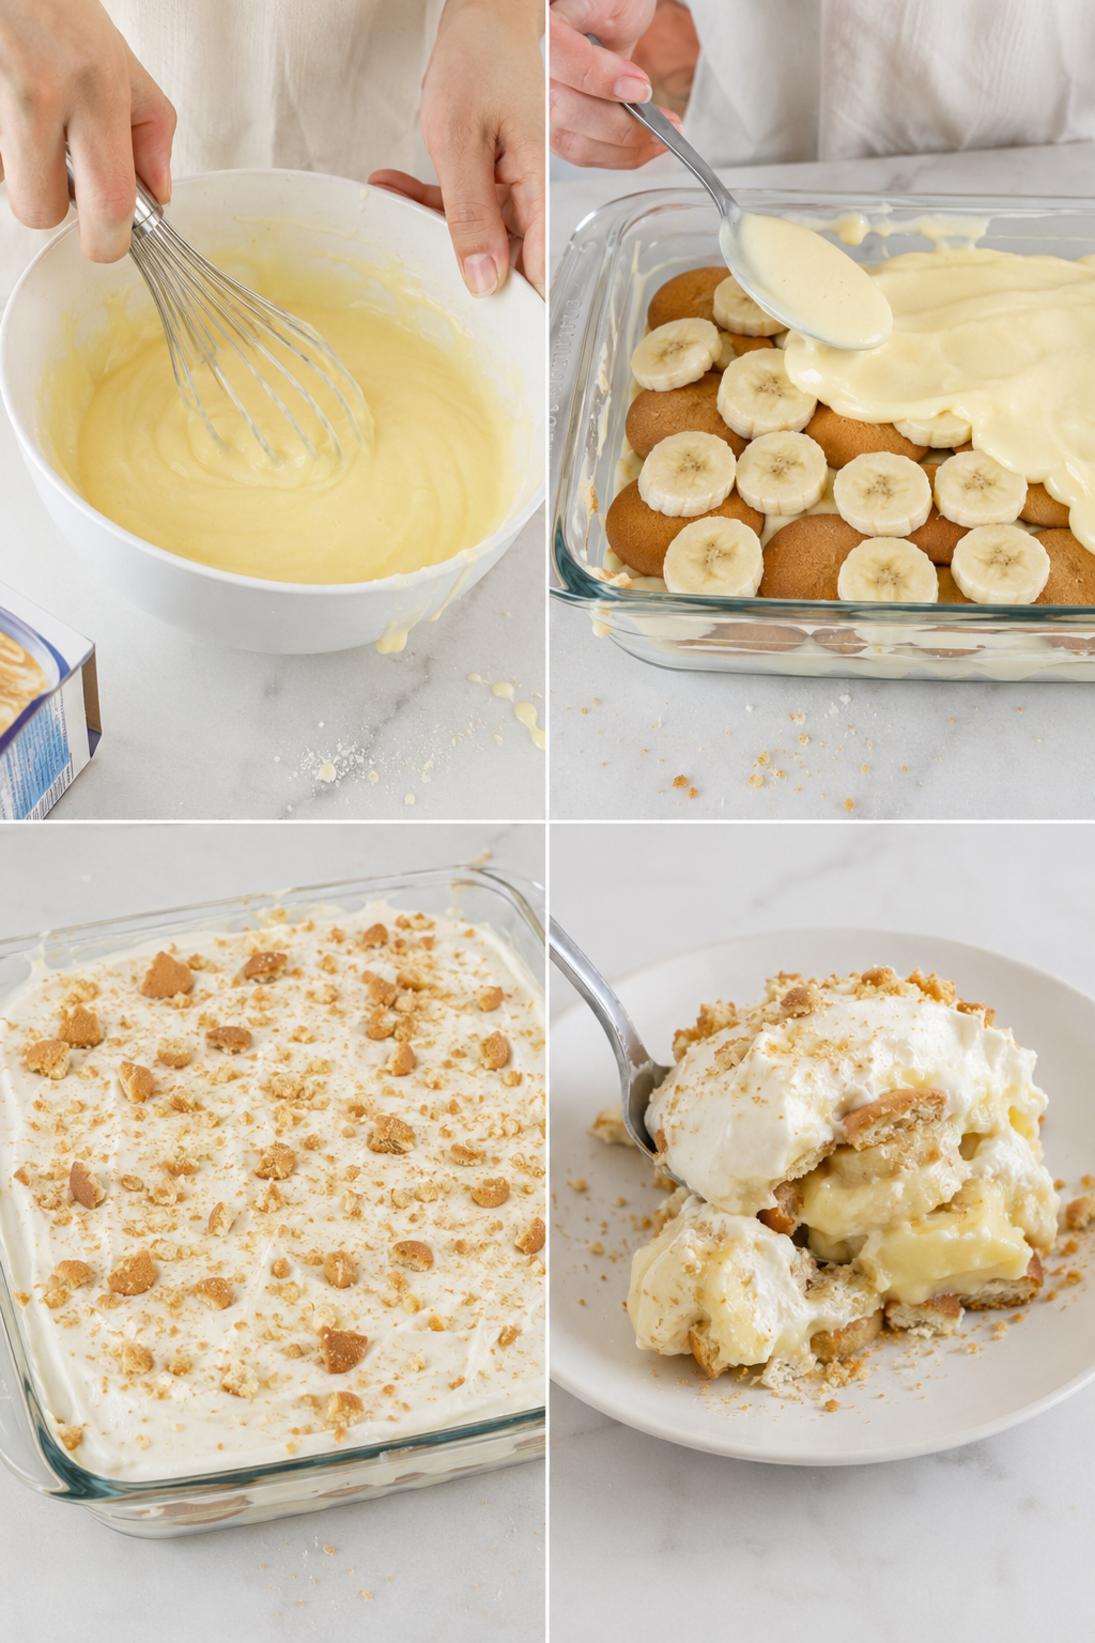
- Whisk the condensed milk: In a large bowl, whisk the sweetened condensed milk and cold water until smooth and fully blended.
- Add the pudding mix: Whisk in the instant vanilla pudding mix and keep whisking until it thickens, about 2 minutes.
- Whisk in the milk: Whisk in the cold whole milk and vanilla extract until the mixture looks uniform, then let it stand for 5 minutes to fully thicken.
- Fold in the whipped topping: Add the thawed whipped topping and fold gently until you don’t see streaks.
- Start the layers: Spread a thin layer of filling in the bottom of a 9×13-inch dish, then add an even layer of Nilla Wafers and a layer of sliced bananas.
- Add more filling: Spread about one third of the filling over the bananas.
- Repeat the layers: Repeat the layers of wafers, bananas, and filling, ending with filling on top.
- Chill: Cover and refrigerate for at least 4 hours, and preferably overnight for the best texture.
- Garnish and serve: Right before serving, top with crushed Nilla Wafers and banana slices if you like. Keep it chilled.
Some of my tips!
This is the part that really makes a difference. If you only read one section, make it this one because this is where I share the little trick that helps the recipe turn out so well.
Recipe Tips & Tricks
Use bananas that are ripe but still firm. You want sweet bananas, but you also want clean slices that hold up in the layers. Super soft bananas can get a little watery after chilling.
Let the pudding stand before folding. After you whisk in the milk, give it the full few minutes to thicken up. It makes the filling more consistent once you fold in the whipped topping.
Fold gently, not aggressively. Stirring too hard can knock the air out of the whipped topping. I use a spatula and fold until the last streaks disappear.
Chill overnight if you want neat slices. Four hours works, but overnight gives you the most even wafer-softening and the cleanest scoop.
Add cream cheese if you like it tangier. If you want a slightly richer, more “cheesecake-ish” filling, mix in a little softened cream cheese with the pudding base before you fold in the whipped topping.
Make some touches!
There are plenty of easy ways to serve this depending on the occasion. Keep it simple, or add a few small touches to make it feel a little more special.
Serving Suggestions
- Crushed wafers: Sprinkle extra crushed Nilla Wafers over each portion right before serving. It adds a little texture and looks nice on the plate.
- Extra bananas: Add fresh banana slices on top just as you serve it. I like doing this per slice so they stay bright and don’t brown as quickly.
- Chocolate drizzle: A light drizzle of chocolate syrup on top is simple and tastes good with the vanilla pudding. It’s an easy add if you want to dress it up a bit.
- Coffee: This is really good with coffee, especially after a heavier meal. I usually go with hot coffee or an iced latte.
Save it for later
This section covers how to store leftovers and what parts of the recipe you can prepare ahead of time.
Storage and Make Ahead
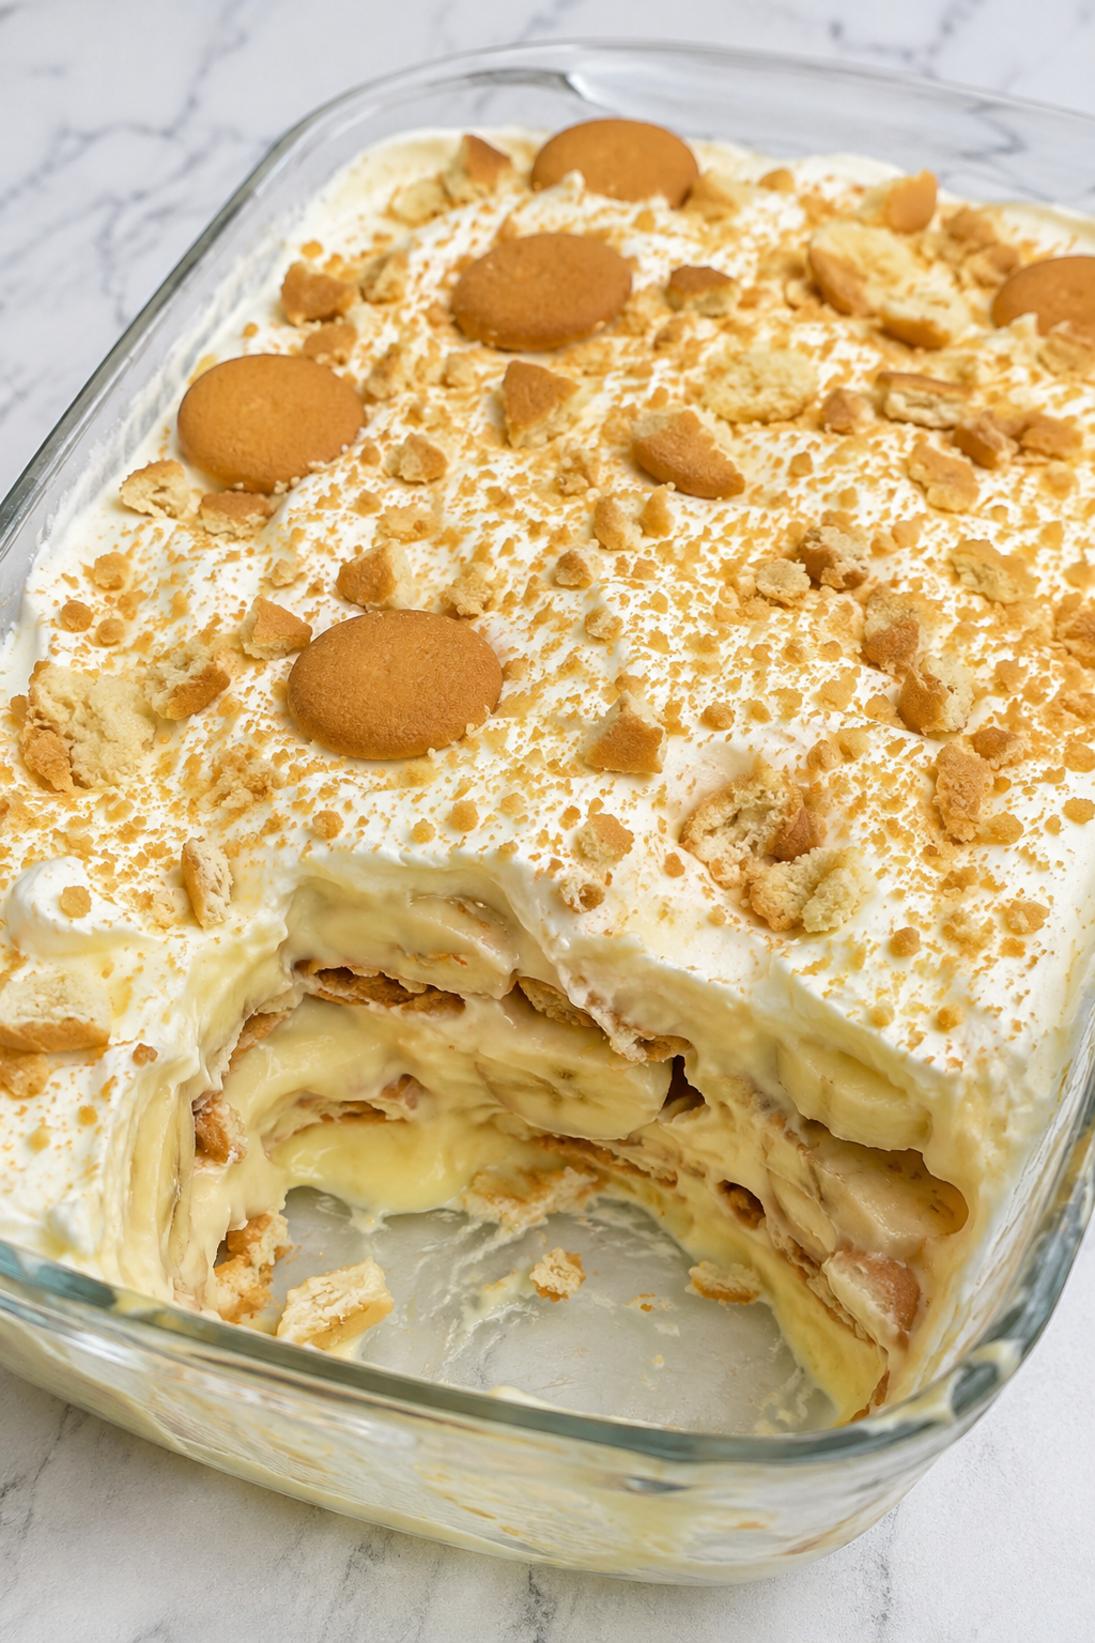
Store leftovers covered in the fridge for up to 4 days. The wafers will keep softening as it sits, so the texture gets more like a chilled layered cake.
You can make this recipe ahead and I actually prefer it that way. Assemble it the night before, cover it well, and let it chill until you’re ready to serve.
If you’re planning to garnish with extra banana slices, add those at the end. The pudding is fine overnight, but the top banana slices brown faster than the ones tucked into the layers.
Freezing isn’t my favorite for this one. The bananas and pudding can change texture once thawed, so I stick to refrigerating and serving it cold.
A few quick answers
This section covers a few extra details that may help before you head to the recipe card.
Recipe FAQs
Do I have to chill it overnight?
No, but it helps a lot. Four hours will get it set and scoopable, but overnight gives the most even softening of the wafers and a more sliceable texture.
Can I use homemade whipped cream instead of whipped topping?
Yes. Use about 2 cups of whipped cream, whipped to medium peaks, and fold it in the same way. Homemade whipped cream is great, but the pudding won’t hold quite as long as it does with whipped topping.
How do I keep the bananas from turning brown?
Once the bananas are tucked between pudding and wafers, they’re pretty protected. The ones that brown fastest are the garnish slices, so I add those right before serving.
Can I add cream cheese to the filling?
You can, and it’s a nice twist if you want a little tang. Soften the cream cheese first, then mix it into the pudding base until smooth before folding in the whipped topping.
Can I assemble it closer to serving for crunchier wafers?
Yes. If you like more crunch, assemble it a couple hours before serving instead of letting it sit overnight. The wafers will still soften some, just not as much.
You might also like
Before you go, take a look at a few other recipes below the recipe card. They use similar ingredients in a different way and are worth saving too.
MORE DINNER RECIPES TO TRY


Nilla Wafer Banana Pudding Dessert
INGREDIENTS
Vanilla Pudding Filling
- 1 can sweetened condensed milk 14 oz
- 1 1/2 cups cold water
- 1 box instant vanilla pudding mix 3.4 oz
- 2 cups cold whole milk
- 1 tsp vanilla extract
- 8 oz whipped topping thawed.
Layers
- 1 box Nilla Wafers 11 oz
- 5 to 6 medium ripe bananas sliced.
Optional Garnish
- extra Nilla Wafers crushed for topping
- banana slices for topping.
INSTRUCTIONS
Make Filling
- whisk sweetened condensed milk and cold water until smooth
- whisk in instant pudding mix until thickened about 2 minutes
- whisk in cold milk and vanilla extract until uniform then let stand 5 minutes to fully thicken
- fold in whipped topping until no streaks remain.
Assemble And Chill
- spread a thin layer of filling in the bottom of a 9x13 inch dish
- add an even layer of Nilla Wafers then a layer of banana slices
- spread one third of the filling over bananas and repeat layers ending with filling on top
- cover and refrigerate at least 4 hours and preferably overnight for best texture
- garnish before serving and keep chilled.


