

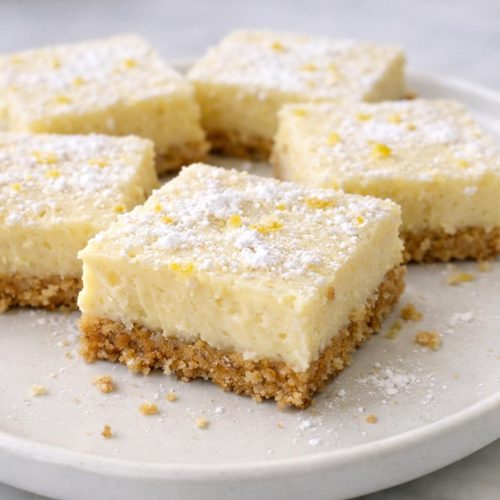
No-Bake Lemon Bars are my go-to when I want a chilled lemon dessert that tastes bright and clean but still feels rich. The buttery graham cracker crust gives you that classic bar bite without any baking.
The filling is basically a lemon cheesecake-style layer with a smooth, creamy set and a real tang from fresh lemon juice. I like this version because it slices nicely when fully chilled and the lemon flavor doesn’t get lost.
These are especially good for summer gatherings, potlucks, and weekends when I want dessert ready in the fridge. I usually top them with a little whipped cream and extra zest and keep the rest simple.
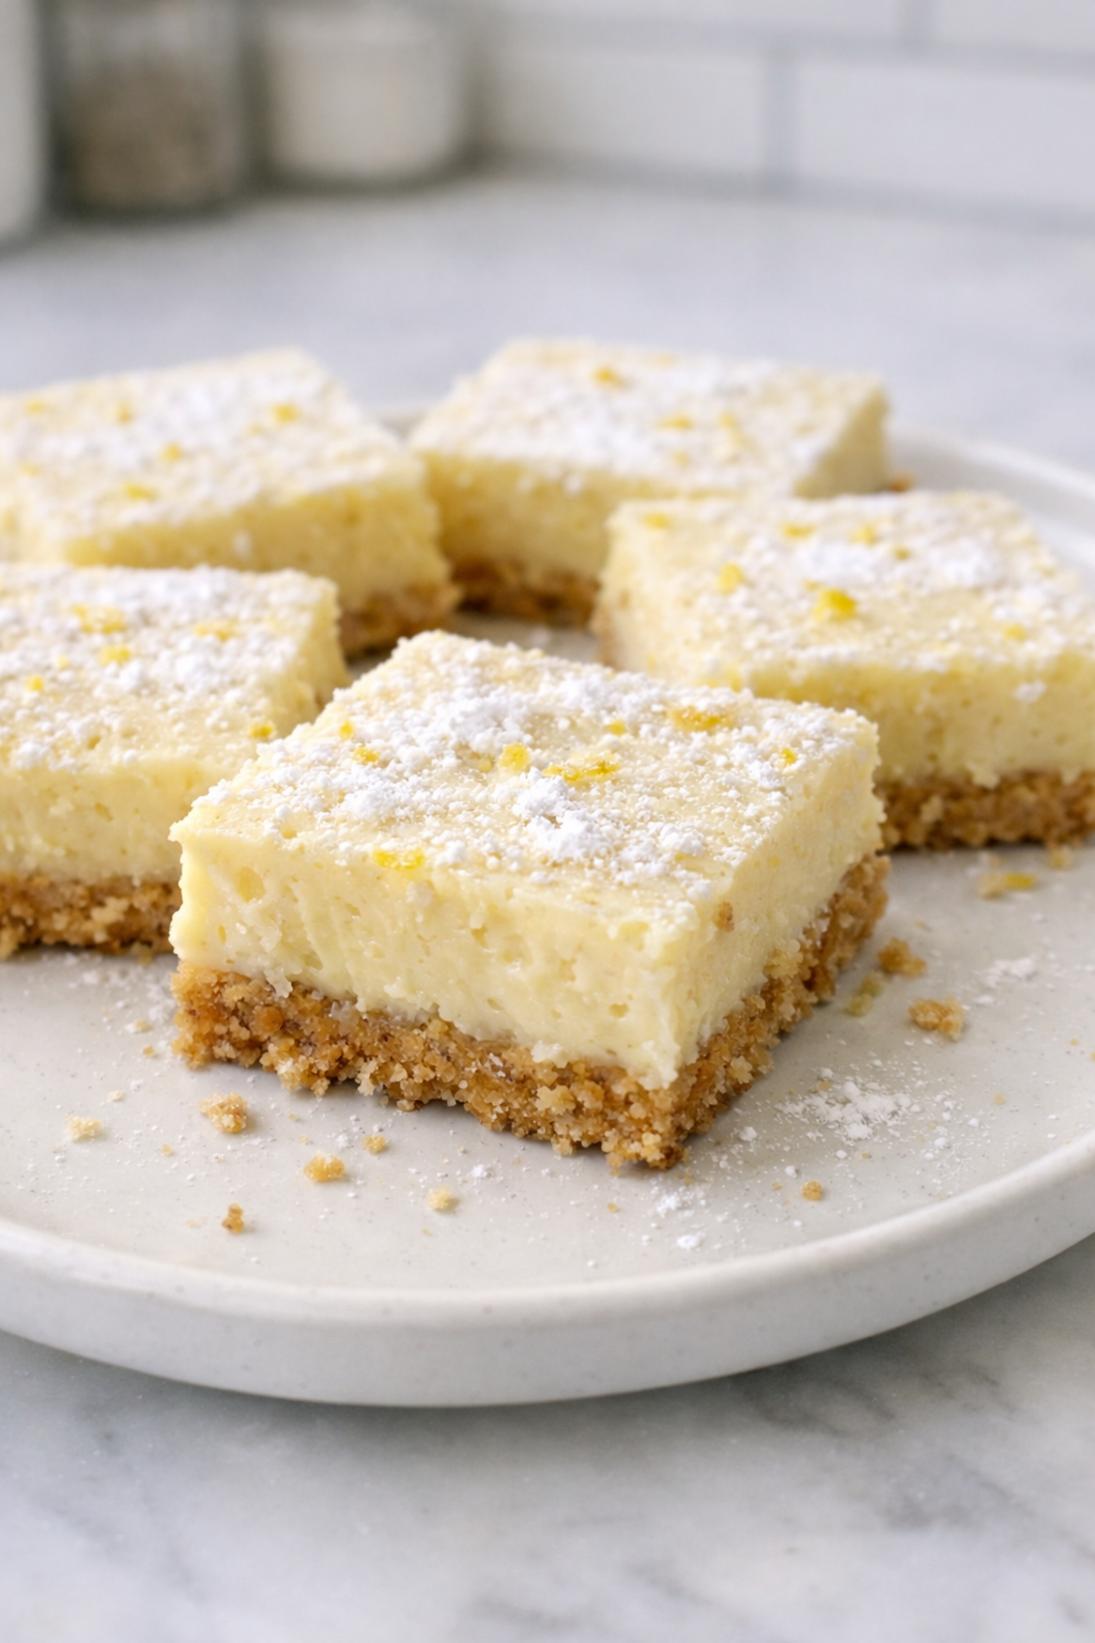
Why You’ll Love This Recipe
No oven needed: It’s a true no-bake dessert, which is a relief when it’s hot out or your schedule is full.
Bright lemon flavor: Fresh lemon juice and zest make these taste tangy and bold, more like a real lemon bar than a mild cheesecake.
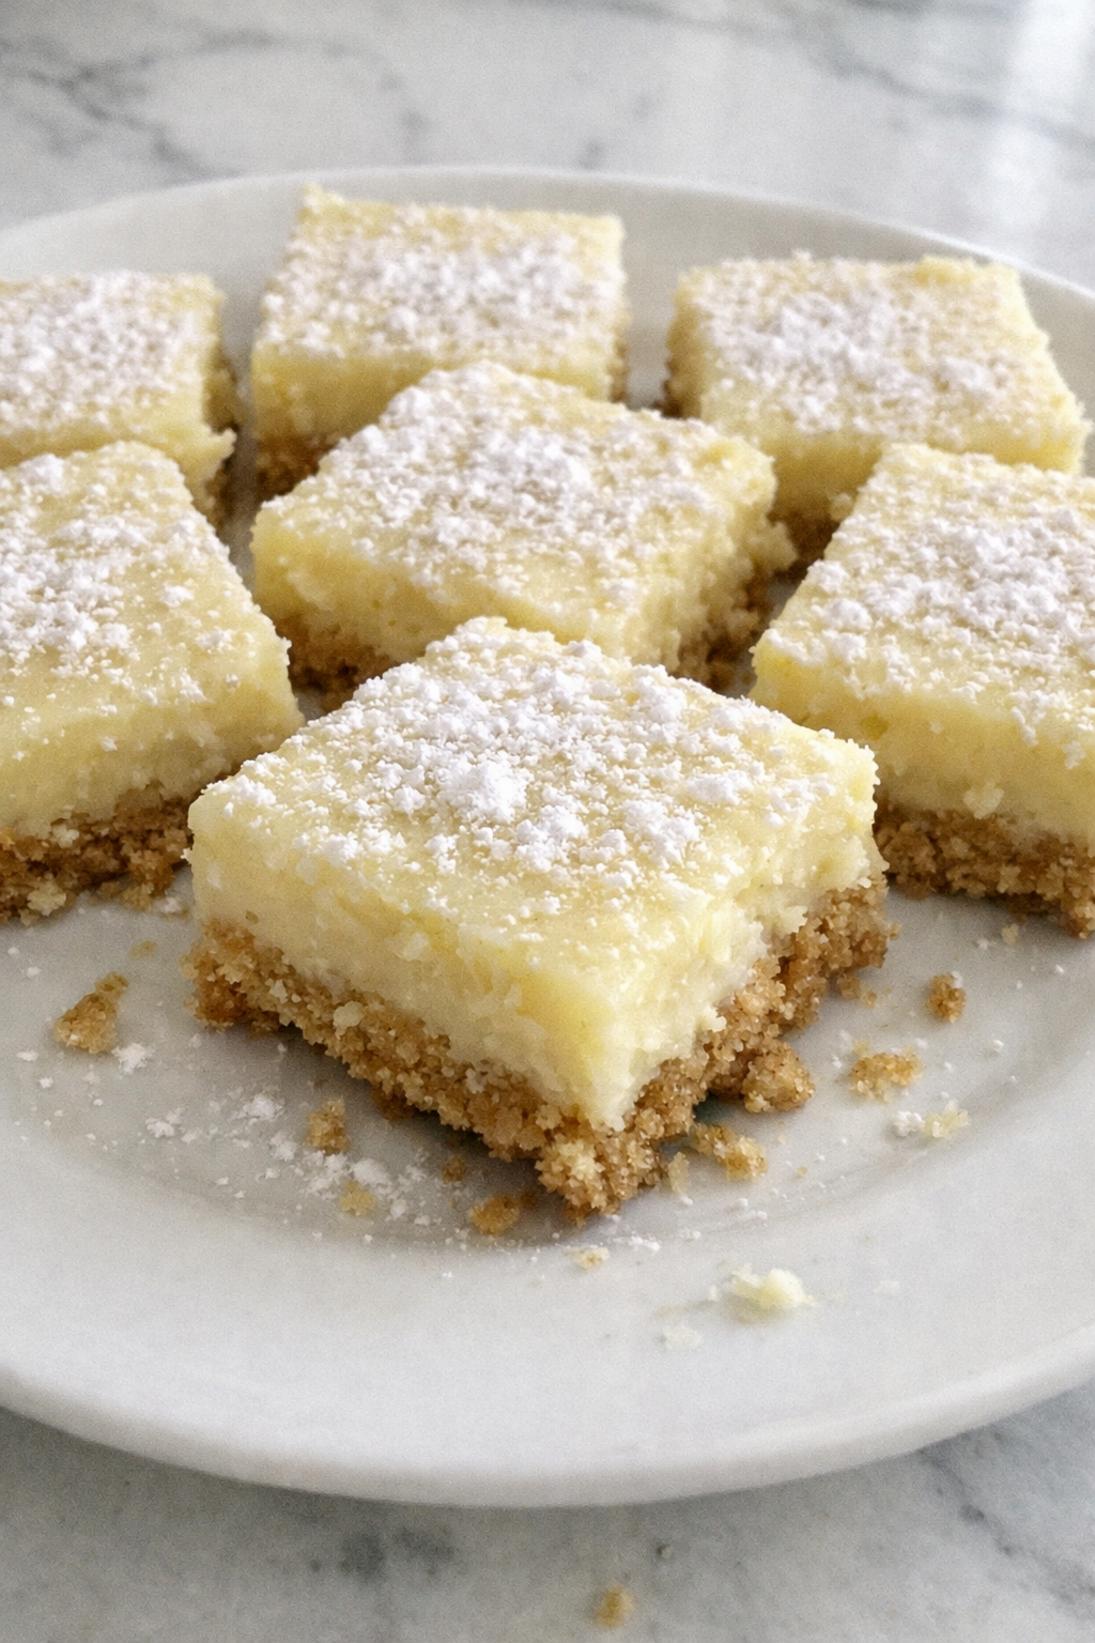
Creamy but sliceable: Once they’re fully chilled, the filling sets up firm enough to cut clean squares without being stiff.
Make-ahead friendly: This is the kind of dessert I like to prep the night before so it’s ready to grab and serve the next day.
Simple ingredients: Everything is easy to find at a regular grocery store, and the crust is very forgiving.
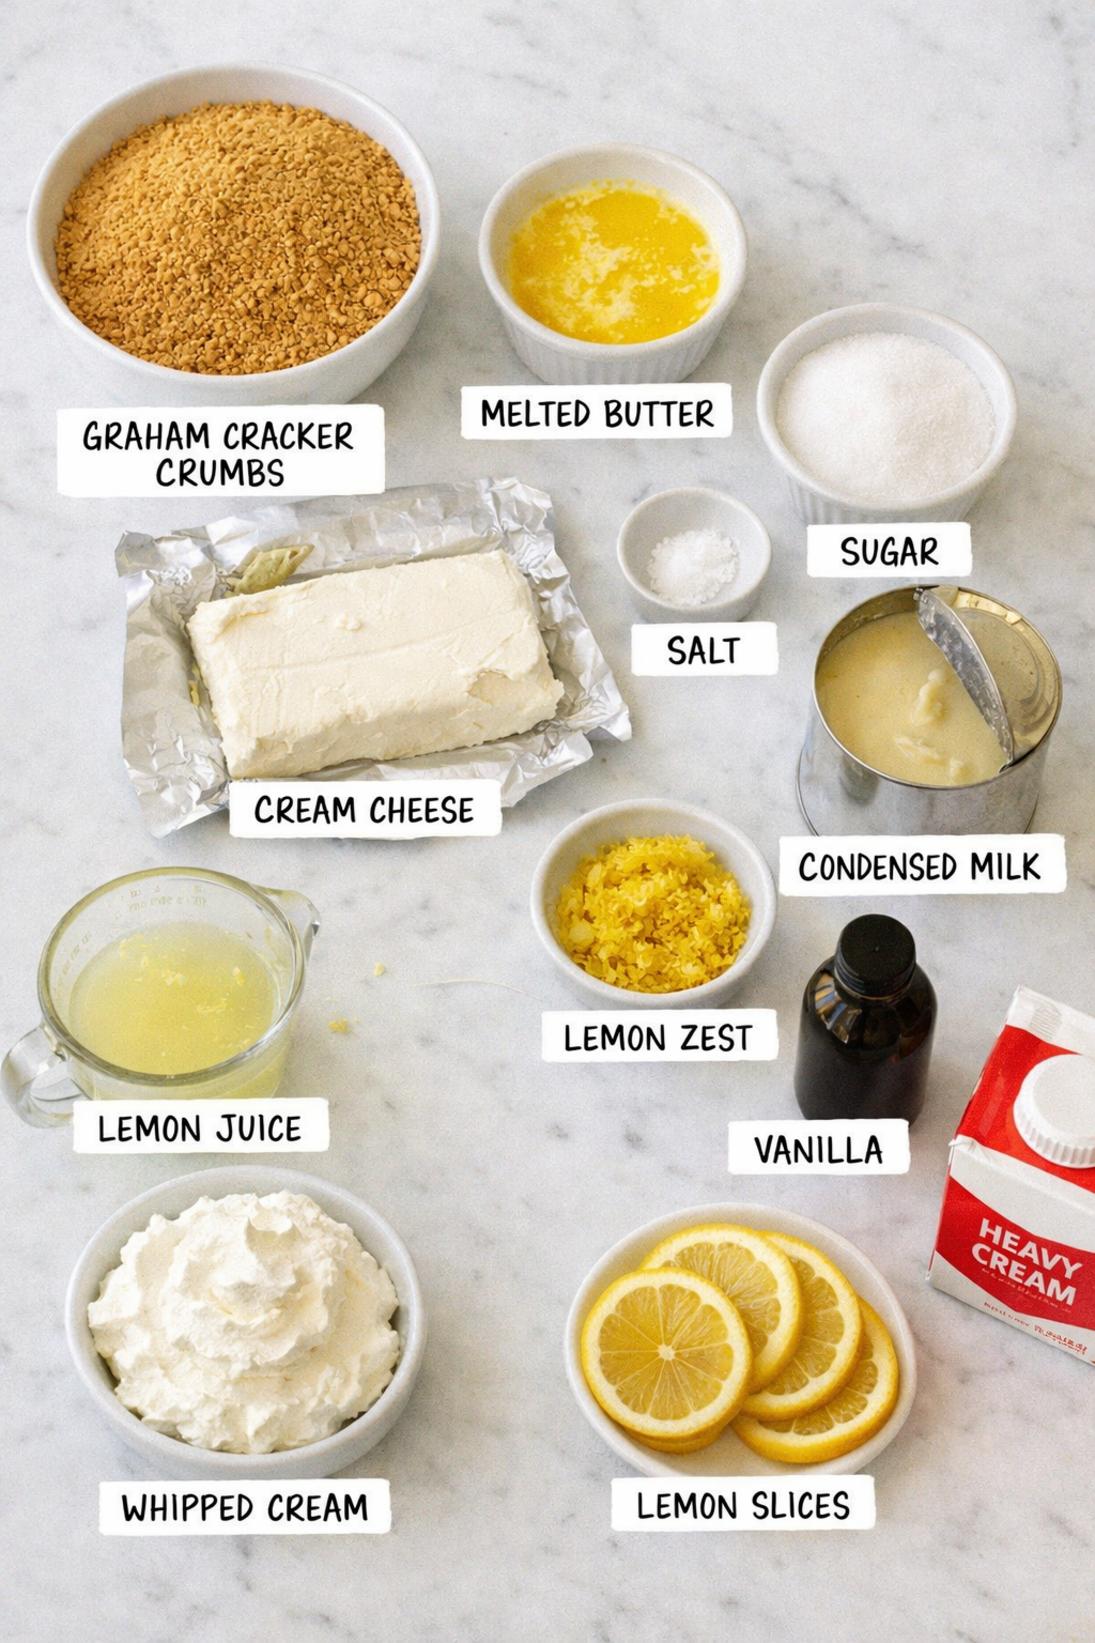
Ingredients You’ll Need
Crust
- Graham cracker crumbs: I use the boxed crumbs when I want to keep things quick, but crushed full sheets work the same. You want fine crumbs so the crust holds together well.
- Unsalted butter: Melted butter is what makes the crust sliceable instead of sandy. If you only have salted butter, just go light on added salt.
- Granulated sugar: This lightly sweetens the crust and helps it taste more like a dessert base instead of plain crackers.
- Fine salt: Don’t skip it. A tiny bit makes the crust taste more balanced.
Lemon Filling
- Cream cheese: Full-fat cream cheese is what I use here. Let it soften so it blends smooth, otherwise you can end up with little lumps.
- Sweetened condensed milk: This sweetens and thickens the filling in one shot. Make sure it’s sweetened condensed milk, not evaporated milk.
- Fresh lemon juice: Fresh is best here, and it’s the main flavor. Bottled lemon juice works in a pinch, but it tastes a little flat compared to fresh.
- Lemon zest: This adds that lemony aroma you don’t get from juice alone. I zest before I juice so it’s easier.
- Vanilla extract: It rounds out the flavor and makes the filling taste more “cheesecake” than just sweet-tart lemon.
- Fine salt: Just a small pinch keeps the filling from tasting one-note sweet.
- Heavy whipping cream: I like whipping it separately and folding it in because it makes the filling lighter and a little fluffier once set. Keep it cold so it whips up fast.
Optional Topping
- Whipped cream: A simple dollop on top is nice, especially if you’re serving these on a platter.
- Lemon slices: I use thin slices or little wedges for a clean look. Add them right before serving so they don’t weep.
- Lemon zest: A little extra zest on top makes them look finished and gives the lemon flavor a boost.
Recipe Instructions
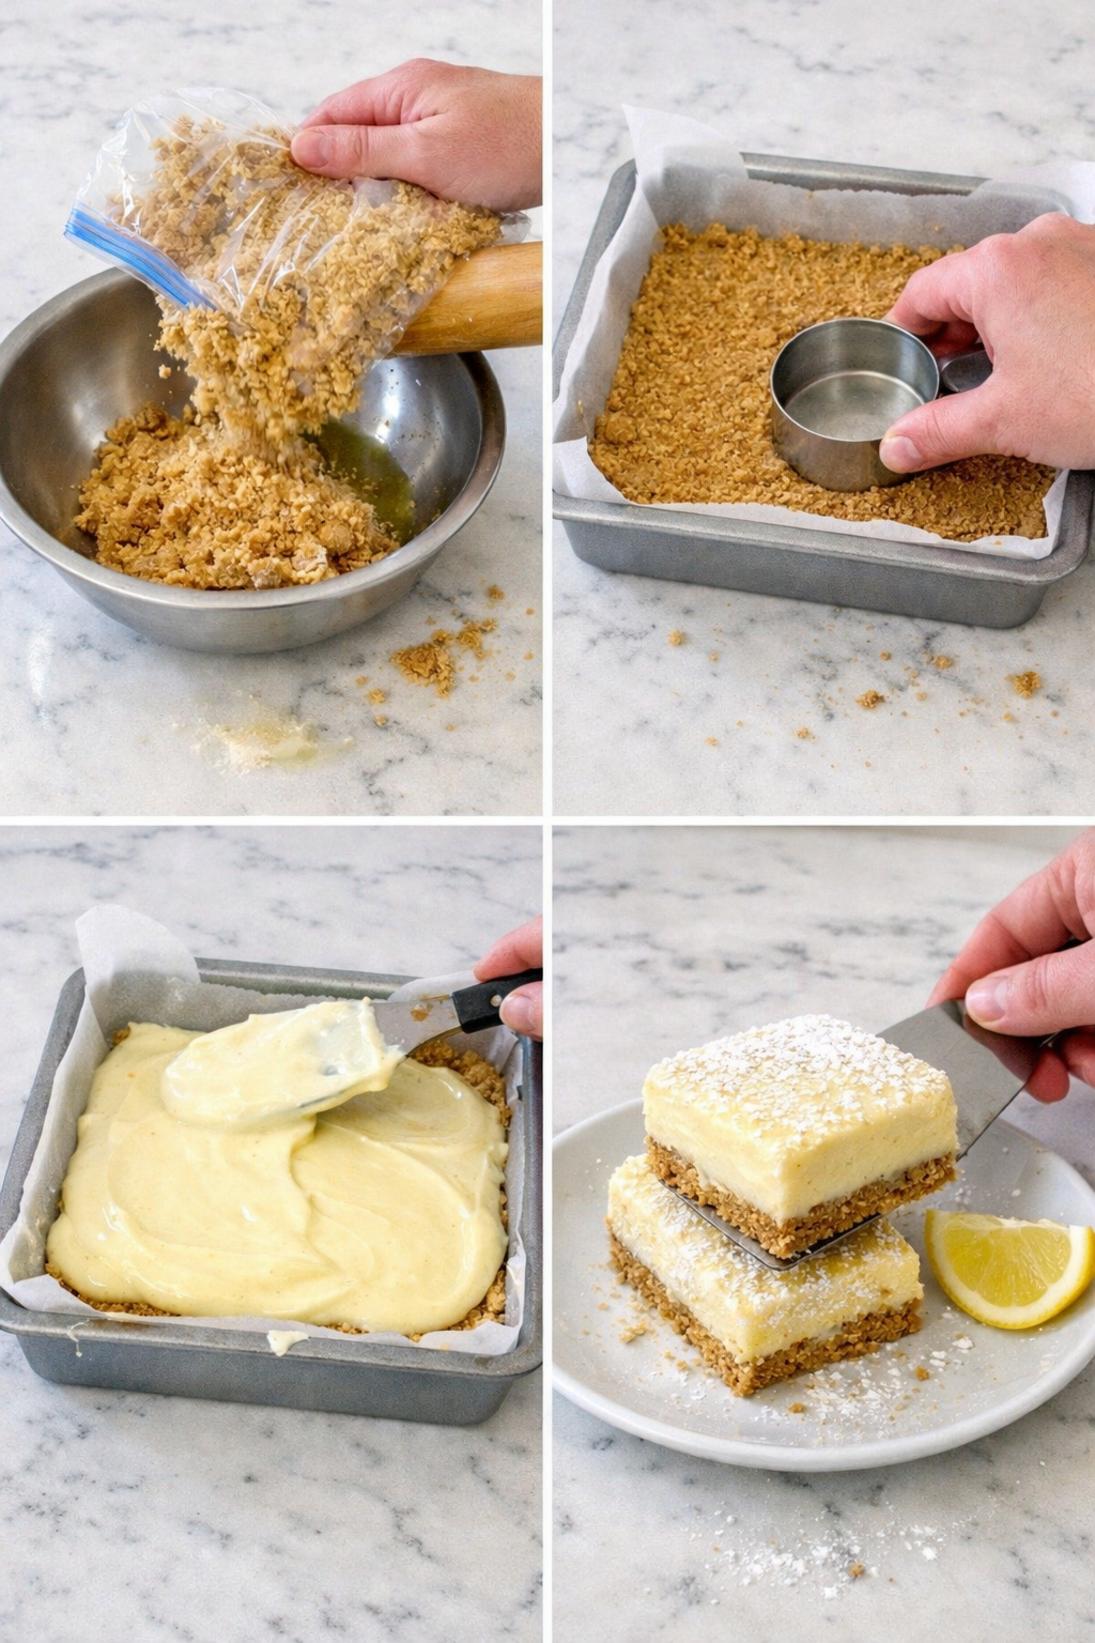
- Line the pan: Line an 8×8 inch pan with parchment paper, leaving some overhang on the sides so you can lift the bars out later.
- Mix the crust: Stir the graham cracker crumbs, melted butter, sugar, and salt together until the crumbs are evenly moistened.
- Press the crust: Press the crust mixture firmly into the pan in an even layer. Chill it in the refrigerator for 15 minutes while you make the filling.
- Beat the cream cheese: Beat the softened cream cheese until smooth and creamy.
- Mix in the filling ingredients: Mix in the sweetened condensed milk, then add the lemon juice, lemon zest, vanilla, and salt. Keep mixing until it’s thick and fully combined.
- Whip the cream: In a separate bowl, whip the cold heavy cream to medium peaks.
- Fold the whipped cream: Fold the whipped cream into the lemon mixture until it looks uniform and fluffy, with no streaks.
- Add the filling: Spread the filling over the chilled crust and smooth the top.
- Chill to set: Cover and chill until set, at least 4 hours, but 8 to 12 hours is better for clean slices.
- Slice and serve: Lift the bars out using the parchment overhang, then slice with a hot, dry knife. Garnish with whipped cream and lemon slices or zest if you want.
Some of my tips!
This is the part that really makes a difference. If you only read one section, make it this one because this is where I share the little trick that helps the recipe turn out so well.
Recipe Tips & Tricks
Use fresh lemon juice. It tastes brighter and more “lemon bar” than bottled juice. Fresh zest helps even more.
Let the cream cheese soften. If it’s still cold, it won’t mix smooth and you’ll fight little lumps the whole time. Softened cream cheese makes the filling silky.
Chill longer than you think. These slice best after a full overnight chill. If you cut them too soon, the squares will look a little messy.
Heat your knife between cuts. I run it under hot water, wipe it dry, and slice. It makes a big difference with clean edges.
Add gelatin if you want a firmer set. If you need extra stability for travel or warm weather, fold in 1 to 2 teaspoons unflavored gelatin (bloomed in water and melted) before you spread the filling.
Make some touches!
There are plenty of easy ways to serve this depending on the occasion. Keep it simple, or add a few small touches to make it feel a little more special.
Serving Suggestions
- Whipped cream: A small swirl or dollop on each square is simple and classic. I like adding a pinch of zest on top too.
- Fresh berries: Strawberries, raspberries, or blueberries are nice on the side. They make the plate look a little more finished without much effort.
- Tea: These are really good with iced tea or hot black tea. Earl Grey is especially nice with lemon.
- Extra lemon: Add thin lemon slices or tiny wedges right before serving. It looks pretty and makes it obvious what the flavor is.
Save it for later
This section covers how to store leftovers and what parts of the recipe you can prepare ahead of time.
Storage and Make Ahead
Store leftovers covered in the fridge for up to 4 days. I keep them right in the pan or transfer squares to a container with parchment between layers.
You can make this recipe ahead the day before you need it. It actually works better that way since the filling has plenty of time to firm up.
If you want them to last longer, you can freeze individual portions or freeze the whole slab. Thaw in the fridge overnight before serving.
A few quick answers
This section covers a few extra details that may help before you head to the recipe card.
Recipe FAQs
Can I use bottled lemon juice instead of fresh?
You can, but fresh lemon juice tastes noticeably better here. Bottled juice can be a little dull or bitter, especially since lemon is the main flavor.
Why didn’t my lemon filling set?
The most common reason is not chilling long enough. These need time in the fridge to firm up, and an overnight chill is when they slice the cleanest.
It can also happen if the whipped cream was under-whipped (too soft) or if the cream cheese mixture wasn’t mixed until thick and fully combined.
Can I make these in a 9×9 pan?
Yes. The bars will just be a bit thinner, and they may set a little faster. Keep the chill time the same if you can, since colder bars cut cleaner either way.
Can I use digestive biscuits or vanilla wafers for the crust?
Yes, both work well. Digestive biscuits make a slightly less sweet crust, and vanilla wafers give you a sweeter, more cookie-like base.
Do I need gelatin?
No, it sets without it as long as you chill it long enough. I only add gelatin when I need extra stability for transporting the bars or serving them outdoors on a warm day.
You might also like
Before you go, take a look at a few other recipes below the recipe card. They use similar ingredients in a different way and are worth saving too.
MORE DINNER RECIPES TO TRY



No-Bake Lemon Bars
INGREDIENTS
Crust
- 2 cups graham cracker crumbs
- 1 2 cup unsalted butter melted
- 2 tbsp granulated sugar
- 1 8 tsp fine salt.
Lemon Filling
- 16 oz cream cheese softened
- 14 oz sweetened condensed milk
- 1 2 cup fresh lemon juice
- 1 tbsp lemon zest
- 1 tsp vanilla extract
- 1 8 tsp fine salt
- 1 cup heavy whipping cream cold.
Optional Topping
- 1 2 cup whipped cream
- lemon slices
- lemon zest.
INSTRUCTIONS
Crust
- Line an 8x8 inch pan with parchment paper leaving overhang
- mix graham cracker crumbs melted butter sugar and salt until evenly moistened
- press firmly into the pan in an even layer
- chill in the refrigerator for 15 minutes while making the filling.
Lemon Filling
- Beat cream cheese until smooth
- mix in sweetened condensed milk then lemon juice lemon zest vanilla and salt until thick and fully combined
- whip heavy cream to medium peaks in a separate bowl then fold into the lemon mixture until uniform
- spread filling over the chilled crust and smooth the top
- cover and chill until set at least 4 hours preferably 8 to 12 hours
- lift out using parchment overhang and slice with a hot dry knife
- garnish with whipped cream and lemon if desired.


