

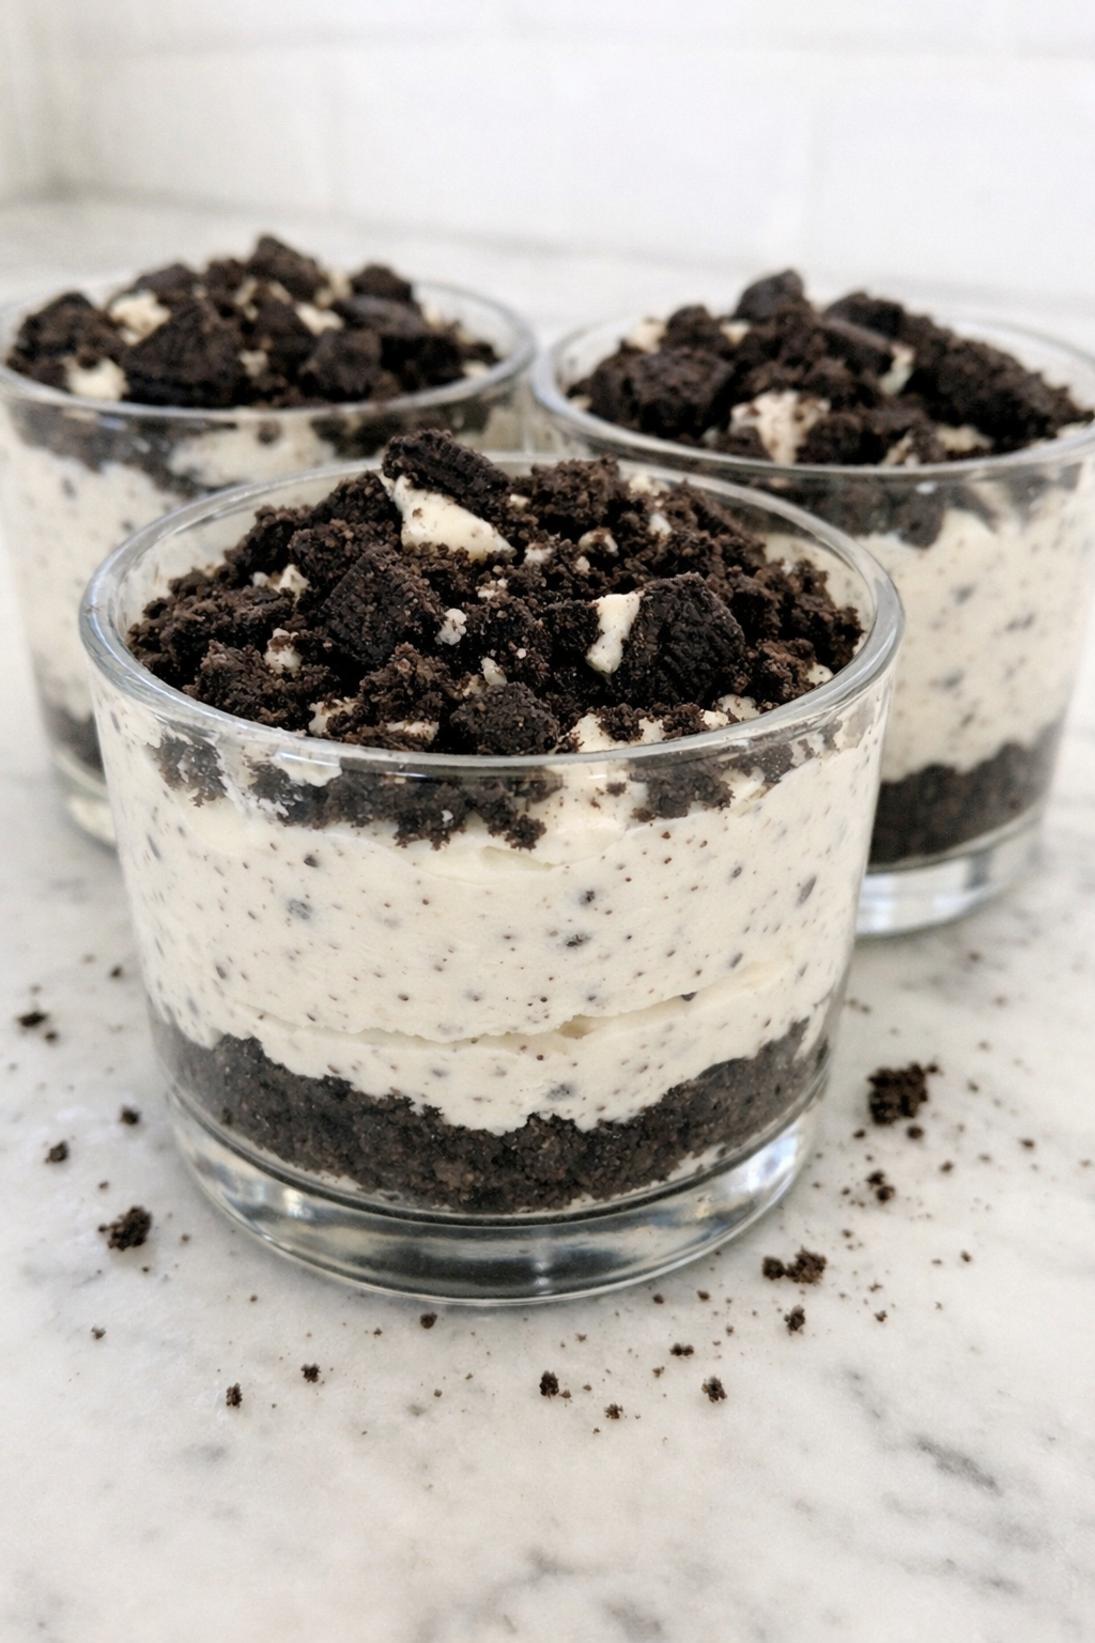
No-Bake Oreo Cheesecake Cups are my go-to when I want a dessert that’s cold and creamy with that familiar cookies-and-cream flavor. The individual cups look neat on a tray, and I like that everyone gets their own little dessert.
The crust is buttery and chocolatey, and the filling is thick, fluffy, and full of Oreo pieces. For me, the best part is the contrast between the firm cookie base and the soft cheesecake layer.
I make these a lot for weekends, potlucks, and holidays because they’re easy to portion and great made ahead. They’re also nice after a heavier meal since they’re chilled and not fussy.
Why You’ll Love This Recipe
No oven: You get the whole Oreo cheesecake situation without turning on the oven, which is honestly why I make these so often.
Individual cups: They’re simple to serve and they look clean and tidy, even if you’re feeding a group.
Real cheesecake texture: Using whipped cream folded in gives you that light, mousse-y filling that still sets up nicely in the fridge.
Strong Oreo flavor: Between the cookie crust and the chopped cookies in the filling, it tastes like a true cookies-and-cream dessert.
Make-ahead friendly: These hold up well in the fridge, so you’re not scrambling right before you want dessert.
Ingredients You’ll Need
Oreo Crust
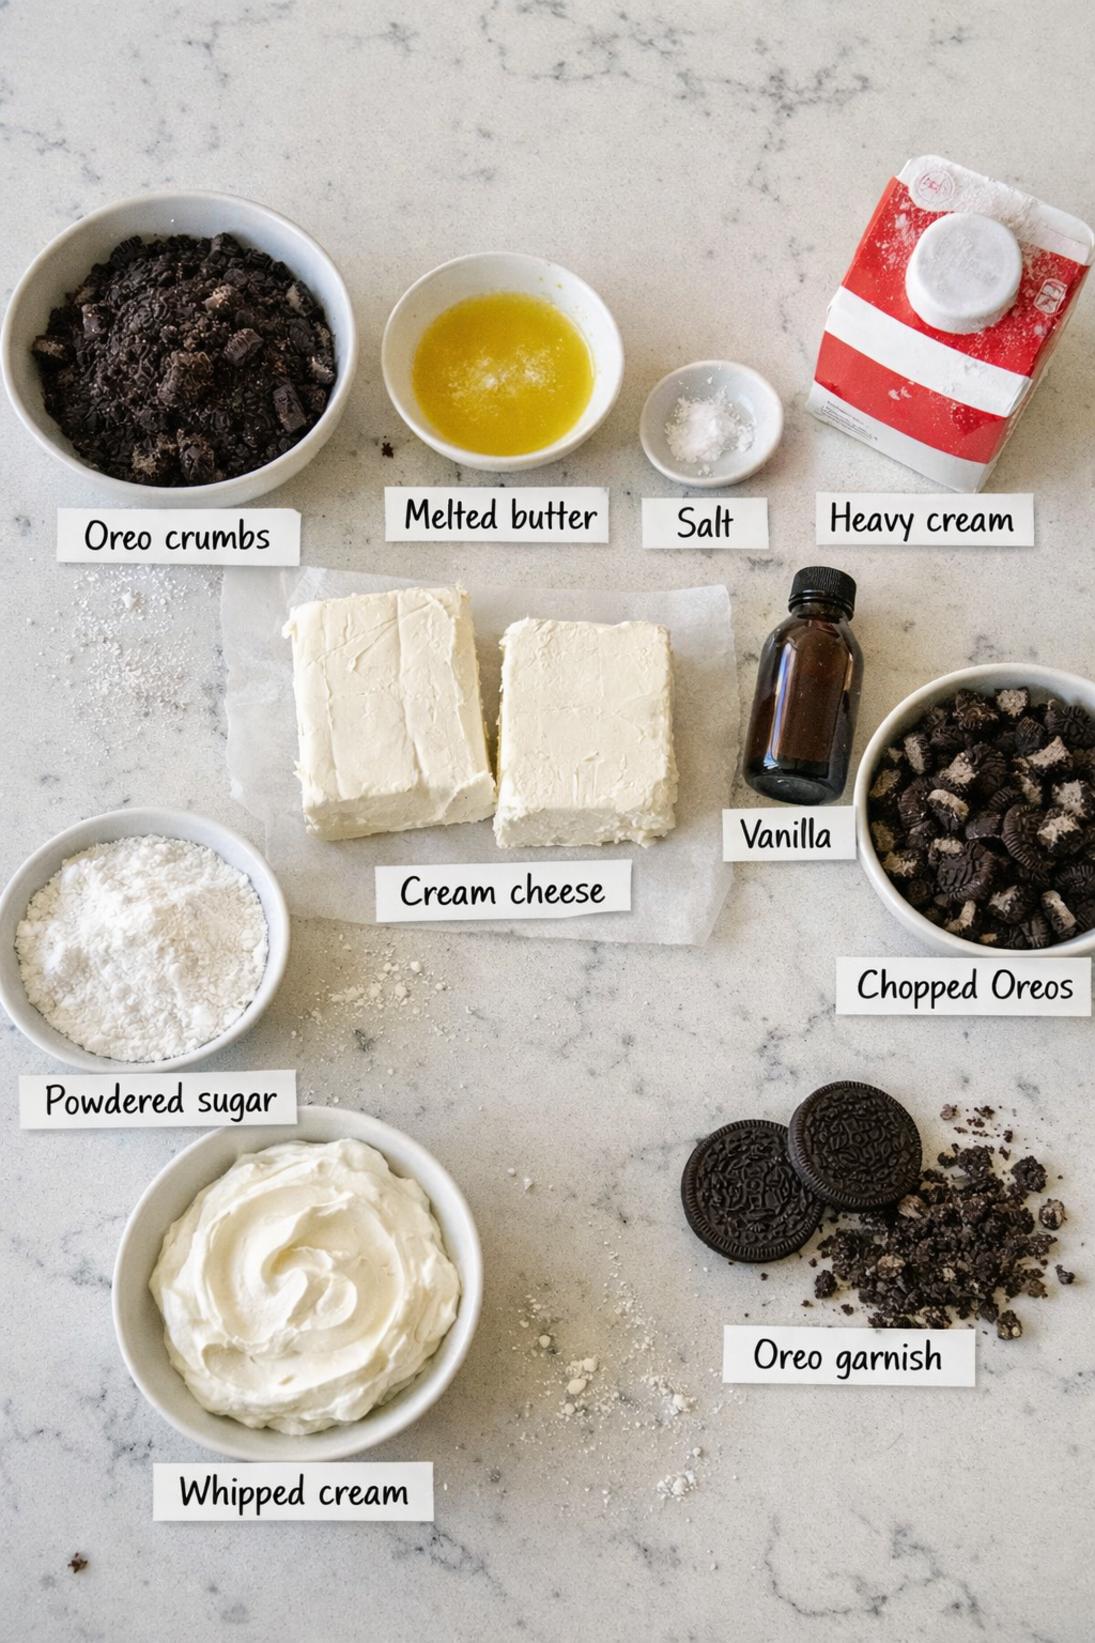
- Oreo cookies: Regular Oreos work best here. I just crush them pretty fine so the crust presses in easily and doesn’t crumble when you dig in.
- Unsalted butter: Melted butter is what makes the crumbs stick together. If you only have salted butter, it’s fine—just go easy on the extra salt.
- Salt: Just a pinch makes the crust taste more like a real dessert base instead of straight cookie crumbs. I don’t skip it.
Cheesecake Filling
- Cream cheese: Use full-fat block cream cheese and let it soften first. The spreadable tub kind is looser and the cups won’t set as firmly.
- Powdered sugar: This dissolves quickly and keeps the filling smooth. Granulated sugar can feel a little gritty in a no-bake filling.
- Vanilla extract: A little vanilla helps the filling taste like cheesecake instead of just sweet cream cheese.
- Fine salt: It’s a small amount, but it keeps the filling from tasting flat. Fine salt blends in best.
- Heavy whipping cream: Cold cream whips up fast and gives the filling that fluffy, spoonable texture. Keep it in the fridge until you’re ready to whip.
- Oreo cookies: I like them roughly chopped so you get little cookie chunks throughout. If you crush them too fine, the filling turns more gray and less “cookies and cream.”
Topping
- Whipped cream: Homemade whipped cream or whipped topping both work. I usually keep it simple and add it right before serving.
- Oreo cookies: Crushed Oreos or a half cookie on top is all you need. It makes the cups look finished without much effort.
Recipe Instructions
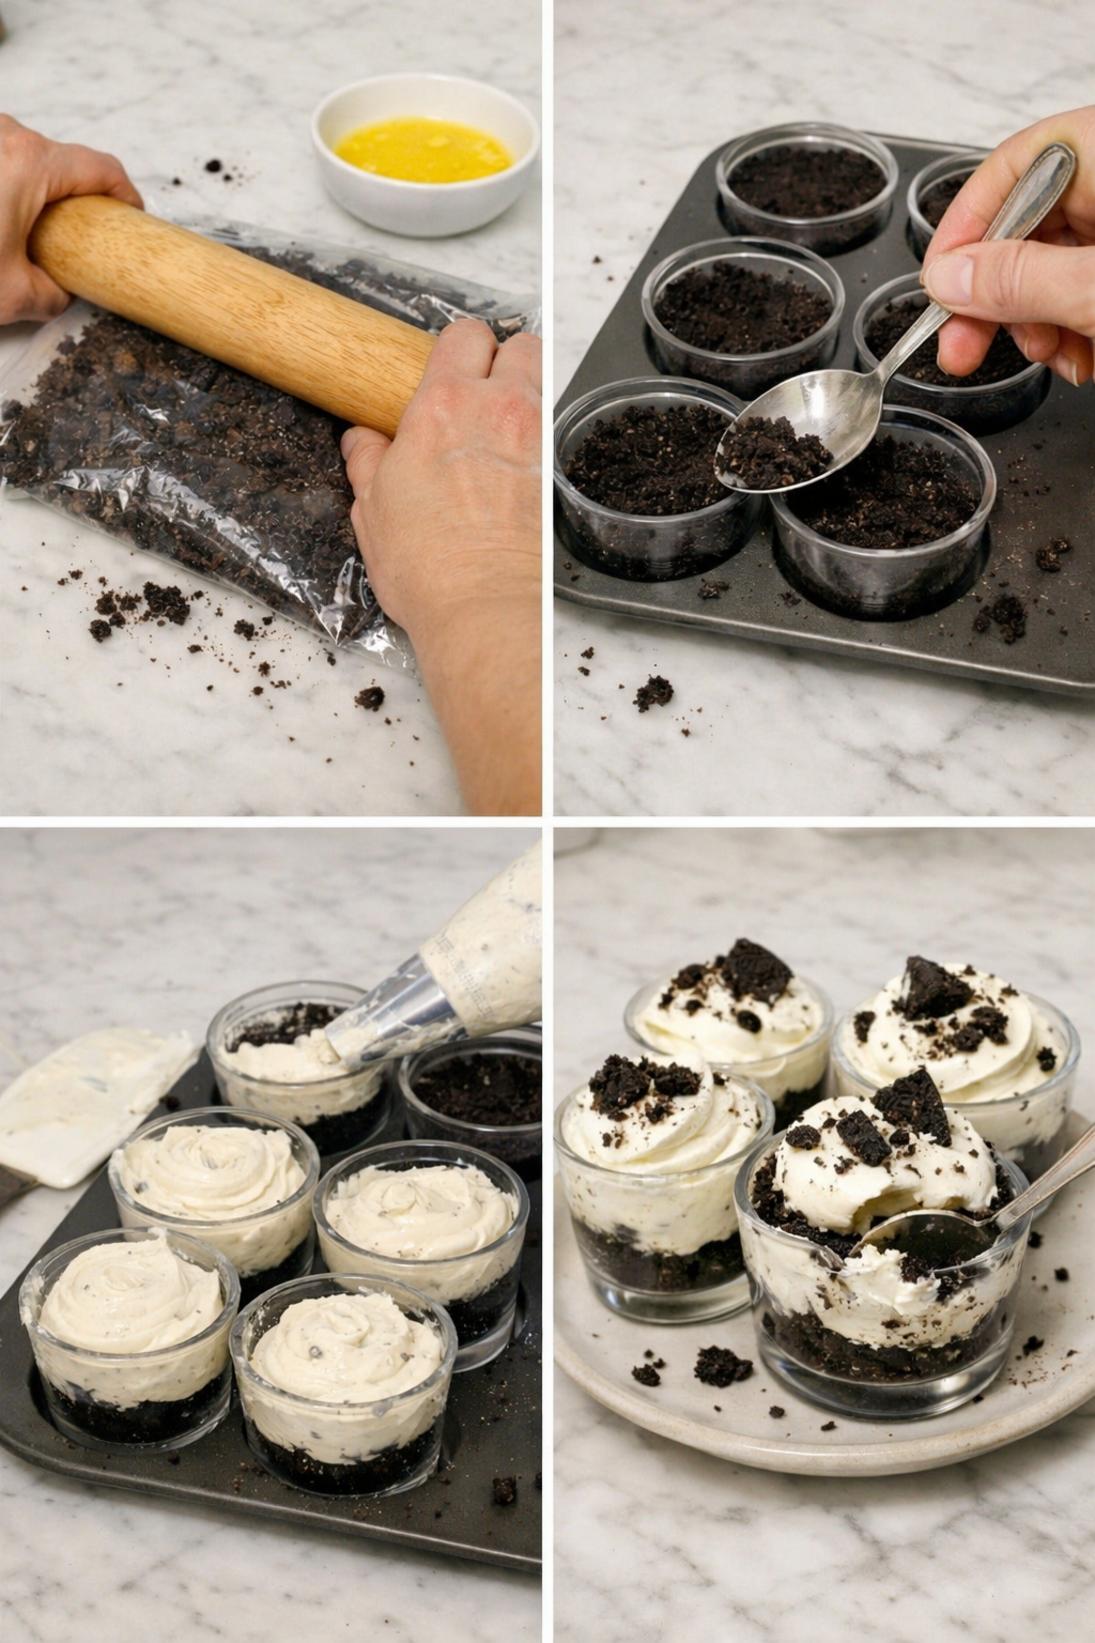
- Mix the crust: Stir the Oreo crumbs, melted butter, and a pinch of salt together until the crumbs look evenly moistened.
- Press the crust: Press about 1/4 cup of the crust mixture into the bottom of 8 small cups or jars. Compact it firmly so it holds together, then refrigerate the crusts for 10 minutes.
- Beat the cream cheese: Beat the softened cream cheese, powdered sugar, vanilla, and salt until smooth and lump-free, scraping down the bowl as needed.
- Whip the cream: In a separate bowl, whip the cold heavy cream to stiff peaks.
- Fold the filling: Gently fold the whipped cream into the cream cheese mixture until light and fluffy.
- Add the Oreos: Fold in the chopped Oreos just until they’re mixed through.
- Fill the cups: Spoon or pipe the cheesecake filling over the chilled crusts, then smooth the tops.
- Chill: Refrigerate for at least 4 hours, or until the filling is set.
- Top and serve: Add whipped cream and Oreo garnish right before serving.
Some of my tips!
This is the part that really makes a difference. If you only read one section, make it this one because this is where I share the little trick that helps the recipe turn out so well.
Recipe Tips & Tricks
Use block cream cheese. It sets up thicker and gives you that classic no-bake cheesecake texture. The tub-style cream cheese tends to stay a little soft.
Make sure the cream is cold. Warm cream won’t whip up the same way, and you’ll fight with it. I usually chill the bowl too if my kitchen feels warm.
Whip to stiff peaks. You want the whipped cream to hold its shape so the filling isn’t loose. If it’s only at soft peaks, the cups can take longer to set.
Fold gently. Stirring hard knocks out the air you just whipped in. A gentle fold keeps the filling light instead of dense.
Chill long enough. Four hours is the minimum for a clean set. If you have time, overnight in the fridge gives you the neatest layers.
Make some touches!
There are plenty of easy ways to serve this depending on the occasion. Keep it simple, or add a few small touches to make it feel a little more special.
Serving Suggestions
- Cold milk: A cold glass of milk is classic with Oreo desserts. It’s simple and it just works.
- Coffee or espresso: These are really nice with coffee, especially if you keep the topping simple. I like them most with an iced latte.
- Fresh berries: Strawberries or raspberries are easy on the side and help break up the richness. I’ll do a small handful on the plate.
- Chocolate drizzle: A thin drizzle of chocolate sauce over the whipped cream is good if you want them a little more dressed up. Don’t go too heavy or it takes over.
Save it for later
This section covers how to store leftovers and what parts of the recipe you can prepare ahead of time.
Storage and Make Ahead
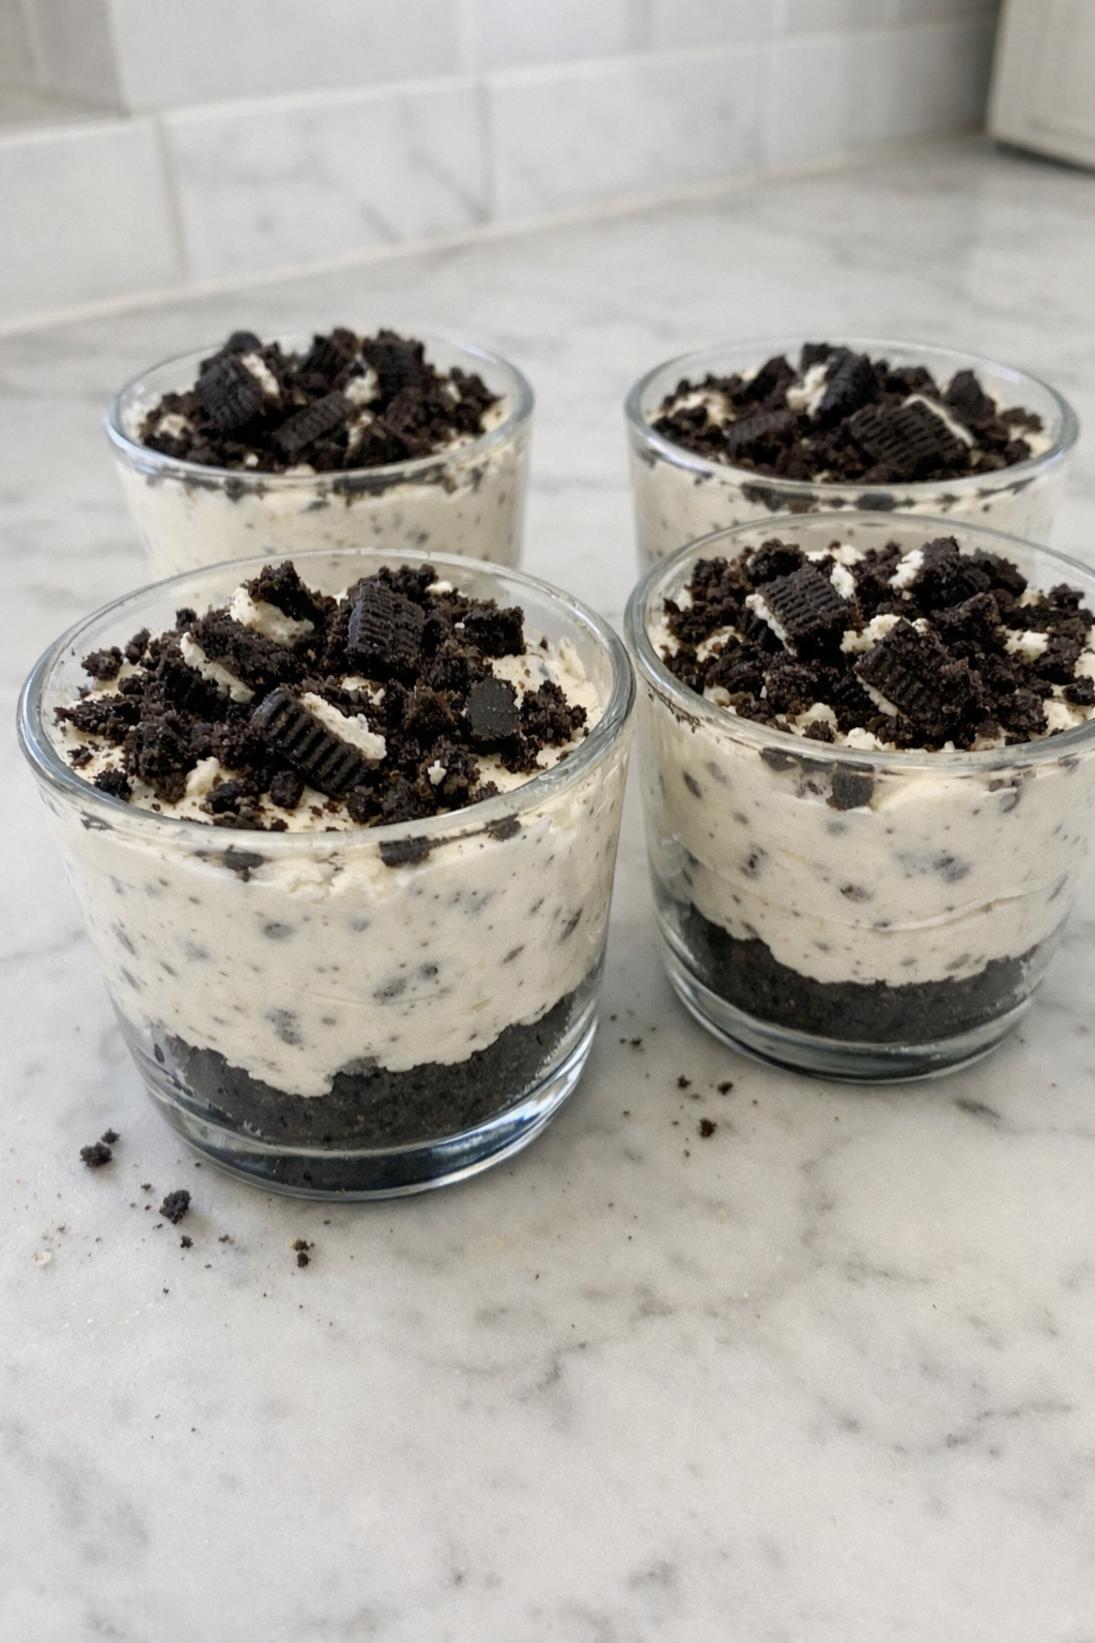
Store leftovers covered in the fridge for up to 4 days. I keep them in the same cups or jars and just cover the tops well so they don’t pick up fridge smells.
You can make this recipe ahead and chill it anywhere from 4 to 24 hours. I usually wait to add whipped cream and cookie garnish until right before serving so it looks fresh.
If you want to freeze them, you can freeze individual portions in airtight containers. Thaw in the fridge overnight and add the topping at the end.
A few quick answers
This section covers a few extra details that may help before you head to the recipe card.
Recipe FAQs
Can I use whipped topping instead of whipping heavy cream?
Yes. You can swap in about 2 cups of whipped topping in place of the whipped heavy cream, then fold it into the cream cheese mixture the same way. The texture is a little more “store-bought fluffy,” but it works well and saves time.
Why didn’t my cheesecake cups set?
The most common reasons are using tub-style cream cheese, not whipping the cream to stiff peaks, or not chilling long enough. If they seem soft at 4 hours, give them a little more time in the fridge.
Can I make these in a muffin pan instead of cups?
You can, as long as you line the muffin pan with paper liners so you can lift them out. The layers won’t look quite as tidy as a clear jar, but it’s a good option if that’s what you have.
Do I need to remove the Oreo filling for the crust?
No, I leave it in. It helps the crumbs stick together and it tastes like an Oreo crust should.
Can I crush the Oreos in a food processor?
Yes, that’s the fastest way for the crust. For the cookies that go into the filling, I prefer chopping by hand so you get bigger pieces instead of fine dust.
You might also like
Before you go, take a look at a few other recipes below the recipe card. They use similar ingredients in a different way and are worth saving too.
MORE DINNER RECIPES TO TRY



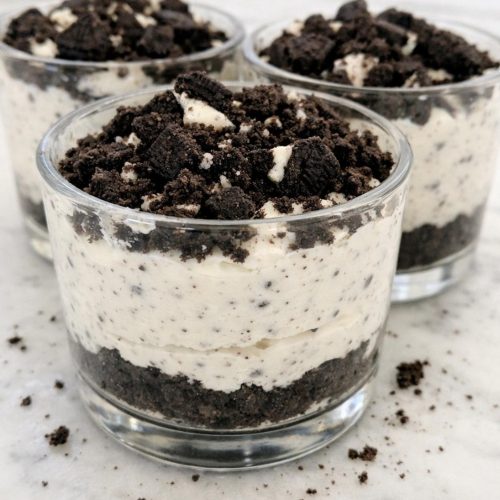
No-Bake Oreo Cheesecake Cups
INGREDIENTS
Oreo Crust
- 18 Oreo cookies crushed about 2 cups crumbs
- 4 tbsp unsalted butter melted
- pinch salt.
Cheesecake Filling
- 16 oz cream cheese softened
- 3/4 cup powdered sugar
- 1 tsp vanilla extract
- 1/8 tsp fine salt
- 1 cup heavy whipping cream cold
- 10 Oreo cookies roughly chopped.
Topping
- 1/2 cup whipped cream or whipped topping
- 4 Oreo cookies crushed or halved for garnish.
INSTRUCTIONS
Oreo Crust
- Mix Oreo crumbs with melted butter and salt until evenly moistened
- press about 1/4 cup mixture into the bottom of 8 small cups or jars and compact firmly
- chill crusts for 10 minutes while making filling.
Cheesecake Filling And Assembly
- Beat cream cheese
- powdered sugar
- vanilla
- and salt until smooth and lump-free
- whip cold heavy cream to stiff peaks in a separate bowl then gently fold into cream cheese mixture until light and fluffy
- fold in chopped Oreos
- pipe or spoon filling over crusts and smooth tops
- refrigerate at least 4 hours or until set then top with whipped cream and Oreo garnish just before serving.


