

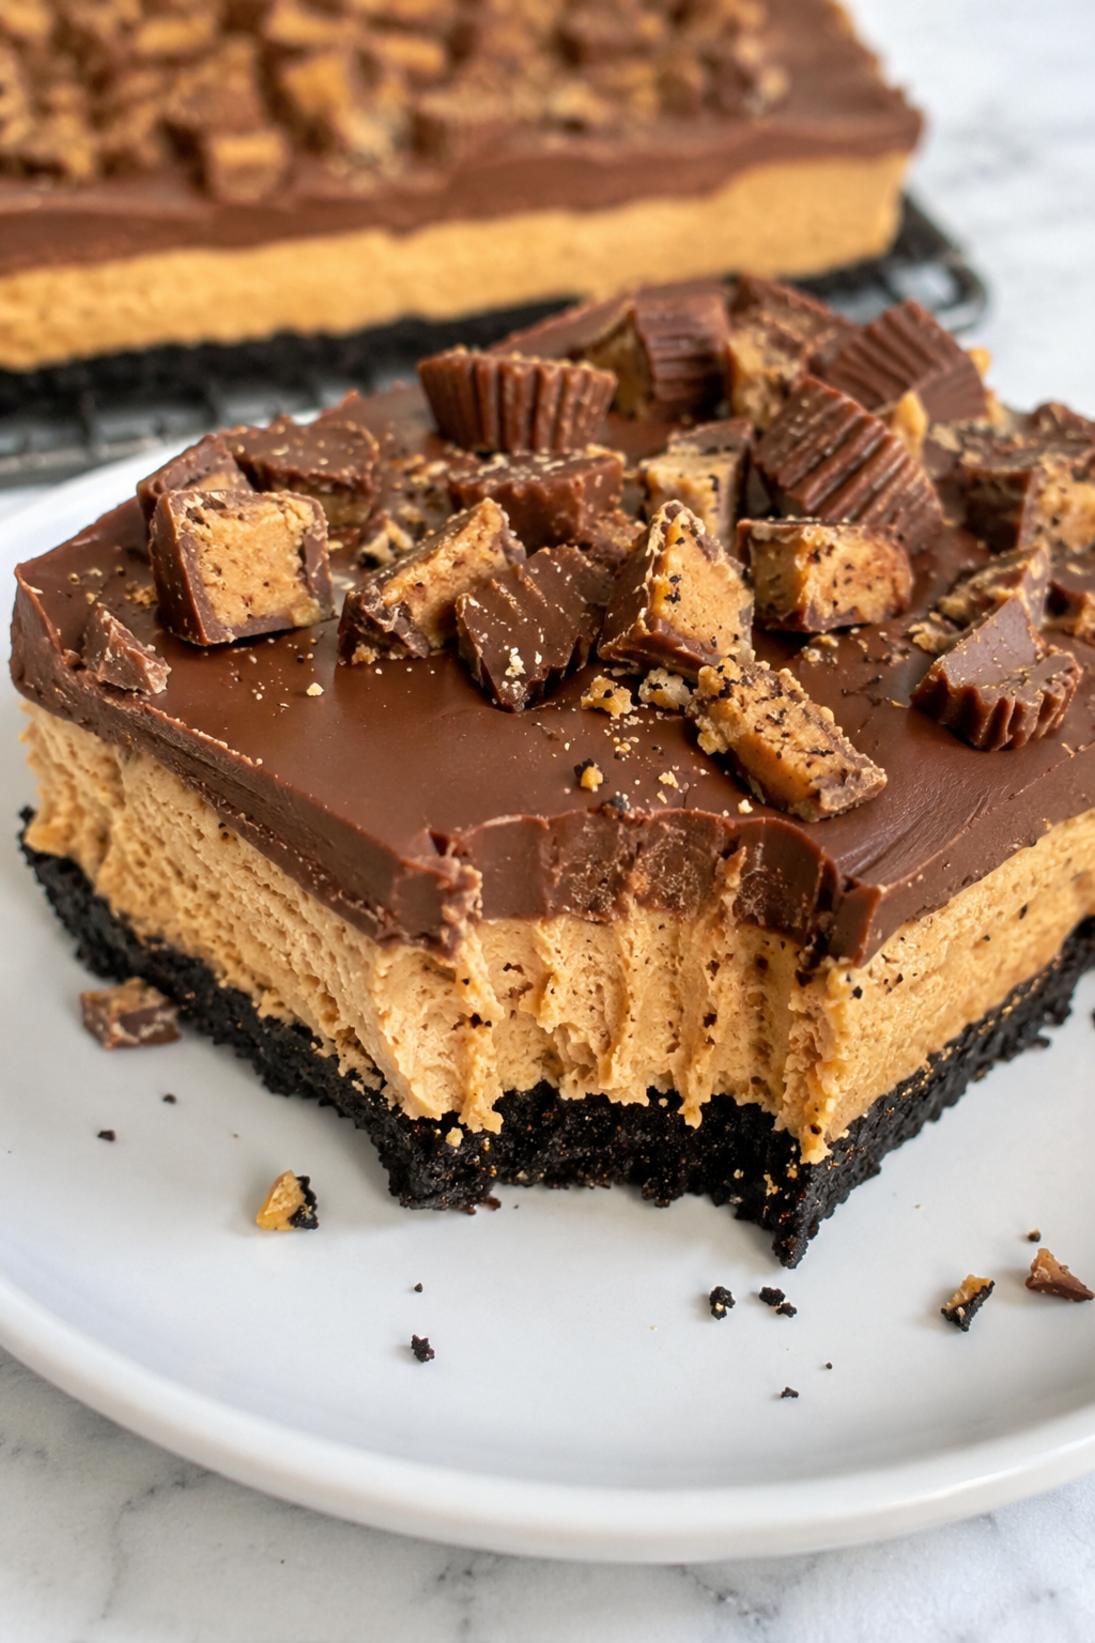
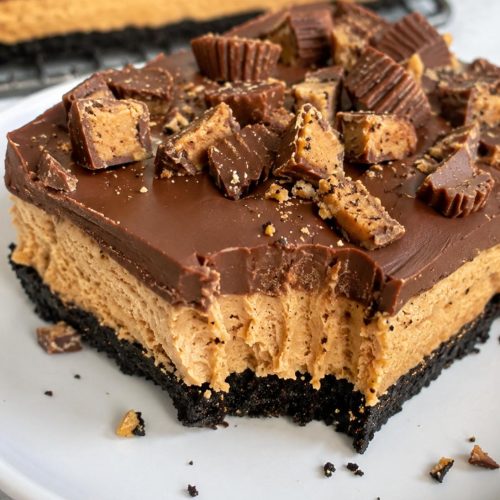
No-Bake Peanut Butter Cup Dessert is a simple layered dessert with an Oreo cookie crust, a thick creamy peanut butter filling, and a smooth chocolate ganache on top. It’s rich, cold, and sliceable, and it scratches the same itch as a peanut butter cup.
What I like most is the texture: a firm crust, a soft (but not runny) middle, and that glossy chocolate layer that sets up like a truffle filling. For me, this is one of those reliable make-ahead desserts that looks neat on a platter and holds up well once sliced.
I usually serve it for potlucks, holiday trays, and summer get-togethers when I don’t want to turn the oven on. A little flaky salt on top is optional, but I think it makes the chocolate-peanut butter flavor pop.
Why You’ll Love This Recipe
No oven needed: Everything sets up in the fridge, so it’s a great choice when you want dessert but don’t want to bake.
Real peanut butter flavor: The filling tastes like a peanut butter cup center, especially with regular creamy peanut butter.
Clean layers: Once it’s chilled, the crust, filling, and topping slice into neat squares that look nice on a plate.
Great for sharing: A 9×13 pan makes plenty, and it’s easy to serve at parties because it’s already portioned.
Easy to dress up: A sprinkle of chopped mini peanut butter cups or chocolate shavings makes it look finished without much effort.
Ingredients You’ll Need
Cookie Crust
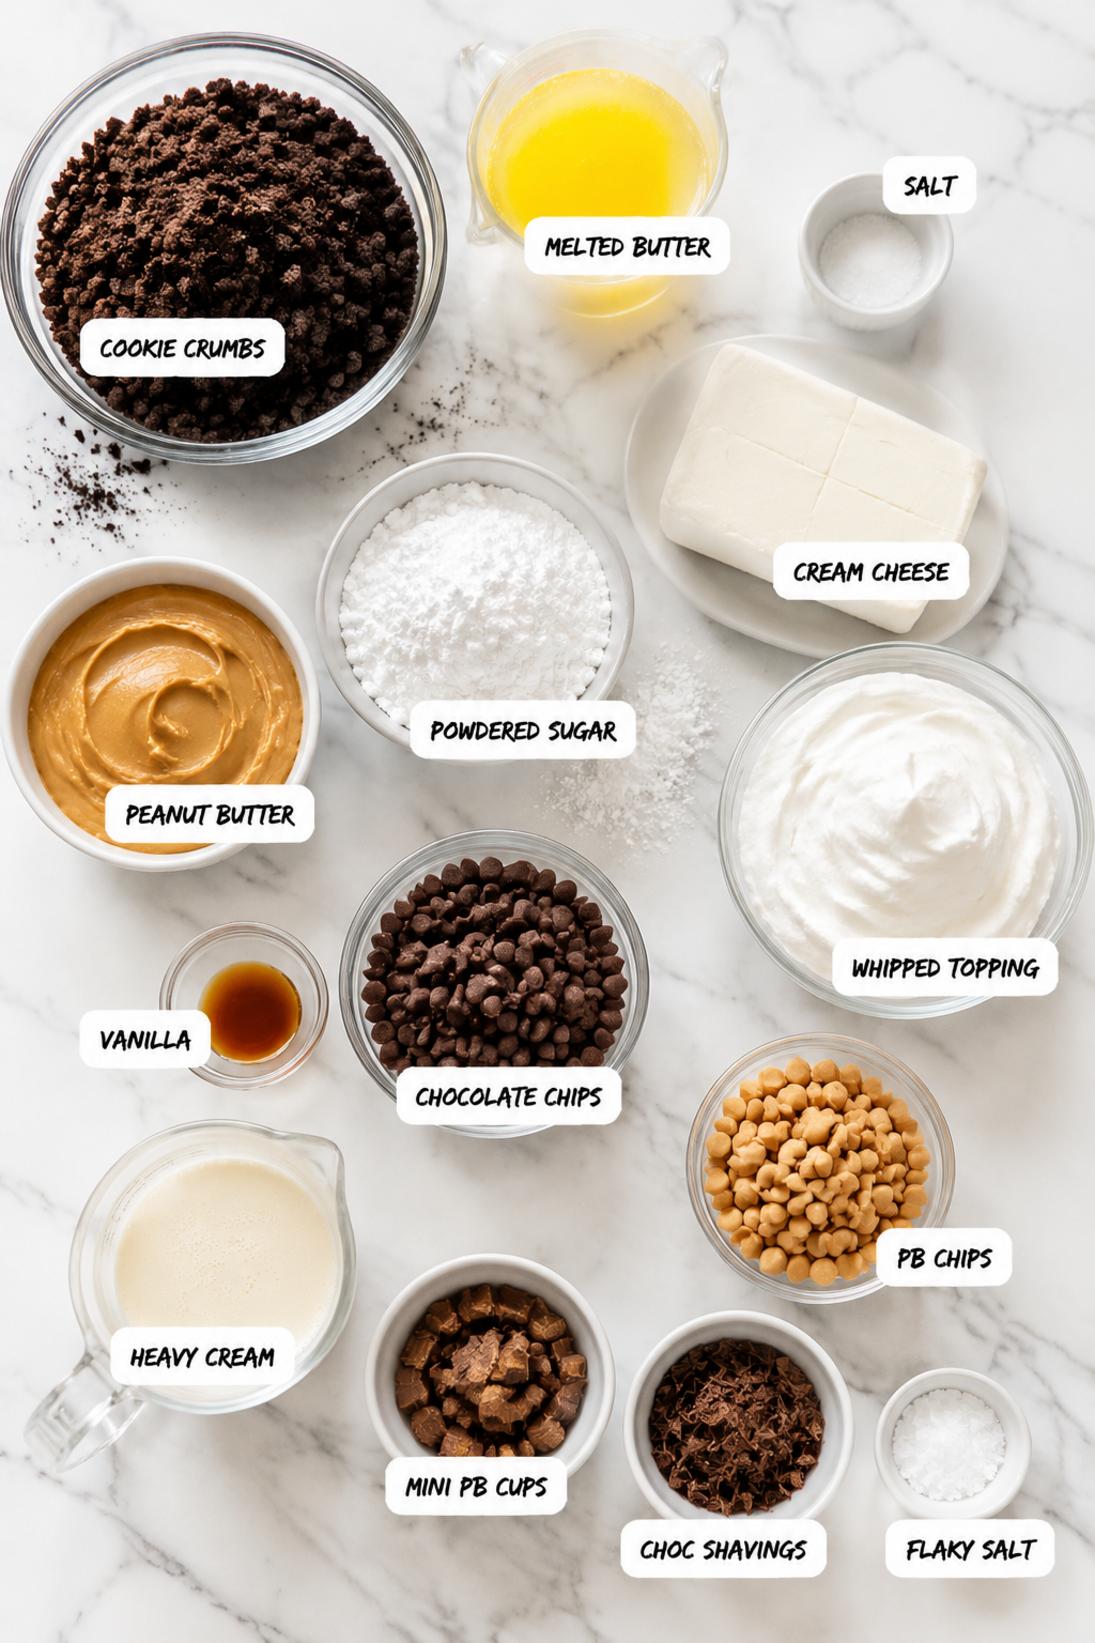
- Chocolate sandwich cookie crumbs: Oreos (or any chocolate sandwich cookie) work. I like a fine crumb so the crust presses in evenly and doesn’t crumble when you cut.
- Unsalted butter: Melted butter is what holds the crumbs together. If you only have salted butter, just go easy on the added salt.
- Salt: Just a pinch makes the crust taste more like chocolate and less like plain cookies.
Peanut Butter Filling
- Cream cheese: Use full-fat and let it soften first so it beats smooth with no lumps. This is what keeps the filling thick and stable.
- Creamy peanut butter: Regular creamy peanut butter works best here (the kind that’s already well mixed). Natural peanut butter can make the filling looser and a little oily.
- Powdered sugar: This sweetens and thickens the filling. If your filling seems too soft, this is usually the ingredient that helps.
- Whipped topping: Thawed whipped topping folds in easily and keeps the filling light. You can swap in homemade whipped cream if you prefer.
- Vanilla extract: A small amount helps the filling taste more like a classic peanut butter cup center.
Chocolate Topping
- Semi-sweet chocolate chips: Semi-sweet is my go-to here because the filling is already sweet. Milk chocolate is fine if that’s what you have.
- Peanut butter chips: These melt into the ganache and give the topping that peanut butter cup flavor without needing extra peanut butter.
- Heavy cream: This is what turns the chips into a smooth, spreadable ganache. Half-and-half can work in a pinch, but it won’t set as firmly.
Optional Garnish
- Mini peanut butter cups: Chop them small so you get a little in each slice, and they don’t drag through the ganache when you cut.
- Chocolate shavings: This is an easy way to make the top look finished. A quick swipe with a vegetable peeler over a chocolate bar works well.
- Flaky salt: I like just a light sprinkle. It makes the chocolate taste deeper and keeps the sweetness in check.
Recipe Instructions
- Make the crust: Mix the cookie crumbs with melted butter and a pinch of salt until everything looks evenly moistened.
- Chill the crust: Press the crumb mixture firmly into the bottom of a 9×13-inch dish, then refrigerate for about 10 minutes so it firms up.
- Beat the cream cheese: In a large bowl, beat the softened cream cheese until smooth and creamy.
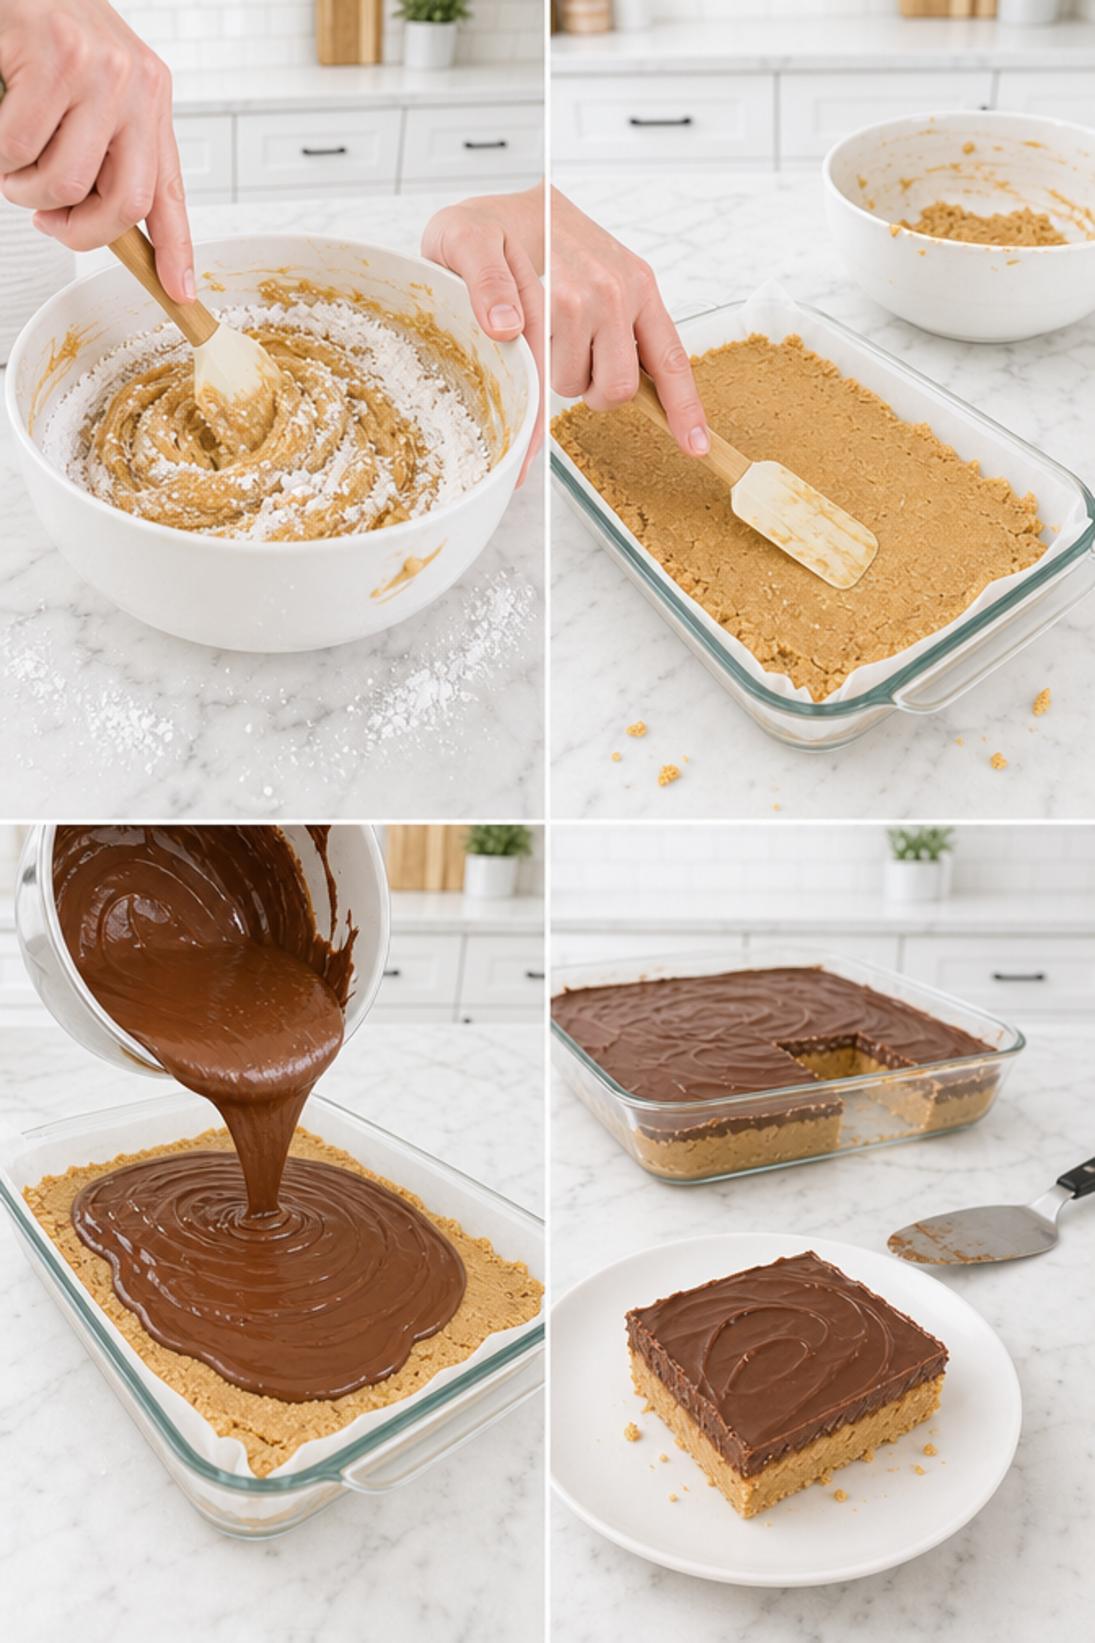
- Mix the filling: Beat in the peanut butter, powdered sugar, and vanilla until thick and well blended.
- Fold in the whipped topping: Gently fold in the whipped topping until there are no streaks left, then spread the filling evenly over the chilled crust.
- Chill while you start the topping: Refrigerate the pan while you make the chocolate topping so the filling stays firm.
- Heat the cream: Heat the heavy cream until hot and steaming (not boiling), then pour it over the chocolate chips and peanut butter chips in a bowl.
- Stir the ganache: Let it sit for 2 minutes, then stir until smooth and glossy. If a few bits won’t melt, keep stirring and it will come together.
- Top the dessert: Let the ganache cool for about 5 minutes, then pour and spread it over the peanut butter layer. Add garnish if you want.
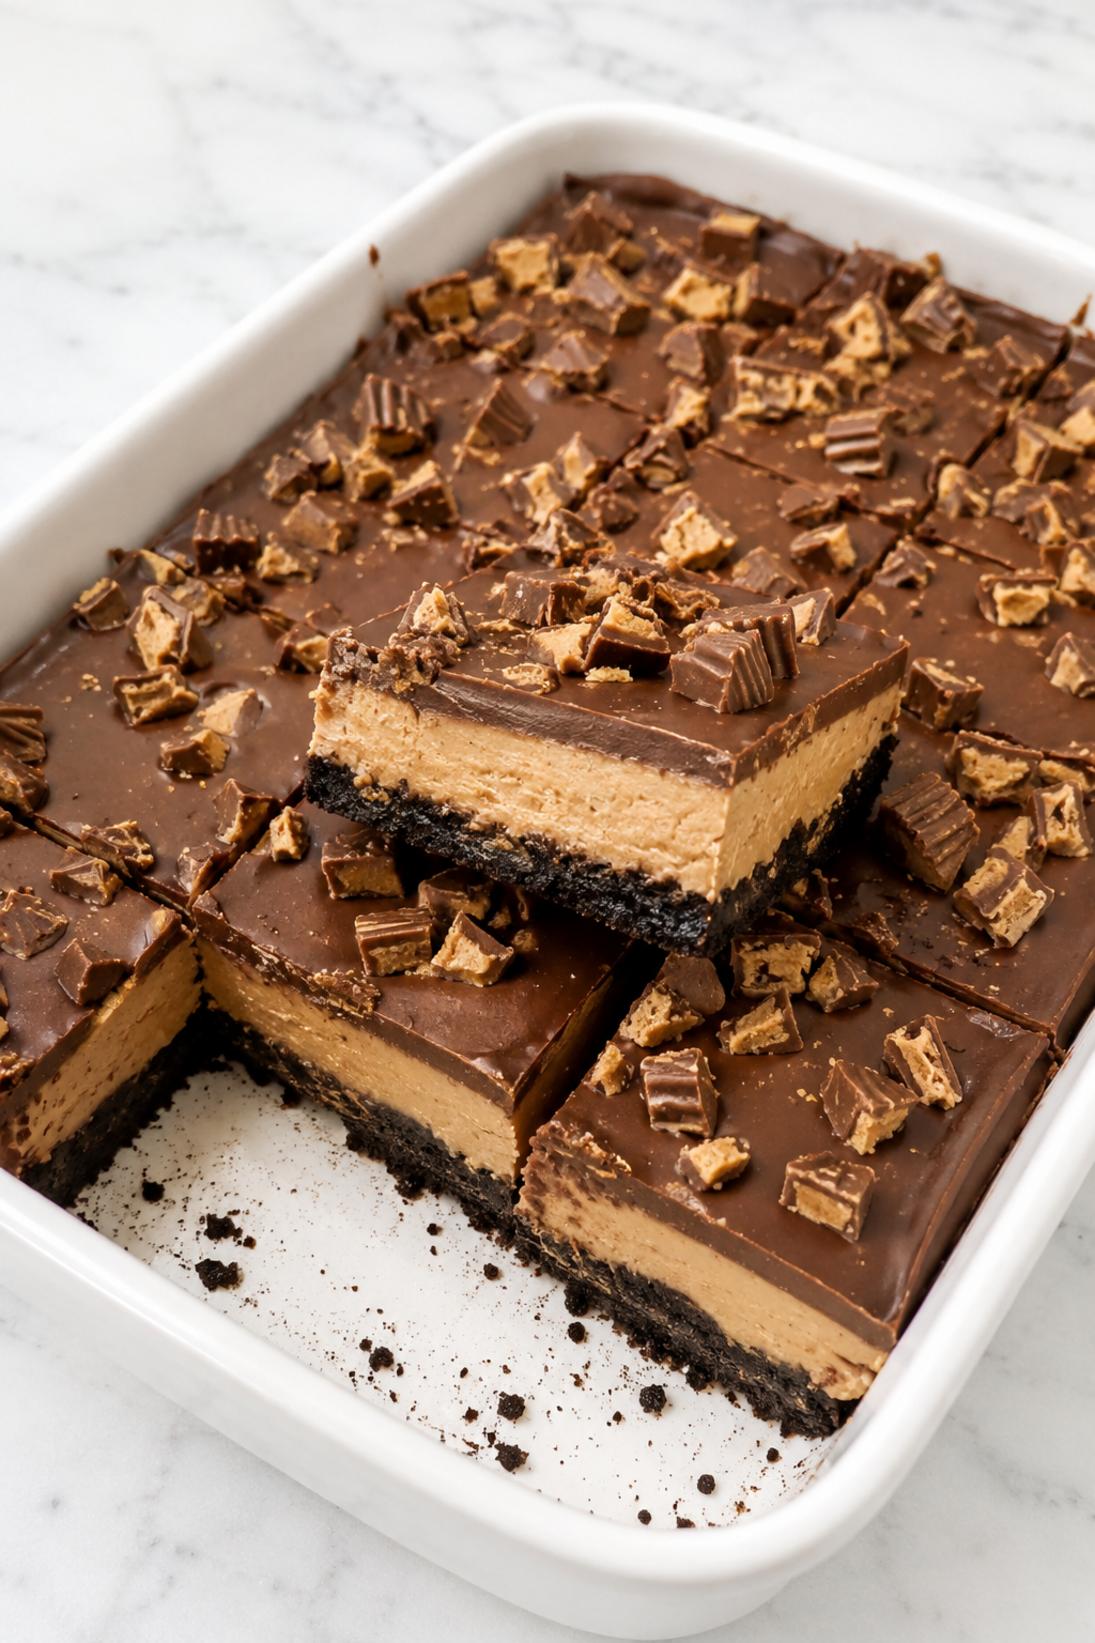
- Chill to set: Refrigerate for 4 to 6 hours, until fully set, then slice into squares and serve.
Some of my tips!
This is the part that really makes a difference. If you only read one section, make it this one because this is where I share the little trick that helps the recipe turn out so well.
Recipe Tips & Tricks
Use full-fat cream cheese. The filling sets up better and stays thicker. Low-fat cream cheese can make the middle a little soft and weepy.
Stick with regular peanut butter. The classic, no-stir kind is more stable in this filling. Natural peanut butter can separate and make the texture a bit off.
Press the crust firmly. Use the bottom of a measuring cup or a glass and really pack it in. A loose crust is the main reason slices fall apart.
Let the ganache cool slightly. If it’s too hot when you pour it on, it can soften the peanut butter layer and blur the layers.
Warm your knife for clean cuts. Dip the knife in hot water, wipe it dry, and slice. Repeat as needed, especially once the chocolate layer starts to stick to the blade.
Make some touches!
There are plenty of easy ways to serve this depending on the occasion. Keep it simple, or add a few small touches to make it feel a little more special.
Serving Suggestions
- Milk: A cold glass of milk is simple and classic with this. I like it even more if you add a tiny pinch of flaky salt on top.
- Coffee or espresso: This is really good with coffee, especially if you serve small squares. A latte or iced coffee works great too.
- Fresh berries: Strawberries or raspberries on the side are nice if you want something fresh on the plate. They also cut through the richness a bit.
- Extra whipped cream: A small spoonful on top is nice if you’re serving it as a plated dessert. It also helps if you’re adding chocolate shavings.
Save it for later
This section covers how to store leftovers and what parts of the recipe you can prepare ahead of time.
Storage and Make Ahead
Store leftovers covered in the fridge for up to 4 days. I keep the pan covered tightly so the top doesn’t pick up fridge smells, and the layers stay neat.
You can make this recipe ahead the day before and let it chill overnight. It slices a little cleaner the next day, which is handy if you’re bringing it somewhere.
If you want them to last longer, you can freeze individual portions or freeze the whole pan for up to 2 months. Thaw in the fridge overnight before serving.
A few quick answers
This section covers a few extra details that may help before you head to the recipe card.
Recipe FAQs
Can I use homemade whipped cream instead of whipped topping?
Yes. Use about 2 cups of sweetened whipped cream and fold it in the same way. I usually whip it to medium-stiff peaks so the filling holds its shape.
Why is my peanut butter layer soft or a little runny?
The most common reason is using natural peanut butter or low-fat cream cheese. It can also happen if the dessert hasn’t chilled long enough, so give it the full time to set.
Can I use a different crust besides Oreo crumbs?
You can. Chocolate graham cracker crumbs work, and so do regular graham crackers if you want less chocolate. Just keep the same idea: fine crumbs plus melted butter so it presses in firmly.
How do I get really clean slices?
Chill it until fully set, then freeze it for 20 to 30 minutes right before cutting. Slice with a warm knife and wipe the blade between cuts.
You might also like
Before you go, take a look at a few other recipes below the recipe card. They use similar ingredients in a different way and are worth saving too.
MORE DINNER RECIPES TO TRY


No-Bake Peanut Butter Cup Dessert
INGREDIENTS
Cookie Crust
- 2 cups chocolate sandwich cookie crumbs
- 6 tbsp unsalted butter melted
- pinch of salt.
Peanut Butter Filling
- 8 oz cream cheese softened
- 1 cup creamy peanut butter
- 1 cup powdered sugar
- 8 oz whipped topping thawed
- 1 tsp vanilla extract.
Chocolate Topping
- 1 cup semi sweet chocolate chips
- 1/2 cup peanut butter chips
- 1/2 cup heavy cream.
Optional Garnish
- mini peanut butter cups chopped
- chocolate shavings
- flaky salt.
INSTRUCTIONS
Cookie Crust
- Mix cookie crumbs with melted butter and salt until evenly moistened
- press firmly into the bottom of a 9x13 inch dish and chill 10 minutes.
Peanut Butter Filling
- Beat cream cheese until smooth
- beat in peanut butter powdered sugar and vanilla until thick and creamy
- fold in whipped topping until no streaks remain
- spread evenly over chilled crust and refrigerate while making topping.
Chocolate Topping
- Heat heavy cream until hot and steaming then pour over chocolate chips and peanut butter chips
- rest 2 minutes then stir until smooth and glossy
- cool 5 minutes then pour and spread over the filling
- garnish if using
- refrigerate 4 to 6 hours until set before slicing.


