

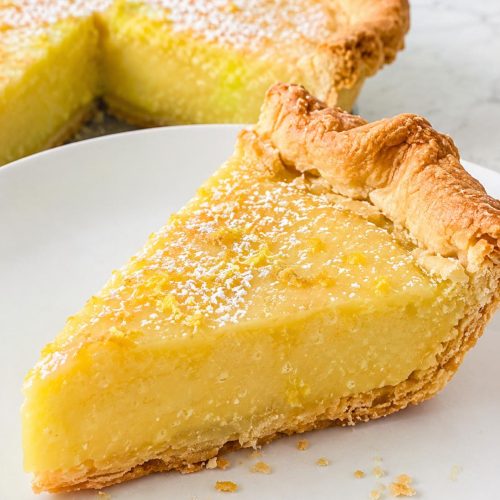
Old-Fashioned Lemon Pie is the kind of dessert I make when I want something bright and tangy with a real cooked lemon custard—not a shortcut filling. It’s classic for a reason: crisp crust, smooth lemon center, and that toasted meringue on top.
The filling has a clean lemon flavor that tastes like actual lemons (because it is), and the texture sets up nicely once it’s chilled. I also like that this version stays true to the vintage style with a stovetop-cooked custard and a simple meringue that bakes up lightly golden.
For me, this is one of those weekend and holiday pies that feels right after a heavier meal. It’s especially good when I want a dessert that’s cool and sliceable from the fridge, with sharp citrus flavor and a soft top.
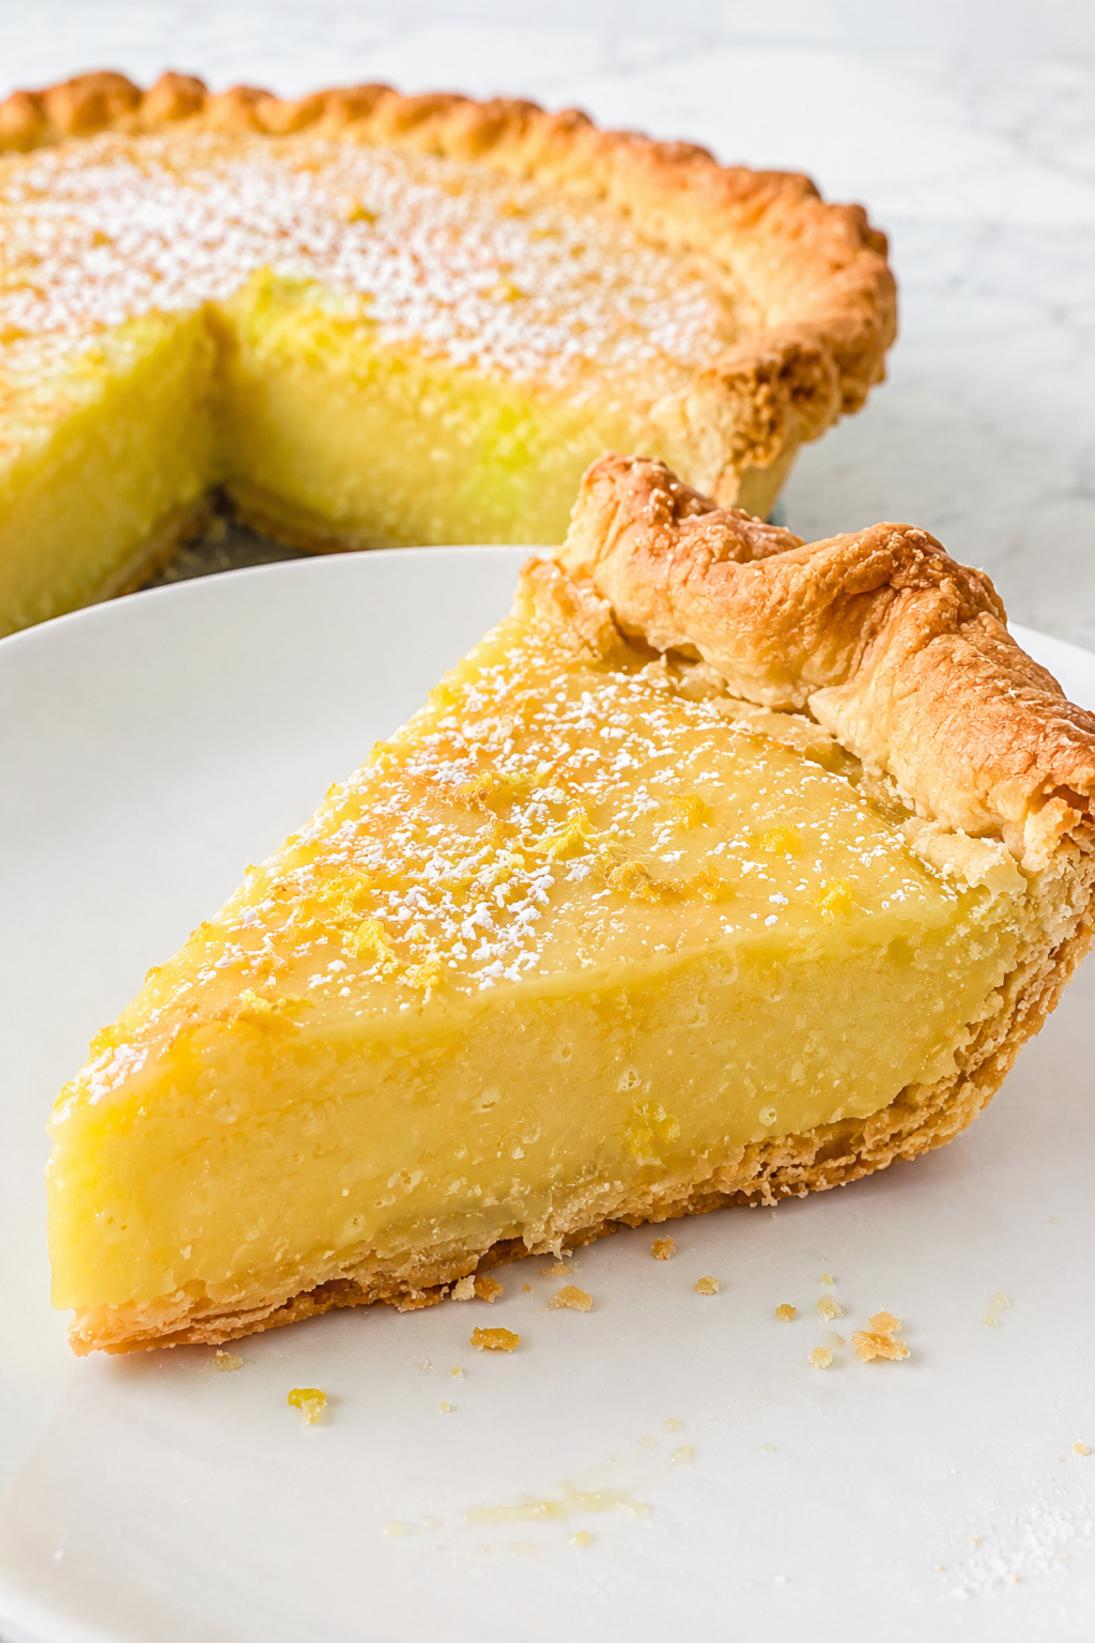
Why You’ll Love This Recipe
Classic and reliable: This is a true old fashioned lemon pie with a cooked custard filling that sets up the way it should.
Real lemon flavor: Fresh lemon juice and zest give it that tangy, grown-up lemon taste that doesn’t get lost under the sugar.
That toasted meringue: The lightly golden top makes the whole pie feel finished, and it’s a nice contrast to the cool lemon layer.
Good make-ahead dessert: Since it needs chill time, it’s easy to bake earlier in the day (or the day before) and slice when you’re ready.
Clean slices: Once fully chilled, you get neat wedges that look great on a plate without needing any fancy garnish.
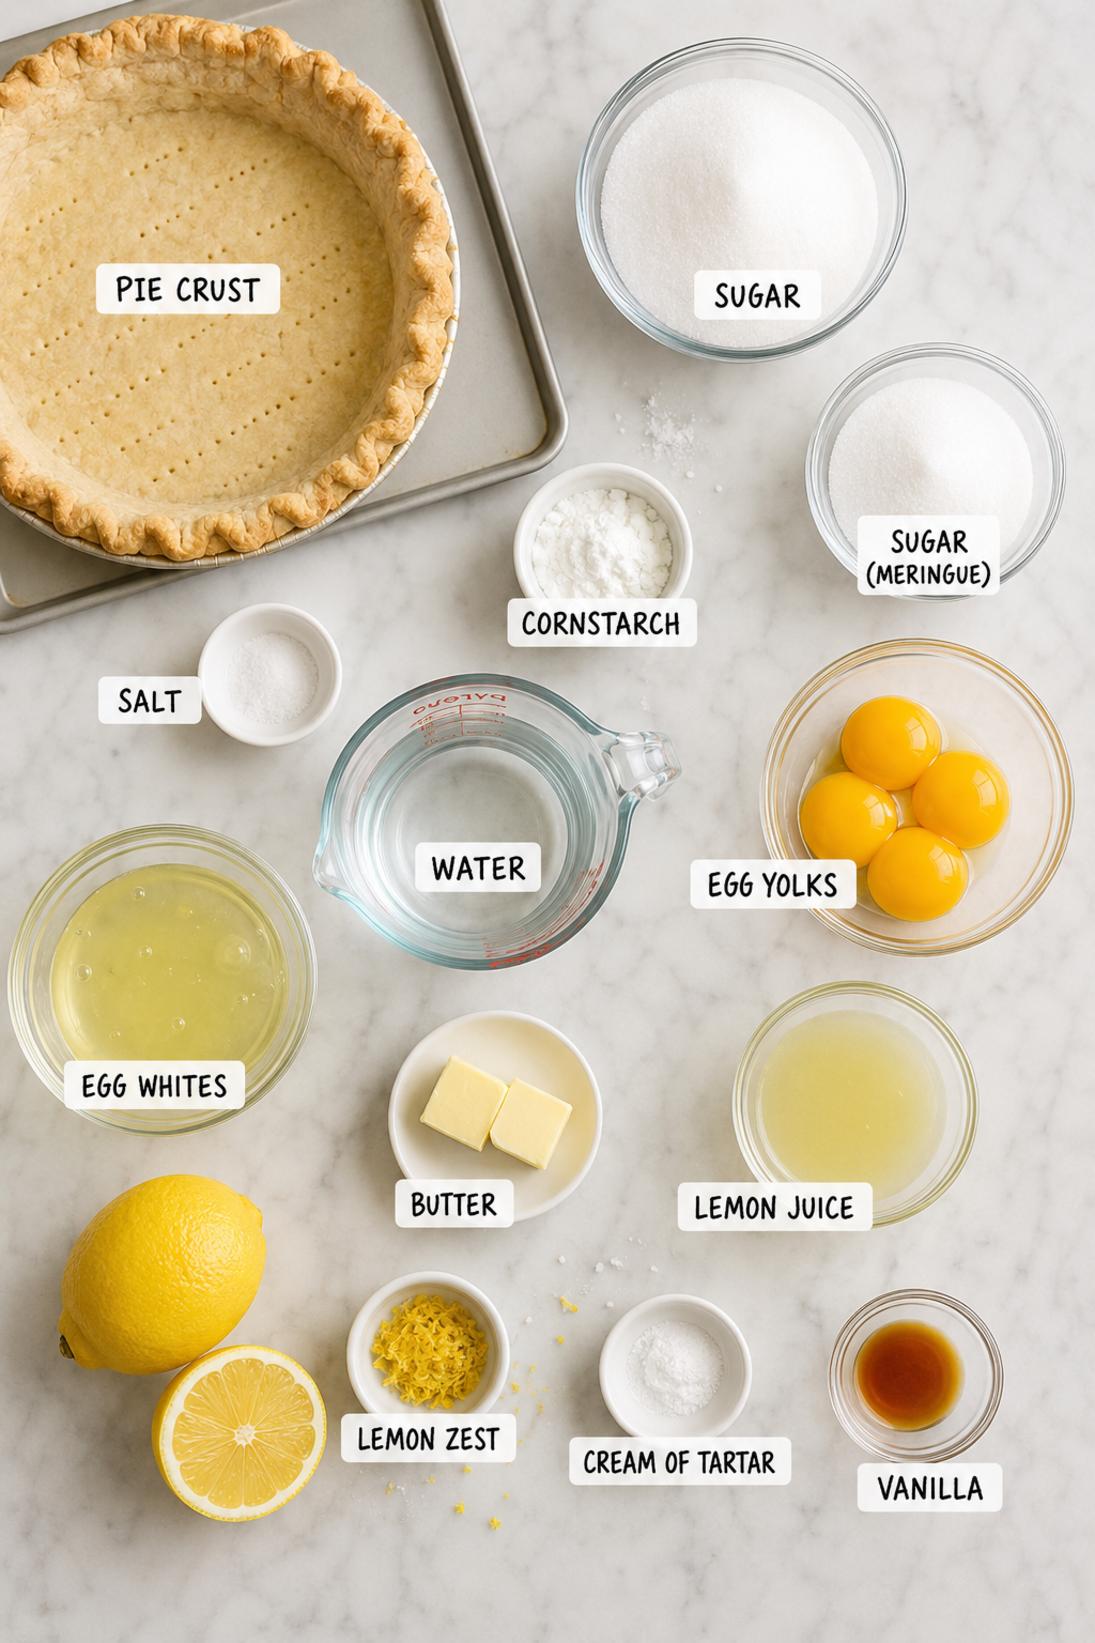
Ingredients You’ll Need
Crust
- Baked pie crust: I use a standard 9-inch crust that’s already baked and cooled. Homemade or store-bought both work, just make sure it’s fully baked so the custard doesn’t soften it.
Lemon Filling
- Granulated sugar: Plain white sugar is what I stick with here. It keeps the lemon flavor sharp and clean.
- Cornstarch: This is what thickens the custard so it slices instead of puddling. If you’re out, flour can work (see my note below), but cornstarch is easier.
- Salt: Don’t skip it—this keeps the filling from tasting flat and makes the lemon pop more.
- Water: It looks odd in a pie filling, but it’s normal for this style of cooked custard and helps the starch thicken smoothly.
- Egg yolks: These give the filling that classic yellow color and a richer texture. I separate the eggs while they’re still cold because it’s easier.
- Unsalted butter: A little butter at the end rounds out the flavor and gives the filling a softer finish.
- Fresh lemon juice: Fresh is best here. Bottled lemon juice works in a pinch, but the flavor is a little dull compared to fresh.
- Lemon zest: I always add it because it gives the filling a more “lemony” flavor without adding extra liquid.
Meringue
- Egg whites: Room temp whites whip up a little easier, but I’ve done this plenty of times straight from the fridge too.
- Cream of tartar: This helps the meringue hold its shape and keeps it from collapsing as easily.
- Granulated sugar: Add it gradually so the meringue turns glossy instead of gritty.
- Vanilla extract: Just enough to soften the sharpness a bit and make the topping taste more like classic meringue.
- Salt: A tiny pinch is all you need. It helps the meringue taste less one-note.
Recipe Instructions
- Preheat the oven: Heat the oven to 350°F and set your baked, cooled 9-inch pie crust on a rimmed baking sheet.
- Separate the eggs: Separate the yolks and whites, putting the yolks in a bowl for the filling and the whites in a clean mixing bowl for the meringue.
- Cook the filling: In a saucepan, whisk the sugar, cornstarch, and salt, then whisk in the water until smooth. Cook over medium heat, whisking constantly, until it thickens and starts bubbling.
- Temper the yolks: Whisk the egg yolks in their bowl, then slowly whisk in a few spoonfuls of the hot mixture to warm them up. Pour the tempered yolks back into the saucepan and cook for 1 minute, whisking the whole time.
- Add lemon and butter: Remove the pan from the heat, then whisk in the butter, lemon juice, and lemon zest. Pour the hot filling right into the prepared crust.
- Make the meringue: Beat the egg whites with cream of tartar and a pinch of salt until soft peaks form. Gradually beat in the sugar until glossy stiff peaks form, then beat in the vanilla.
- Bake: Spread the meringue over the hot filling and seal it all the way to the crust edges. Bake for about 10 to 12 minutes, until the meringue is lightly golden.
- Cool and chill: Cool at room temperature for 1 hour, then chill at least 3 hours before slicing.
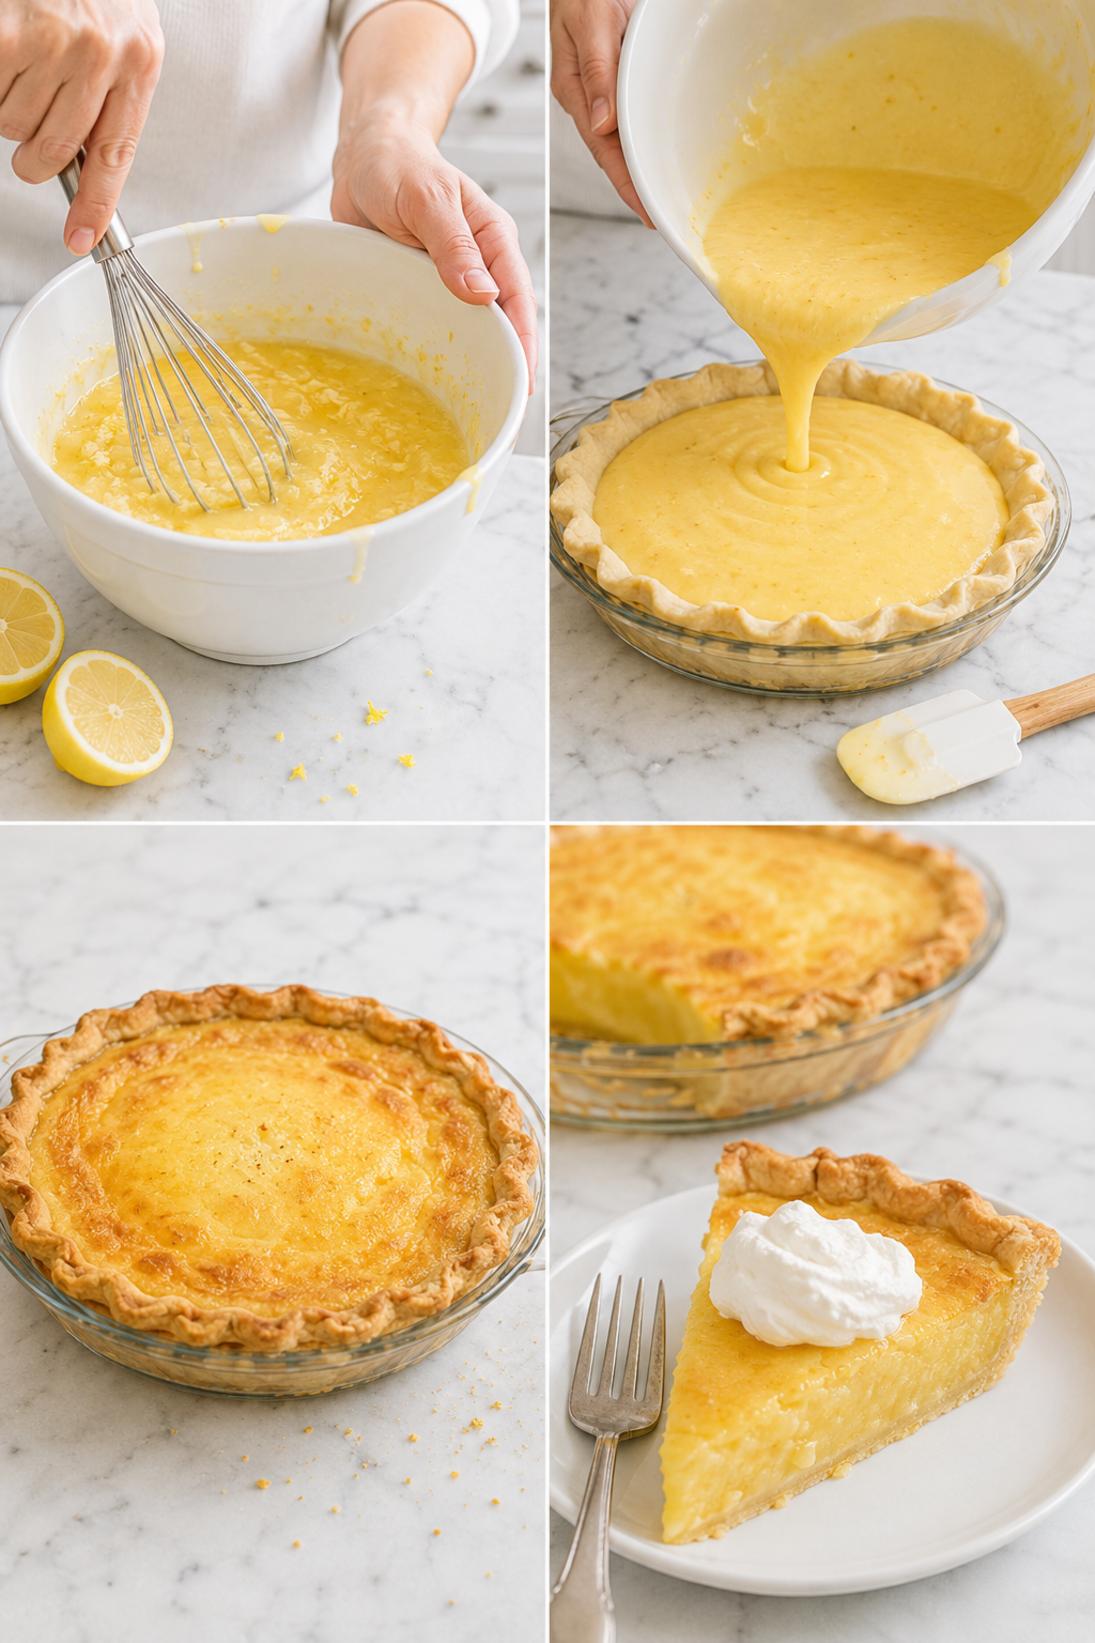
Some of my tips!
This is the part that really makes a difference. If you only read one section, make it this one because this is where I share the little trick that helps the recipe turn out so well.
Recipe Tips & Tricks
Spread the meringue on hot filling. This is one of the easiest ways to cut down on weeping. I don’t let the filling sit around before topping it.
Seal the meringue to the crust edge. Push it right up to the crust so it has something to cling to. If you stop short, it’s more likely to shrink and pull in.
Whisk the filling the whole time. Lemon custard goes from thin to thick pretty quickly. Constant whisking keeps it smooth and helps prevent little lumps.
Temper the yolks slowly. A few spoonfuls at a time is plenty. If you dump hot custard into yolks too fast, you can get bits of scrambled egg.
Wipe your knife between cuts. I keep a damp towel nearby and clean the knife each slice. It makes the layers look much neater.
Flour works if you need it. If you don’t have cornstarch, you can use flour instead, but let the filling cook a minute or two longer so it doesn’t taste starchy.
Make some touches!
There are plenty of easy ways to serve this depending on the occasion. Keep it simple, or add a few small touches to make it feel a little more special.
Serving Suggestions
- Fresh berries: A handful of raspberries or sliced strawberries on the plate looks nice and tastes good with the lemon. I usually do this if I’m serving the pie after dinner.
- Hot coffee: Lemon pie and coffee is a simple pairing that just works. I like it with plain drip coffee or an americano.
- Unsweetened whipped cream: If you want a little extra on the plate, keep the whipped cream barely sweet (or not sweet at all). The pie is already doing plenty.
- Extra lemon zest: A little zest over each slice makes it smell amazing and looks pretty without fuss. Just do it right before serving.
Save it for later
This section covers how to store leftovers and what parts of the recipe you can prepare ahead of time.
Storage and Make Ahead
Store leftover pie covered in the fridge for up to 4 days. Lemon meringue pies really do need the fridge, and the slices stay nicest when the pie is well covered.
The meringue can start to soften a bit the longer it sits, and you may see a little weeping after a day or two. It still tastes good, it just won’t look quite as crisp on top.
You can make parts ahead by baking the crust in advance and keeping it ready to go. I also like making the filling earlier in the day so the pie has plenty of time to chill before serving.
I don’t usually freeze lemon meringue pie. The custard and meringue textures both tend to get watery after thawing.
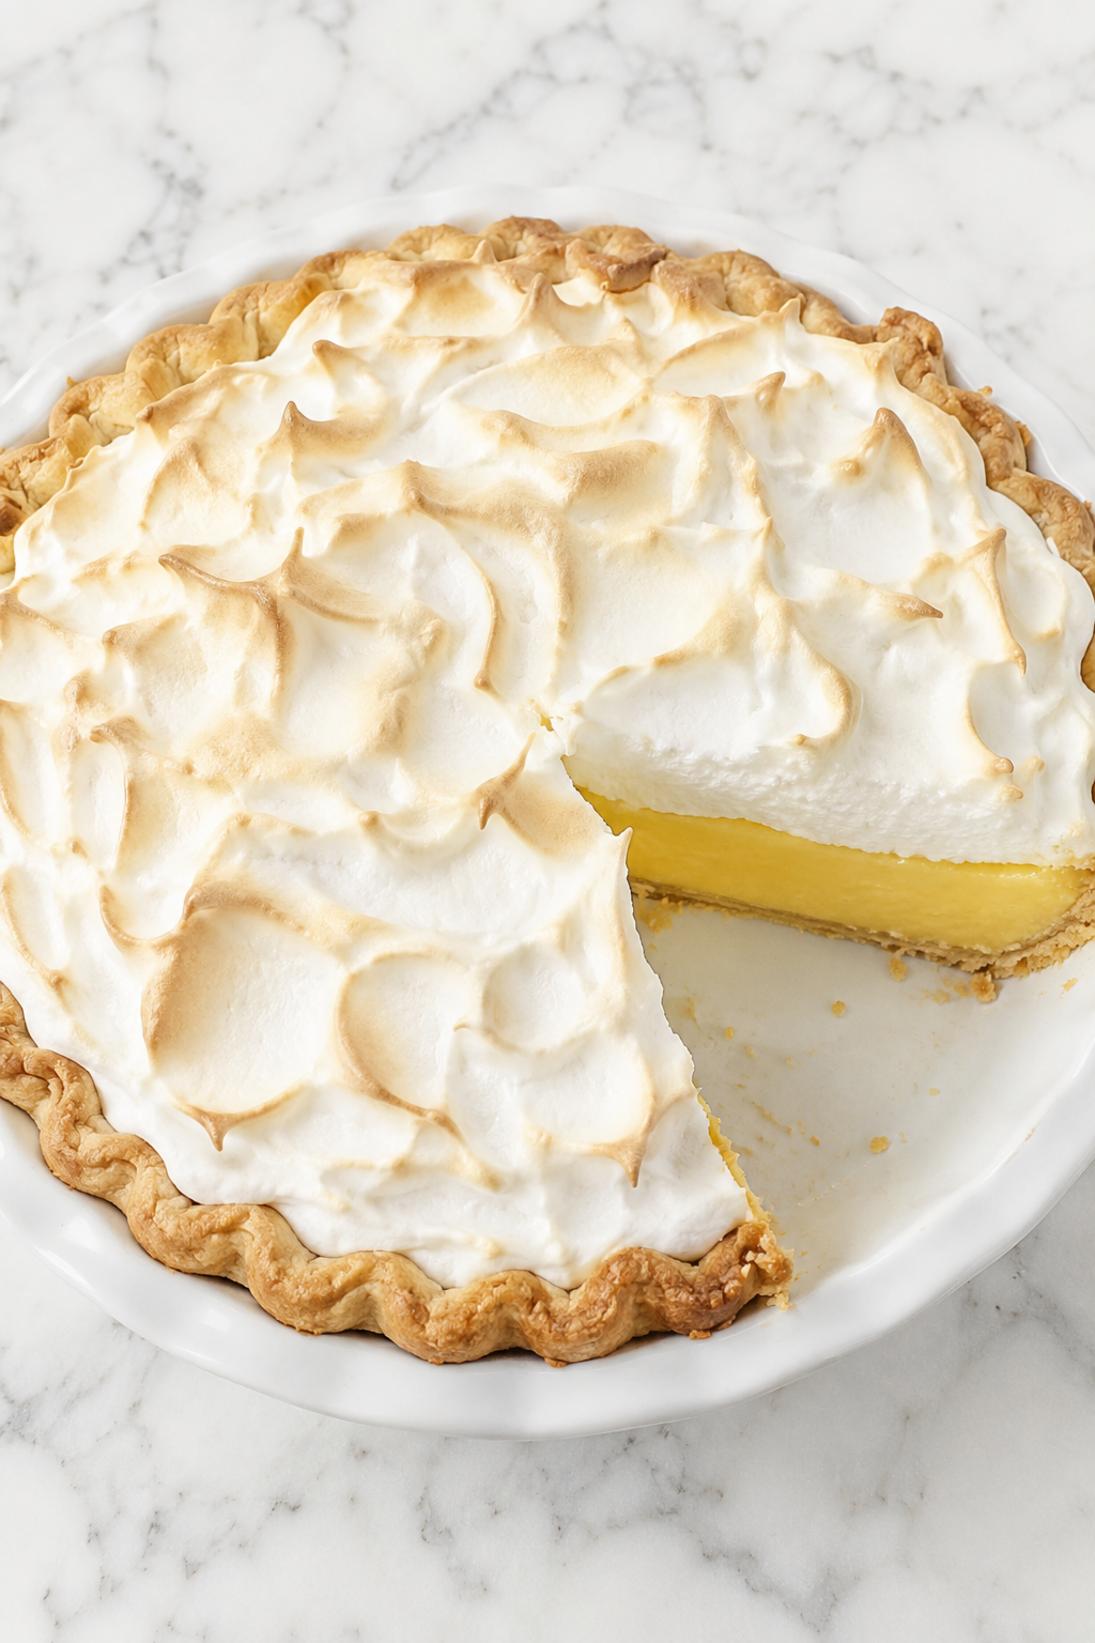
A few quick answers
This section covers a few extra details that may help before you head to the recipe card.
Recipe FAQs
Why is my lemon filling runny?
Most of the time it’s either undercooked on the stove or not chilled long enough. The filling needs to bubble and thicken well before you add the yolks, and it should be cooked for that extra minute after the yolks go in.
It also firms up a lot as it chills, so give it the full chill time before judging the set.
How do I keep the meringue from shrinking?
Seal the meringue all the way to the crust edge. I make sure it touches the crust everywhere, not just in a few spots, so it doesn’t pull away as it bakes.
How do I reduce weeping on the meringue?
Putting the meringue on top of hot filling helps a lot. Also, add the sugar gradually and beat until the meringue is glossy and stiff so it’s stable going into the oven.
Can I use flour instead of cornstarch?
Yes. Use flour as a swap if you need to, but cook the filling a minute or two longer so it fully thickens and doesn’t taste floury.
Can I use bottled lemon juice?
You can, and the pie will still set and slice fine. I prefer fresh lemon juice here because the flavor is brighter, especially in a simple old fashioned lemon pie like this.
You might also like
Before you go, take a look at a few other recipes below the recipe card. They use similar ingredients in a different way and are worth saving too.
MORE DINNER RECIPES TO TRY


Old-Fashioned Lemon Pie
INGREDIENTS
Crust
- 1 9 inch pie crust baked and cooled.
Lemon Filling
- 1 cup granulated sugar
- 1 1 2 tbsp cornstarch
- 1 4 tsp salt
- 1 1 4 cups water
- 4 large egg yolks
- 2 tbsp unsalted butter
- 1 2 cup fresh lemon juice
- 1 tbsp lemon zest.
Meringue
- 4 large egg whites
- 1 2 tsp cream of tartar
- 1 2 cup granulated sugar
- 1 2 tsp vanilla extract
- pinch of salt.
INSTRUCTIONS
Prep
- Preheat oven to 350 F and place baked pie crust on a rimmed baking sheet
- separate eggs and reserve yolks for filling and whites for meringue.
Lemon Filling
- Whisk sugar cornstarch and salt in a saucepan then whisk in water until smooth
- cook over medium heat whisking constantly until thick and bubbling
- whisk yolks in a bowl then slowly whisk in a few spoonfuls of hot mixture to temper
- pour tempered yolks back into saucepan and cook 1 minute whisking
- remove from heat and whisk in butter lemon juice and lemon zest
- pour hot filling into the prepared crust.
Meringue and Bake
- Beat egg whites cream of tartar and salt to soft peaks then gradually beat in sugar until glossy stiff peaks form and beat in vanilla
- spread meringue over hot filling sealing to crust edges
- bake until meringue is lightly golden about 10 to 12 minutes
- cool at room temperature 1 hour then chill at least 3 hours before slicing.


