

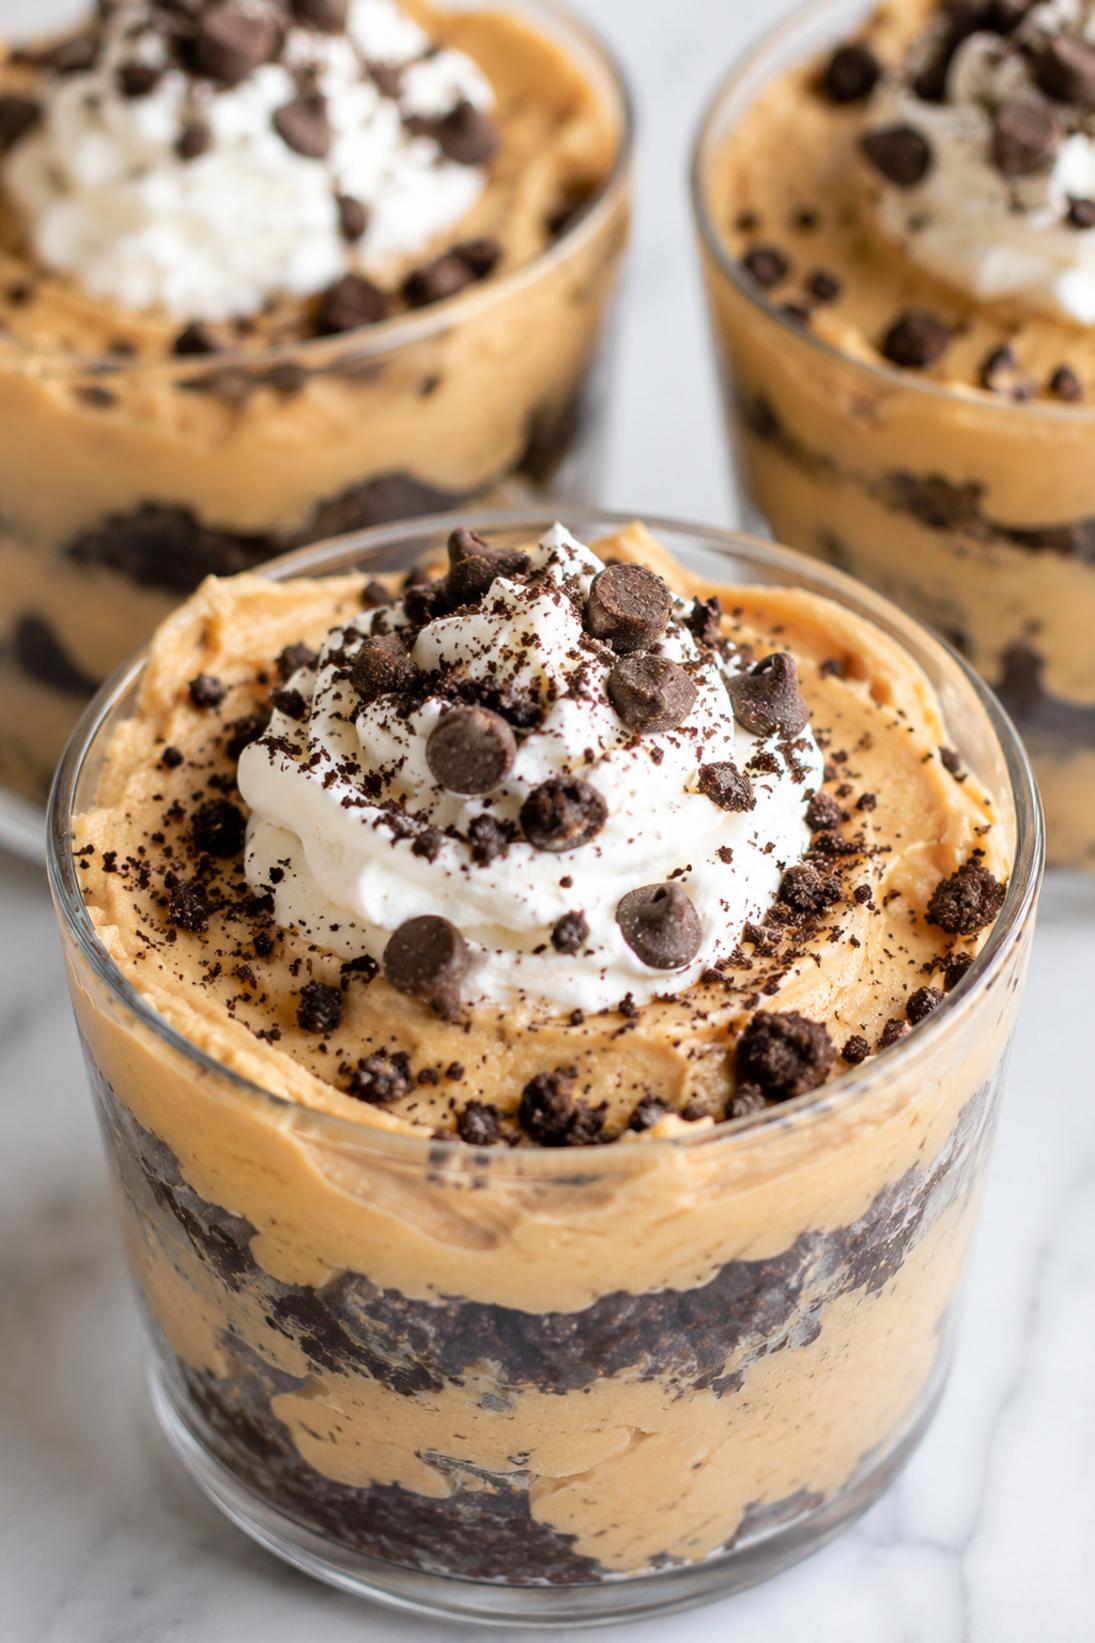
Peanut Butter Dessert Cups are my kind of no-bake treat: a buttery graham crust, a thick peanut butter filling, and a simple chocolate topping that sets up nicely in the fridge.
I like how these taste like a homemade peanut butter cup, but with a little more texture from the crust and a softer, creamier middle. The chocolate layer is smooth and snappy once it’s chilled, and the whole thing is just rich and chocolatey in the best way.
For me, these are especially good on a cookie tray or for a make-ahead dessert when I don’t want to bake. I also like serving them with a little flaky salt on top when I’m in the mood for that sweet-salty thing.
Why You’ll Love This Recipe
No-bake: When I want a dessert that doesn’t involve the oven, these are reliable and quick. The fridge does all the work at the end.
Classic combo: Peanut butter and chocolate is hard to beat, and the graham crust makes it taste a little more “dessert-y” than a standard candy-style cup.
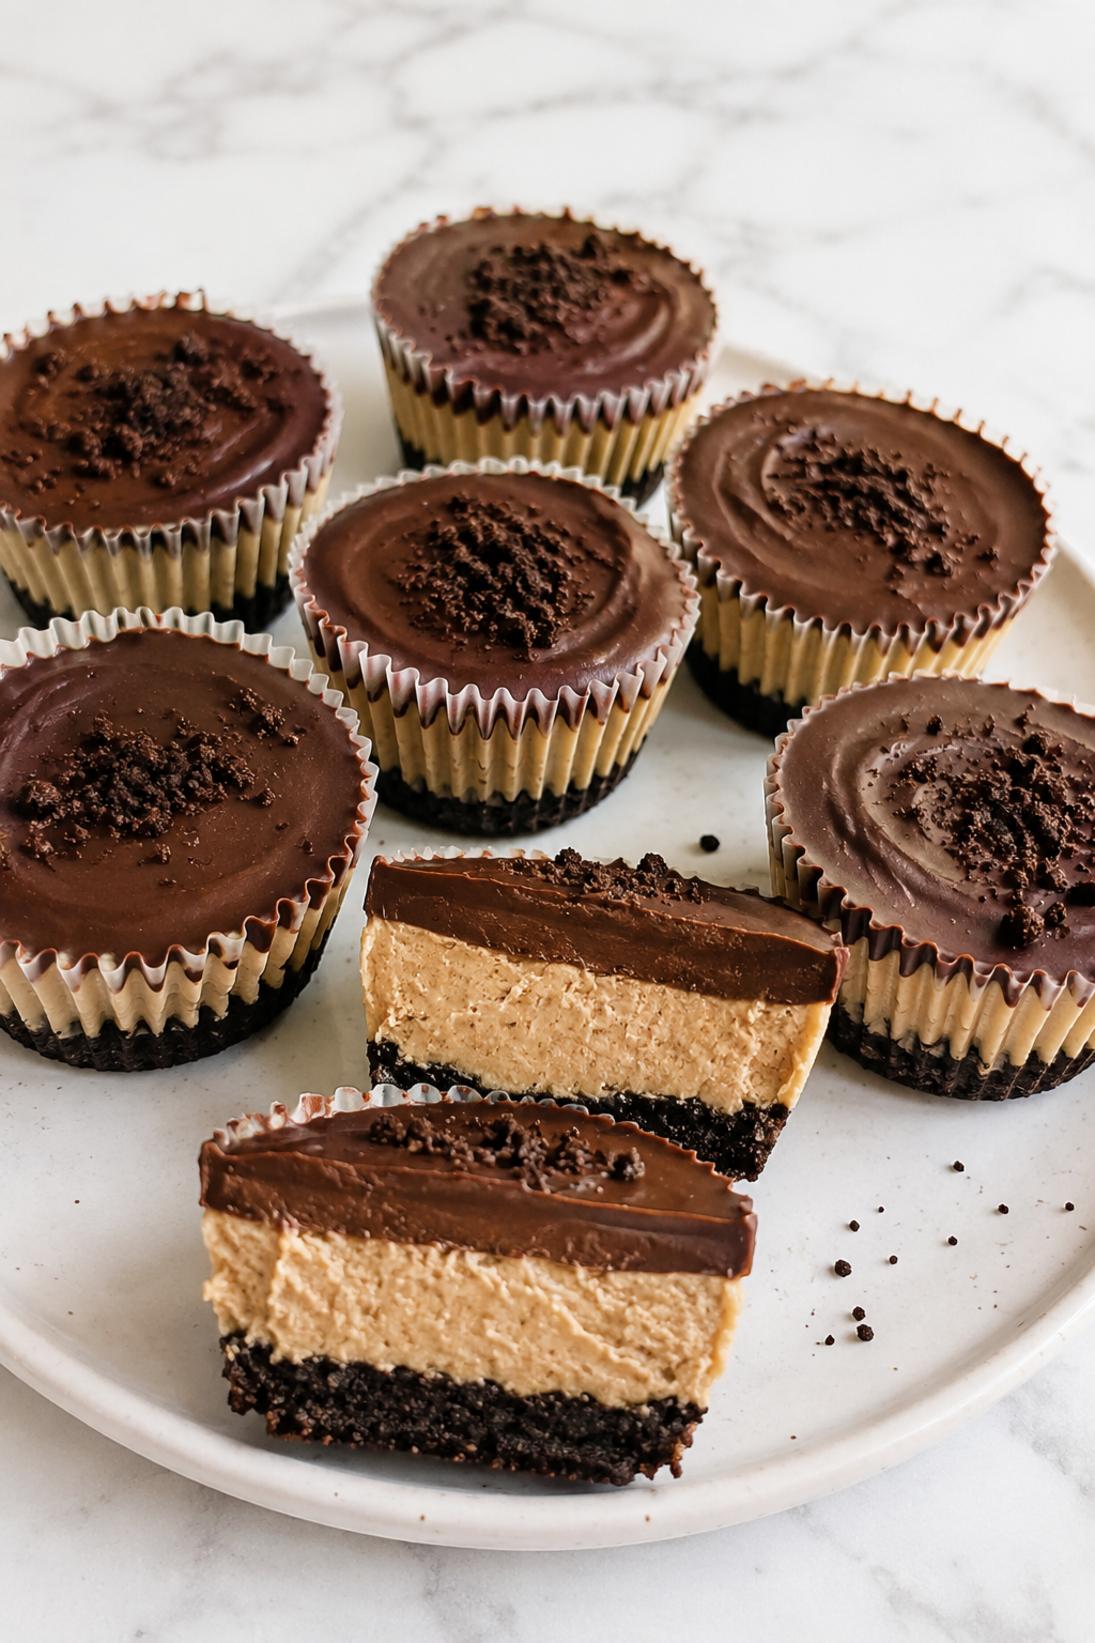
Nice clean layers: The crust, filling, and topping set up in a way that slices and bites neatly. They look cute on a platter without any extra effort.
Easy to make ahead: These are one of those desserts I like to make early in the day (or the night before) so they’re ready whenever.
Freezer friendly: I love having a stash in the freezer for last-minute guests or when you just want something sweet after dinner.
Ingredients You’ll Need
Crust and Filling
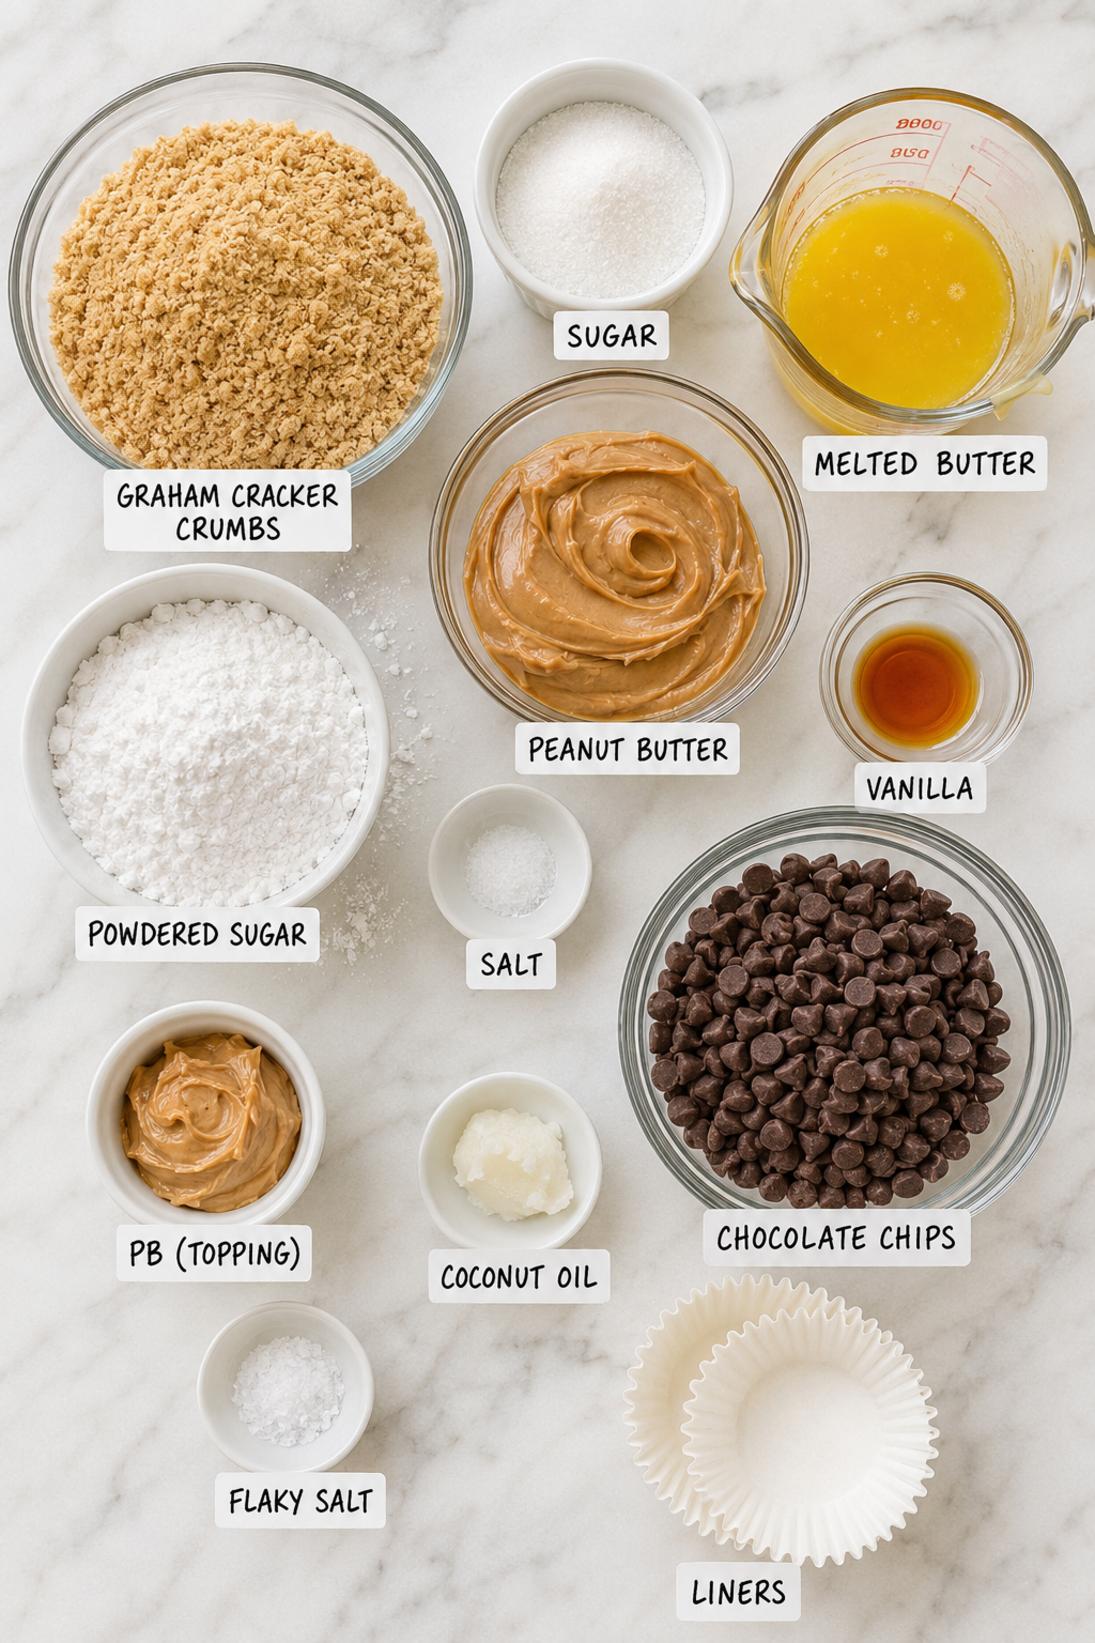
- Graham cracker crumbs: I use the fine, sandy crumbs so the crust presses in firmly. You can crush your own sheets in a bag or food processor.
- Granulated sugar: Just a little helps the crust taste more like a dessert base. If you prefer it less sweet, you can cut it back slightly.
- Unsalted butter: Melted butter is what holds the crumbs together. Unsalted lets you control the salt level in the filling.
- Creamy peanut butter: Regular creamy peanut butter works best here. Natural peanut butter can separate and make the filling a bit oily unless it’s very well mixed.
- Powdered sugar: This thickens the filling and makes it set up like a soft peanut butter fudge. If you want a softer center, you can reduce it a little.
- Vanilla extract: I don’t skip it; it makes the peanut butter taste more rounded. Even a small amount helps.
- Fine salt: Just enough to keep the filling from tasting flat. Fine salt blends in smoothly.
Chocolate Topping
- Semi-sweet chocolate chips: Semi-sweet is my go-to because it keeps the cups from tasting overly sweet. Milk chocolate works too if that’s what you have.
- Peanut butter: A little peanut butter in the topping makes the chocolate easier to bite and gives it that classic flavor. It also helps the topping stay smoother.
- Coconut oil or unsalted butter: Optional, but I like adding it if my chocolate chips tend to melt thick. It helps the topping spread in a thinner, smoother layer.
- Flaky salt: Totally optional, but a small sprinkle on top is really nice. I like it most if you’re serving these with coffee.
Recipe Instructions
- Line the pan: Line a 12-cup muffin pan with paper liners.
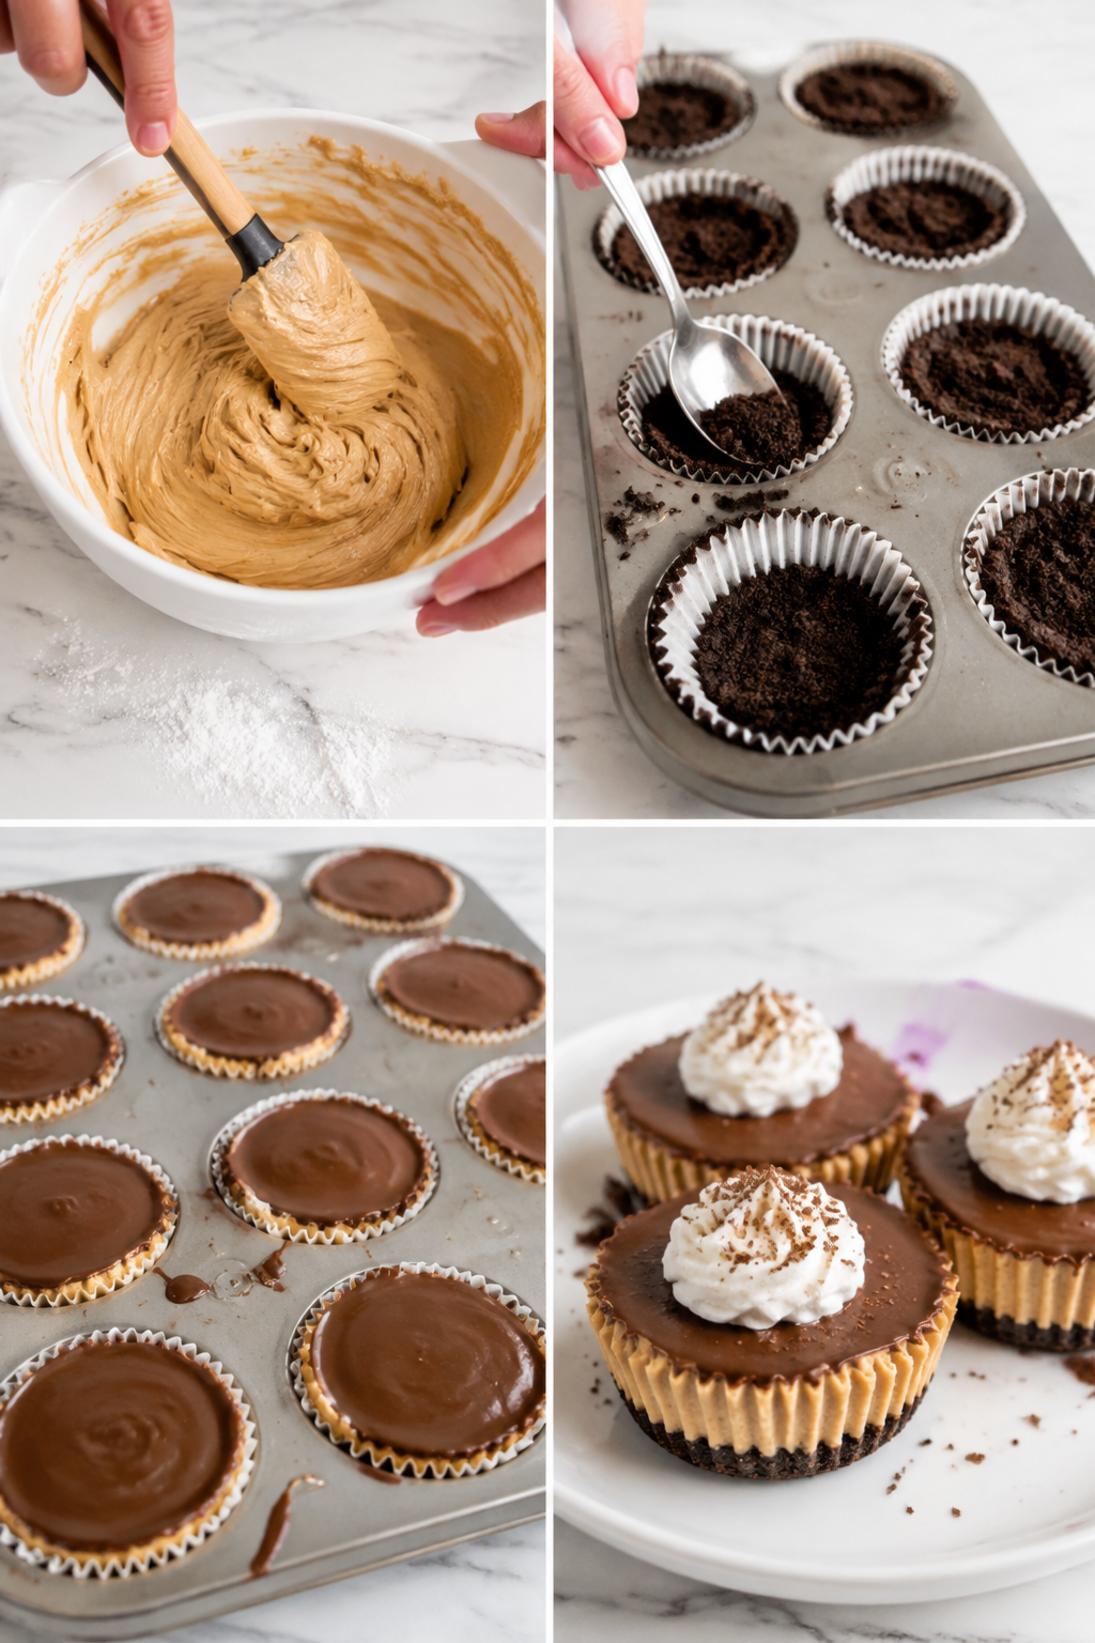
- Mix the crust: Stir the graham cracker crumbs, granulated sugar, and melted butter together until the crumbs are evenly moistened.
- Press the crust: Press about 1 tablespoon of the crumb mixture into each liner to form a compact base.
- Mix the filling: Beat the peanut butter, powdered sugar, vanilla extract, and salt until thick and smooth.
- Add the filling: Divide the peanut butter mixture evenly over the crusts and press into an even layer.
- Chill: Chill for 10 minutes to firm up the peanut butter layer.
- Melt the chocolate: Melt the chocolate chips with peanut butter and the optional coconut oil (or butter) in the microwave in short bursts, or over a double boiler, until smooth.
- Top the cups: Spoon the melted chocolate over each cup, then gently tap the pan to level it out.
- Add salt: Sprinkle with flaky salt, if using.
- Set: Refrigerate until set, about 1 hour, or freeze for about 20 minutes. Serve chilled or at cool room temperature.
Some of my tips!
This is the part that really makes a difference. If you only read one section, make it this one because this is where I share the little trick that helps the recipe turn out so well.
Recipe Tips & Tricks
Press the crust firmly. A tight crust layer keeps the cups from crumbling when you peel off the liner. I use the back of a spoon or a small glass.
Chill between layers for cleaner lines. Even a quick 10-minute chill helps the peanut butter layer stay put when you add the chocolate on top.
Warm the peanut butter slightly if it’s stiff. If your peanut butter is thick from the pantry, a few seconds in the microwave makes the filling easier to beat smooth.
Use short bursts to melt the chocolate. Chocolate can seize if it gets too hot. I do 20 to 30 seconds at a time and stir well in between.
Tap the pan to level the topping. A couple gentle taps helps the chocolate settle into a smooth layer without needing to spread it around much.
Make some touches!
There are plenty of easy ways to serve this depending on the occasion. Keep it simple, or add a few small touches to make it feel a little more special.
Serving Suggestions
- Coffee or espresso: These are really good with coffee, especially if you add a little flaky salt on top. I usually serve them after dinner with a strong cup.
- Milk: A cold glass of milk is simple and classic with chocolate and peanut butter. It’s also nice if you’re serving these to kids.
- Fruit: Strawberries or raspberries on the side make the plate feel a little lighter. I like the contrast with the rich filling.
- Whipped cream: A small dollop of lightly sweetened whipped cream is nice if you’re serving these on dessert plates. It’s also good with a few chocolate shavings.
Save it for later
This section covers how to store leftovers and what parts of the recipe you can prepare ahead of time.
Storage and Make Ahead
Store these in the fridge for up to 1 week. I keep them in a covered container so the chocolate doesn’t pick up any fridge smells. They’re easiest to eat straight from the fridge.
You can make this recipe ahead and keep the cups chilled until you need them. If you’re stacking them in a container, I like to leave the liners on and separate layers with parchment.
If you want them to last longer, freeze up to 2 months. I freeze them in a single layer first, then move them to a freezer container so they don’t stick together.
Thaw in the fridge overnight or let them sit at cool room temperature for a short time. The chocolate stays firm, but the filling gets a little softer as it warms.
A few quick answers
This section covers a few extra details that may help before you head to the recipe card.
Recipe FAQs
Can I use natural peanut butter?
You can, but it’s a little less predictable. If you use natural peanut butter, make sure it’s very well stirred and not overly oily, or the filling can come out softer and slightly greasy.
How do I make these peanut-free?
Use sunflower seed butter or almond butter in the filling, and swap the peanut butter in the chocolate topping for the same alternative. Just know sunflower seed butter has its own flavor, which is totally fine here.
Can I swap the graham cracker crumbs?
Yes. Cookie crumbs work well, like chocolate wafer crumbs, vanilla wafers, or even crushed Oreos (scrape the filling if you don’t want it too sweet). Use the same method and press the crust firmly.
My chocolate topping looks thick—what should I do?
Add the optional coconut oil or a little unsalted butter to help it melt smoother. Also make sure you’re melting in short bursts and stirring a lot; that usually fixes it.
Can I make the filling softer?
Yes. Reduce the powdered sugar by about 2 tablespoons for a slightly softer peanut butter layer. The cups will still set, but they’ll be a bit more creamy than firm.
You might also like
Before you go, take a look at a few other recipes below the recipe card. They use similar ingredients in a different way and are worth saving too.
MORE DINNER RECIPES TO TRY


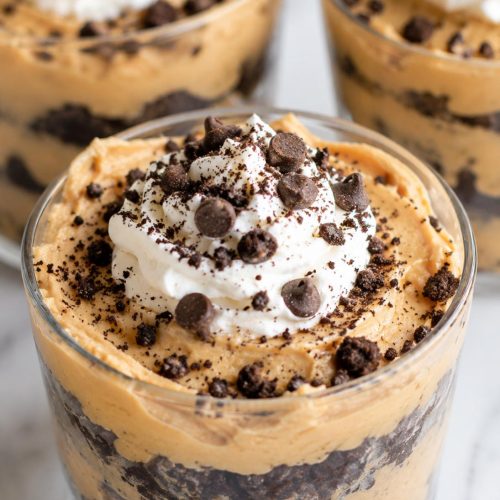
Peanut Butter Dessert Cups
INGREDIENTS
Crust and Filling
- 1 1 2 cups graham cracker crumbs
- 1 4 cup granulated sugar
- 1 2 cup unsalted butter melted
- 3 4 cup creamy peanut butter
- 1 cup powdered sugar
- 1 tsp vanilla extract
- 1 8 tsp fine salt.
Chocolate Topping
- 1 1 2 cups semi sweet chocolate chips
- 2 tbsp peanut butter
- 1 tbsp coconut oil or unsalted butter optional for smoother melt
- flaky salt optional.
INSTRUCTIONS
Crust and Filling
- line a 12 cup muffin pan with paper liners
- mix graham cracker crumbs sugar and melted butter until evenly moistened
- press about 1 tablespoon crumb mixture into each liner to form a compact base
- beat peanut butter powdered sugar vanilla and salt until thick and smooth
- divide peanut butter mixture evenly over crusts and press into an even layer
- chill 10 minutes to firm.
Chocolate Topping and Set
- melt chocolate chips with peanut butter and optional coconut oil in the microwave in short bursts or over a double boiler until smooth
- spoon chocolate over each cup and gently tap pan to level
- sprinkle with flaky salt if using
- refrigerate until set about 1 hour or freeze 20 minutes
- serve chilled or at cool room temperature.


