
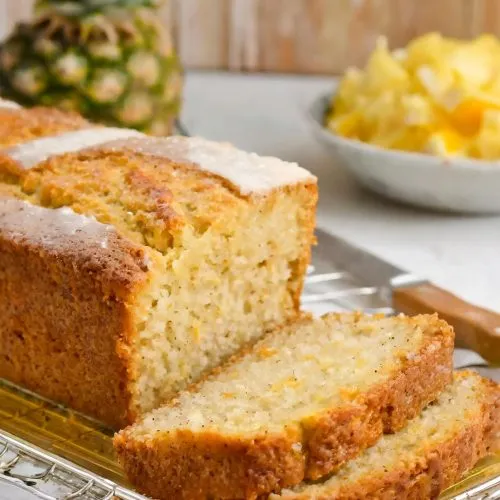
Hey there! Let me tell you all about a delicious treat known as Pineapple Quick Bread. It’s a moist and fluffy bread made with the tropical goodness of pineapple. This delightful recipe offers a perfect blend of tartness and sweetness that will leave your taste buds craving for more.
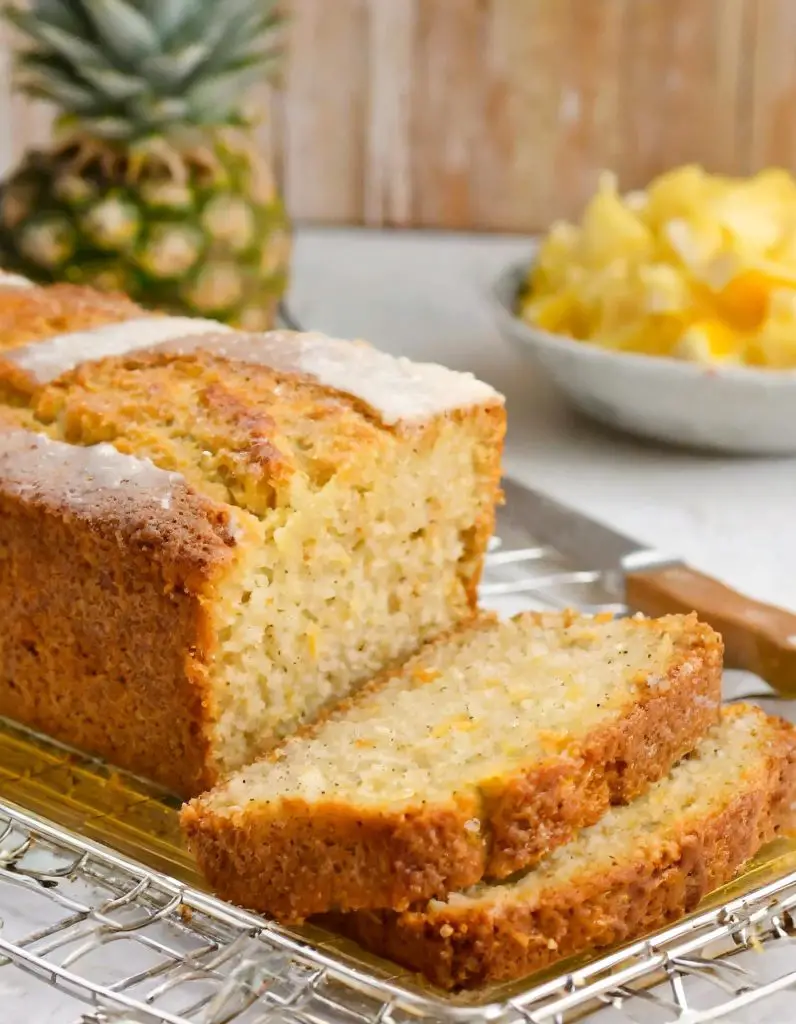
The rich aroma of pineapple infused into the bread is simply divine. It’s an easy-to-make and quick-to-bake bread that makes for a wonderful breakfast or a delightful snack. So, if you’re looking for a heavenly combination of pineapple and bread, this Pineapple Quick Bread recipe is a must-try!
Ingredients to make Pineapple Quick Bread
- 2 cups all-purpose flour
- 1 teaspoon baking soda
- 1/2 teaspoon sea salt
- 3/4 cup granulated sugar
- 1/2 cup unsalted butter softened
- 2 large eggs
- 2 teaspoons pure vanilla extract
- 19 ounces crushed pineapple drained, *save the juices *
Pineapple Glaze
- 6 teaspoons powdered sugar
- 2 Tablespoons resereved pineapple juice
Preparing Pineapple Quick Bread
- To begin, preheat the oven to 350 degrees and apply a layer of grease on a loaf pan measuring 9 inches by 5 inches. It is worth mentioning that using parchment paper with tall sides can also facilitate the easy removal of the loaf from the pan.
- Combine all-purpose flour, baking soda, and sea salt in a medium-sized bowl and mix until well blended.
- Using a stand mixer, combine sugar and butter with the paddle attachment, operating at a low-medium speed, for approximately 5 minutes.
- Next, include the eggs and vanilla extract, then continue mixing for an additional minute using the lowest setting.
- Carefully pour the flour mixture into the bowl, making sure to use a spatula to lift the bottom of the bowl and blend all the ingredients together evenly.
- Combine the drained crushed pineapple and mix it gently until well blended; you can accomplish this by using a spatula manually.
- Pour into greased pan and spread evenly.
- Bake for about 55 minutes.
- Allow the loaf to cool completely in the pan on a wire rack before taking it out.
- After the loaf has cooled down, take it out of the pan. To prepare the glaze, combine powdered sugar and pineapple juice in a small bowl and mix thoroughly.
Tips for Perfecting the Recipe
Understand Your Ingredients: The key to a perfect pineapple quick bread lies in understanding your ingredients. All-purpose flour provides the structure, baking soda acts as the leavening agent, and the combination of sugar and butter offers moisture and flavor. The star ingredient, crushed pineapple, not only infuses the bread with a tropical taste but also contributes to the moistness of the loaf. Pay attention to the quality of your crushed pineapple; opting for a brand that offers a naturally sweet flavor can make a big difference.
Room Temperature Ingredients: For the best results, ensure that your butter, eggs, and even the pineapple juice (if you’re using it from a can) are at room temperature. Room temperature ingredients blend more smoothly, creating a uniform batter that rises evenly.
Mixing Technique Matters: When combining your ingredients, start by creaming the butter and sugar until light and fluffy. This process incorporates air into the mixture, contributing to a lighter texture in the finished bread. However, once you add the flour, mix just until the ingredients are combined. Over-mixing the batter after adding flour can activate the gluten, leading to a dense and tough loaf.
Bake Immediately: Once the batter is ready, it’s important to get it into the oven as soon as possible. The leavening action of baking soda begins as soon as it comes into contact with the wet ingredients. Waiting too long to bake can result in a bread that doesn’t rise properly.
Check for Doneness Correctly: Use a toothpick or a cake tester to check if your bread is done. Insert it into the center of the loaf; the bread is ready if the toothpick comes out clean or with a few moist crumbs clinging to it. If there’s wet batter, give it a few more minutes in the oven and check again.
Cooling is Crucial: Allow the bread to cool in the pan on a wire rack for about 10 minutes before attempting to remove it. This resting period helps the bread set and makes it easier to remove from the pan without breaking. Afterward, transfer it to a wire rack to cool completely before slicing. Cutting into the bread while it’s too warm can cause it to crumble.
Serving Suggestions
Breakfast Delight: Serve slices of pineapple quick bread for breakfast, lightly toasted, with a spread of cream cheese or butter. Pair it with your favorite coffee or tea for a tropical start to your day.
Dessert Option: Elevate your pineapple quick bread by serving it as a dessert. Add a scoop of vanilla ice cream or a dollop of whipped cream on the side. A sprinkle of toasted coconut flakes can also enhance the tropical flavor.
Afternoon Snack: Enjoy a slice of this bread as an afternoon snack. It’s perfect on its own or with a bit of honey drizzled over the top for extra sweetness.
Special Occasions: For birthdays or gatherings, turn your pineapple quick bread into a more decadent treat by layering slices with cream cheese frosting and crushed pineapple in between. It’s a simple way to create a stunning dessert that’s sure to impress.
Storage Tips
Room Temperature Storage: Once completely cooled, wrap the pineapple quick bread tightly in plastic wrap or store it in an airtight container. It can be kept at room temperature for up to 3-4 days. The key is to ensure it’s well-sealed to prevent it from drying out.
Refrigerating for Longevity: If you prefer to keep your bread for a bit longer, you can store it in the refrigerator. Wrap it in plastic wrap and then in aluminum foil to protect it from absorbing any fridge odors. This method can extend its life to about a week.
Freezing for Future Enjoyment: Pineapple quick bread freezes beautifully. Wrap the loaf or individual slices in plastic wrap, followed by a layer of aluminum foil. Place it in a freezer bag, squeezing out as much air as possible. It can be frozen for up to 3 months. Thaw overnight at room temperature or in the refrigerator before serving.
Reviving Bread: If the bread feels a bit dry after storage, you can revive it by lightly toasting slices or warming them in a microwave for a few seconds. This can help bring back some of the moisture and make the bread feel freshly baked.
Frequently Asked Questions
Can I use fresh pineapple instead of canned?: Yes, you can use fresh pineapple that’s been finely chopped or crushed in a food processor. However, keep in mind that canned pineapple often comes with added juices, which contribute to the moisture of the bread. If using fresh pineapple, you might need to adjust the amount of liquid in the recipe.
Why did my bread sink in the middle?: Bread can sink for a few reasons, such as opening the oven door too early, over-mixing the batter, or using expired baking soda. Ensure your oven is fully preheated before baking and avoid opening the door until it’s nearly done. Also, measure your ingredients accurately and ensure your baking soda is active.
Can I add nuts or other fruits?: Absolutely! Chopped walnuts, pecans, or even shredded coconut can be great additions to pineapple quick bread. Just be sure to fold these in at the end to avoid over-mixing the batter.
How do I know if my baking soda is still good?: You can test baking soda’s effectiveness by mixing a small amount with vinegar. If it bubbles vigorously, it’s still good to use. If the reaction is sluggish or nonexistent, it’s time to replace it.
Can I make muffins with this batter?: Yes, this batter can be easily adapted to make muffins. Just adjust the baking time accordingly, as muffins will bake faster than a full loaf. Start checking for doneness at around 20-25 minutes.
Pineapple Quick Bread
INGREDIENTS
- 2 cups all-purpose flour
- 1 teaspoon baking soda
- 1/2 teaspoon sea salt
- 3/4 cup granulated sugar
- 1/2 cup unsalted butter softened
- 2 large eggs
- 2 teaspoons pure vanilla extract
- 19 ounces crushed pineapple drained *save the juices *
Pineapple Glaze
- 6 teaspoons powdered sugar
- 2 Tablespoons resereved pineapple juice
INSTRUCTIONS
- To begin, preheat the oven to 350 degrees and apply a layer of grease on a loaf pan measuring 9 inches by 5 inches. It is worth mentioning that using parchment paper with tall sides can also facilitate the easy removal of the loaf from the pan.
- Combine all-purpose flour, baking soda, and sea salt in a medium-sized bowl and mix until well blended.
- Using a stand mixer, combine sugar and butter with the paddle attachment, operating at a low-medium speed, for approximately 5 minutes.
- Next, include the eggs and vanilla extract, then continue mixing for an additional minute using the lowest setting.
- Carefully pour the flour mixture into the bowl, making sure to use a spatula to lift the bottom of the bowl and blend all the ingredients together evenly.
- Combine the drained crushed pineapple and mix it gently until well blended; you can accomplish this by using a spatula manually.
- Pour into greased pan and spread evenly.
- Bake for about 55 minutes.
- Allow the loaf to cool completely in the pan on a wire rack before taking it out.
- After the loaf has cooled down, take it out of the pan. To prepare the glaze, combine powdered sugar and pineapple juice in a small bowl and mix thoroughly.


