

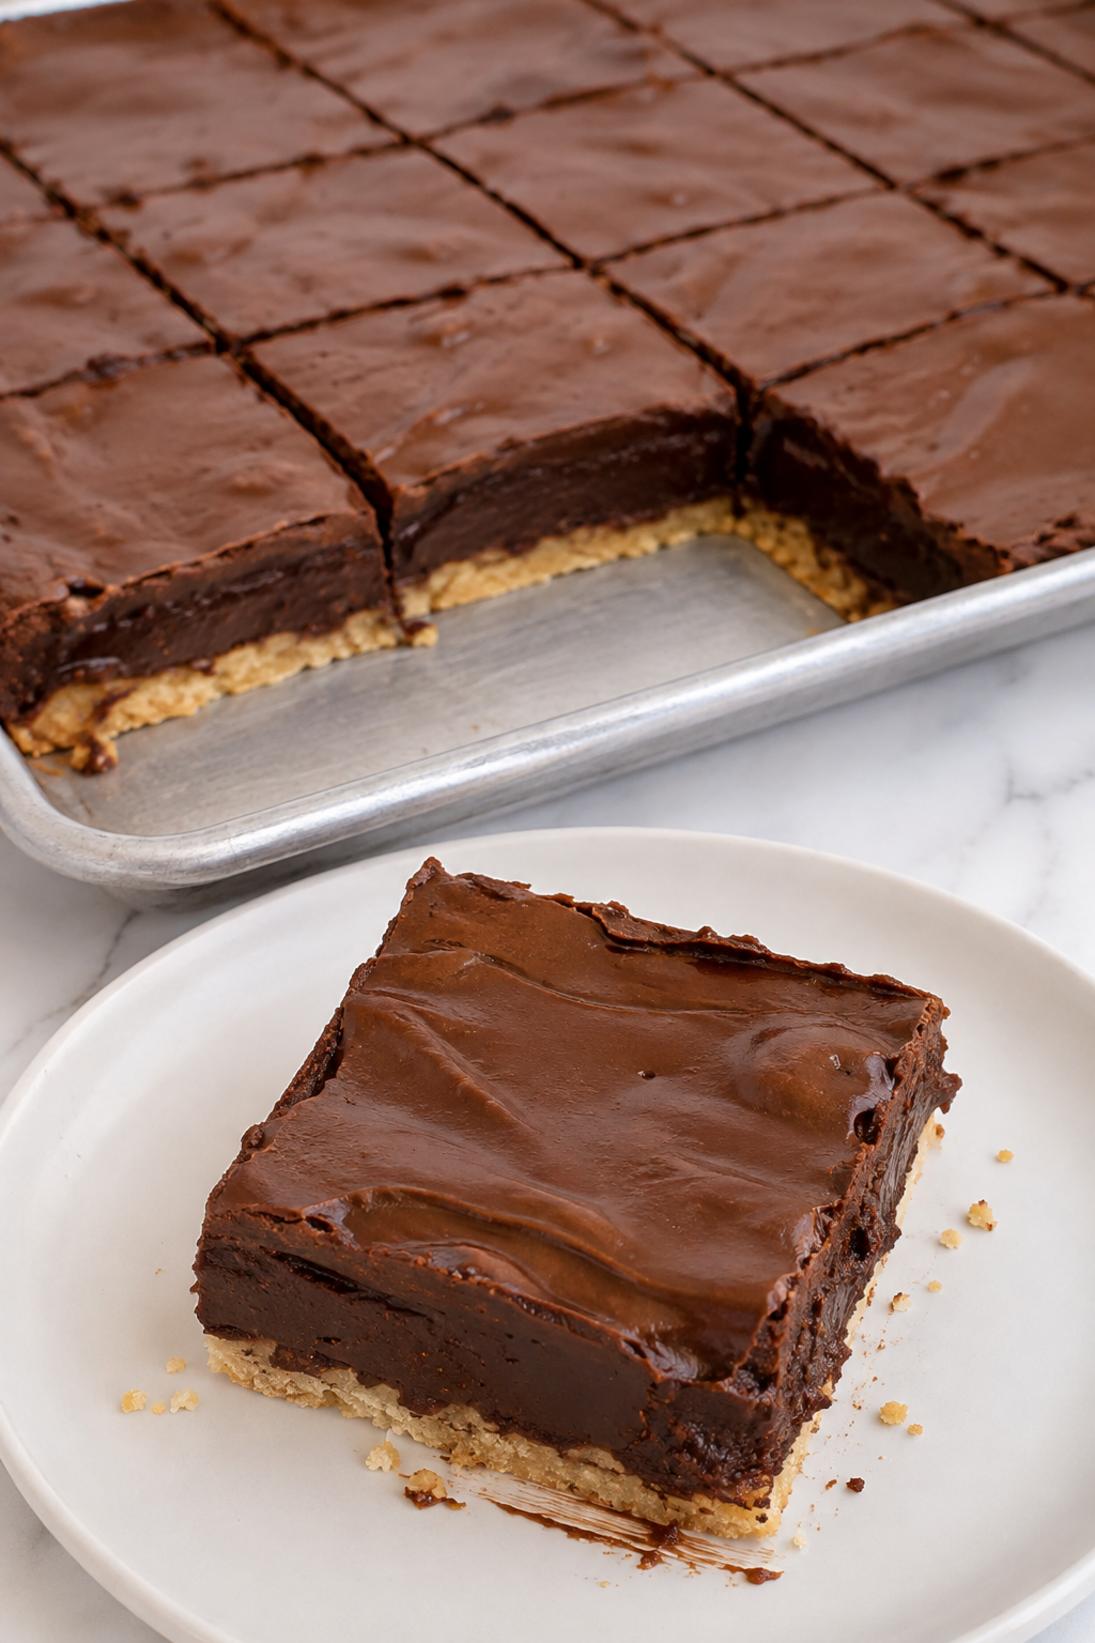
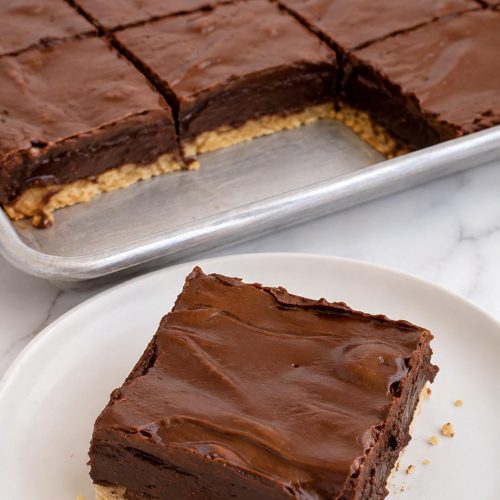
Fudge Sheet Pie is a rich, chocolatey pie baked in a jelly roll pan, then sliced into brownie-like squares. It’s the kind of dessert I make when I want the flavor of a classic cocoa fudge pie, but in an easier-to-serve format.
The filling is fudgy and glossy, with that slightly chewy edge that makes you go back for a second piece. I like this version because the sheet pan gives you more crust-to-filling balance, and it slices cleanly once it’s fully set.
This is one of my favorites for holiday platters, potlucks, and bake sales because it travels well and doesn’t need anything fancy. That said, I rarely say no to a piece with whipped cream or a scoop of vanilla ice cream.
Why You’ll Love This Recipe
Sheet pan ease: You get pie-bar vibes without fussing with a pie plate, and you end up with neat squares that are simple to portion.
Deep chocolate flavor: Cocoa gives it that classic fudge pie taste, and it stays rich even after it cools and sets.
Fudgy center: The middle stays soft with a slight jiggle when it’s done, so the final texture is more brownie-like than cakey.
Great for serving: This is easy to put on a platter for a party, and you can dress it up with powdered sugar, whipped cream, or ice cream.
Flexible toppings: Pecans are great if you want crunch, but you can also leave them out and keep it smooth and extra fudgy.
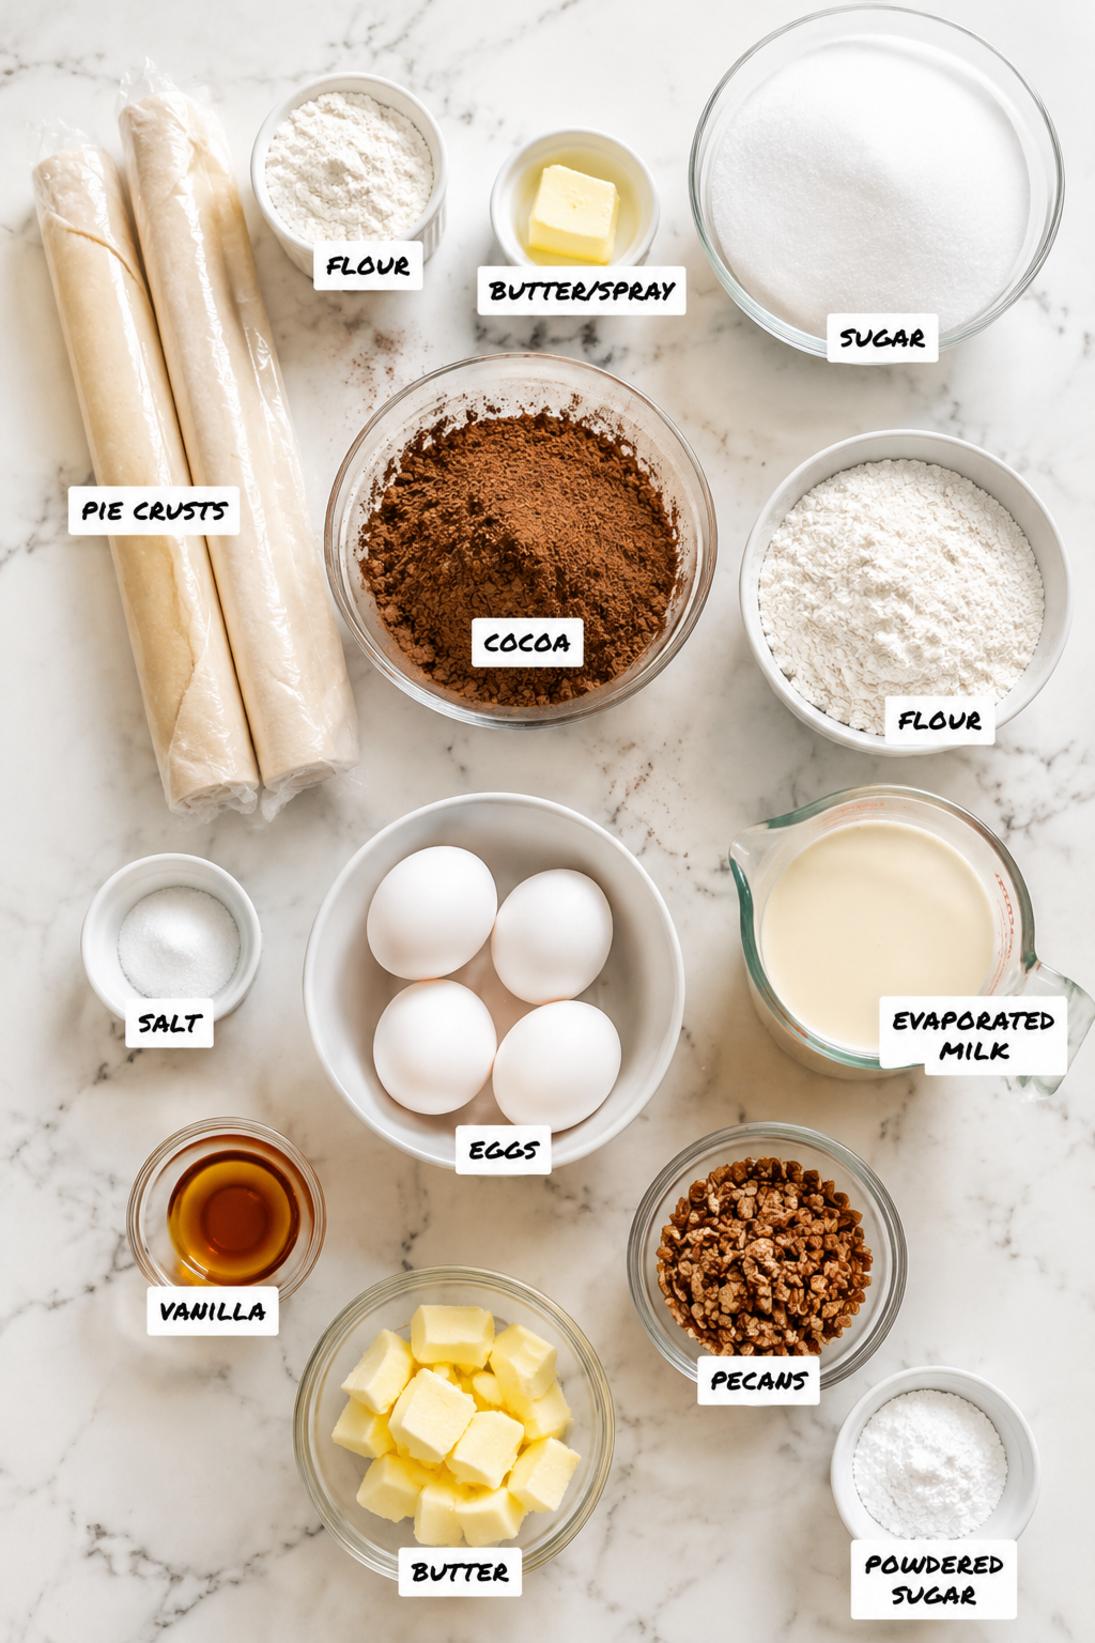
Ingredients You’ll Need
Crust
- Refrigerated pie crusts: I like the 9-inch roll-out kind here because it’s quick and reliable. You’re basically making one big crust by overlapping and pressing the seams together.
- All-purpose flour: This is just for dusting so the crust doesn’t stick while you roll it out. A light sprinkle is plenty.
- Butter or baking spray: Don’t skip greasing the pan, even if you line it with parchment. It helps the crust release cleanly around the edges.
Fudge Filling
- Unsalted butter: This is what makes the filling taste like real fudge instead of just chocolate cake. If you only have salted butter, cut back a little on the added salt.
- Granulated sugar: Classic for chocolate chess-style pies. You can swap in some light brown sugar if you like a slightly deeper, caramel-ish note.
- Unsweetened cocoa powder: Regular unsweetened cocoa works well. If your cocoa is a little lumpy, whisk it first so the filling stays smooth.
- All-purpose flour: A small amount helps the filling set into slices that hold together. It still stays soft in the middle if you don’t overbake.
- Fine salt: This keeps the chocolate from tasting flat. Fine salt dissolves easily in the warm filling.
- Eggs: Eggs give the filling structure and that shiny, fudgy finish. I like to use large eggs and add them one at a time so the mixture stays glossy.
- Evaporated milk or half and half: Either works. Evaporated milk gives a more classic fudge-pie texture, but half and half is great if that’s what you have.
- Vanilla extract: It rounds out the cocoa flavor and makes the filling taste more like a finished dessert.
Optional Toppings
- Chopped pecans: I like pecans for a little crunch, especially on a holiday tray. If you want it extra smooth and fudgy, just leave them out.
- Powdered sugar: A quick dusting makes the squares look neat and bakery-ish without doing much work.
- Whipped cream: Softens the richness a bit and makes it feel more like a plated dessert.
- Vanilla ice cream: My favorite with these, especially if you warm a square for a few seconds first.
Recipe Instructions
- Preheat the oven: Heat the oven to 350°F. Grease a 10×15-inch jelly roll pan, and line with parchment if you want easier lifting and slicing.
- Roll the crust: Lightly flour your work surface and roll out the pie crusts. Overlap them and press the seams together to make one large sheet.
- Fit the crust: Press the dough into the pan with a slight overhang, then crimp the edges. Dock the crust all over with a fork.
- Bake the crust: Bake for 8 to 10 minutes, just until the crust is set and no longer looks raw.
- Melt the butter: Melt the butter in a saucepan over medium heat.
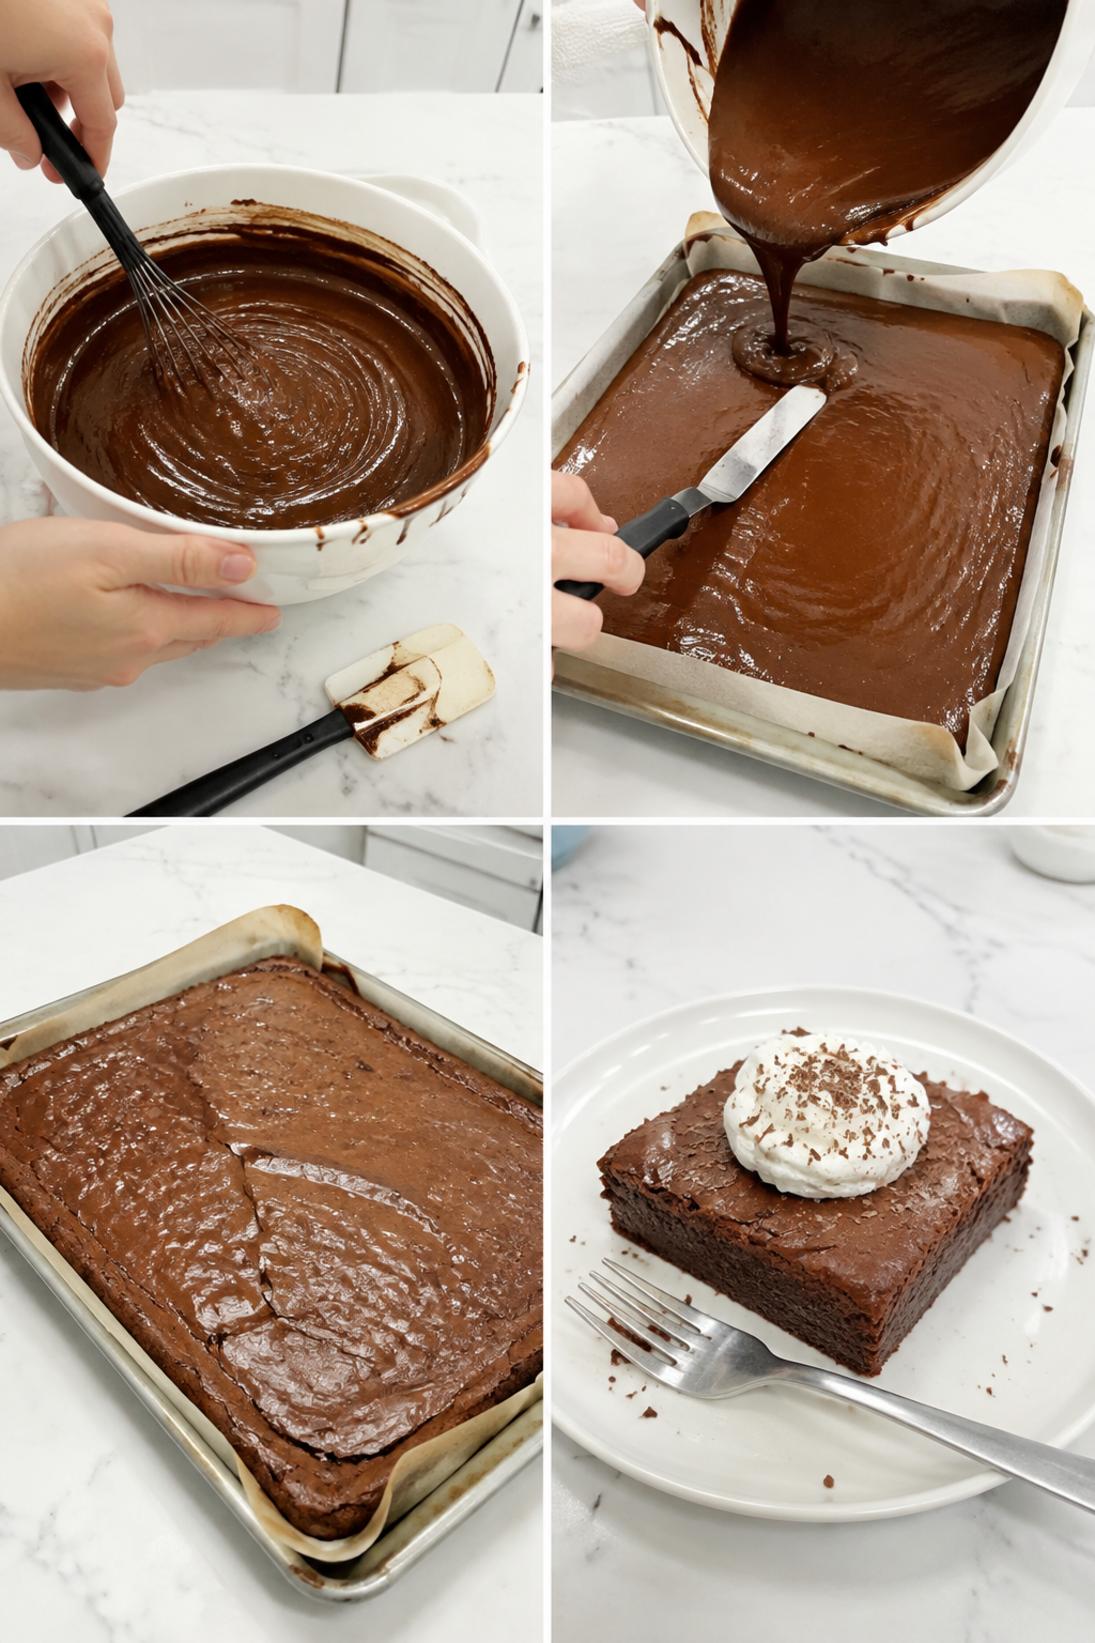
- Whisk in cocoa and sugar: Whisk in the sugar and cocoa powder until smooth and well blended.
- Add flour and salt: Whisk in the flour and salt until you don’t see dry streaks.
- Add the eggs: Remove from the heat and whisk in the eggs one at a time, whisking well after each, until the mixture looks glossy.
- Add milk and vanilla: Whisk in the evaporated milk (or half and half) and vanilla until fully combined.
- Add pecans: Stir in chopped pecans if you’re using them.
- Fill the crust: Pour the filling into the warm crust and spread it evenly to the corners.
- Bake: Bake for 22 to 28 minutes, until the edges are set and the center still has a slight jiggle.
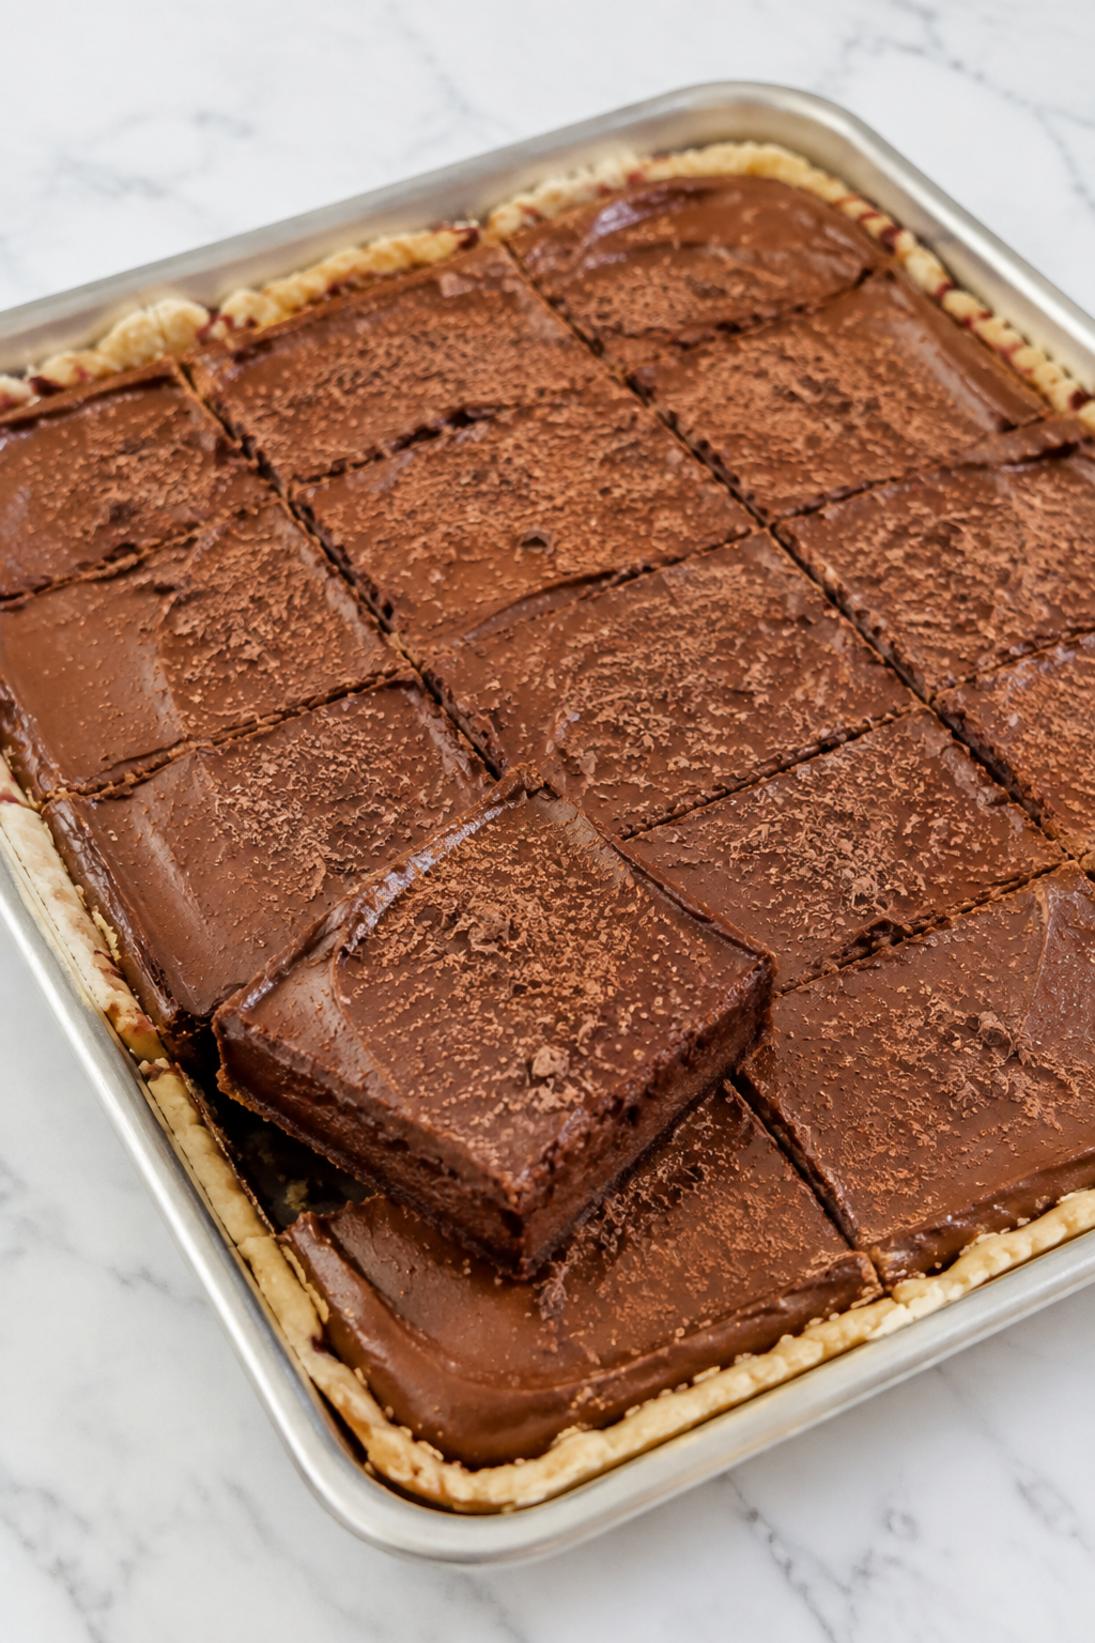
- Cool: Cool completely for about 2 hours so the filling sets, then slice into squares. For cleaner slices, chill for about 30 minutes first.
Some of my tips!
This is the part that really makes a difference. If you only read one section, make it this one because this is where I share the little trick that helps the recipe turn out so well.
Recipe Tips & Tricks
Use parchment if you want easy lifting. It’s not required, but it makes it simpler to pull the whole pie out and cut it on a board. It also helps if any filling creeps into the corners.
Press the crust seams firmly. Where the two crusts overlap, press and smooth it well so it bakes as one piece. Thin seams can split and let filling sneak under.
Whisk the eggs in off the heat. Once the cocoa mixture is hot, take the pan off the burner before adding eggs. That keeps the filling smooth instead of getting little bits of cooked egg.
Underbake slightly if you like it extra fudgy. Pull it when the edges look set but the middle still moves a little. The center will firm up as it cools.
Add espresso powder for deeper chocolate. A small spoonful mixed into the cocoa is enough. It won’t taste like coffee, it just makes the chocolate taste stronger.
Make some touches!
There are plenty of easy ways to serve this depending on the occasion. Keep it simple, or add a few small touches to make it feel a little more special.
Serving Suggestions
- Vanilla ice cream: Serve a square with a scoop on the side. If you like, warm the square for a few seconds so it’s soft around the edges.
- Whipped cream: A simple dollop is all you need. I like adding a tiny pinch of salt on top if the pie is very rich.
- Powdered sugar: Dust right before serving so it stays bright. This is nice if you’re putting the squares on a cookie tray.
- Fresh berries: Strawberries or raspberries are great on the plate. It’s a simple way to add something lighter next to the chocolate.
Save it for later
This section covers how to store leftovers and what parts of the recipe you can prepare ahead of time.
Storage and Make Ahead
Store covered at room temperature for 2 days if your kitchen isn’t too warm. After that, I usually move it to the fridge so it stays firm and slices cleanly.
Refrigerate leftovers for up to 5 days. The texture gets even more brownie-like when it’s cold. Let it sit out for a few minutes if you prefer a softer bite.
You can make this recipe ahead for parties by baking it the day before. Once it’s fully cooled, cover it tightly and slice right before serving.
If you want to keep portions longer, freeze individual squares in an airtight container. Thaw in the fridge overnight or at room temperature until softened.
A few quick answers
This section covers a few extra details that may help before you head to the recipe card.
Recipe FAQs
How do I know when fudge sheet pie is done baking?
Look for set edges and a center that still has a slight jiggle when you gently move the pan. If the center looks totally firm in the oven, it can bake up a little drier once it cools.
Can I use half and half instead of evaporated milk?
Yes. Half and half works well and is an easy swap. Evaporated milk is a little more classic for this style of pie, but both will set up nicely.
Do I have to par-bake the crust?
I recommend it. That short bake helps the crust set so it doesn’t get soggy under the filling, especially in a sheet pan where the filling layer is a bit thinner.
Can I leave out the pecans?
Definitely. Without the pecans, the filling is smoother and even more fudge-like. If you still want some texture, you can add chopped walnuts or even mini chocolate chips.
Why does it need to cool so long before slicing?
The filling keeps setting as it cools. If you cut it warm, it will look runny and won’t hold clean squares. Chilling for 30 minutes before slicing helps a lot if you want sharp edges.
You might also like
Before you go, take a look at a few other recipes below the recipe card. They use similar ingredients in a different way and are worth saving too.
MORE DINNER RECIPES TO TRY


Fudge Sheet Pie
INGREDIENTS
Crust
- 2 9 inch refrigerated pie crusts
- 1 tbsp all purpose flour for dusting
- 1 tbsp butter or baking spray for pan.
Fudge Filling
- 1 cup unsalted butter
- 2 cups granulated sugar
- 1 cup unsweetened cocoa powder
- 1/2 cup all purpose flour
- 1/2 tsp fine salt
- 4 large eggs
- 1 cup evaporated milk or half and half
- 2 tsp vanilla extract.
Optional Toppings
- 1 cup chopped pecans
- powdered sugar for dusting
- whipped cream for serving
- vanilla ice cream for serving.
INSTRUCTIONS
Pan And Crust
- heat oven to 350 F
- grease a 10x15 inch jelly roll pan and optionally line with parchment
- lightly flour the work surface and roll out pie crusts then overlap and press seams to form one large sheet
- fit dough into pan with a slight overhang then crimp edges
- dock crust all over with a fork and bake until just set 8 to 10 minutes.
Fudge Filling And Baking
- melt butter in a saucepan over medium heat then whisk in sugar and cocoa until smooth
- whisk in flour and salt
- remove from heat and whisk in eggs one at a time until glossy
- whisk in evaporated milk and vanilla until fully combined
- stir in pecans if using
- pour filling into warm crust and spread evenly
- bake until edges are set and center has a slight jiggle 22 to 28 minutes
- cool completely to set about 2 hours before slicing into squares.


