

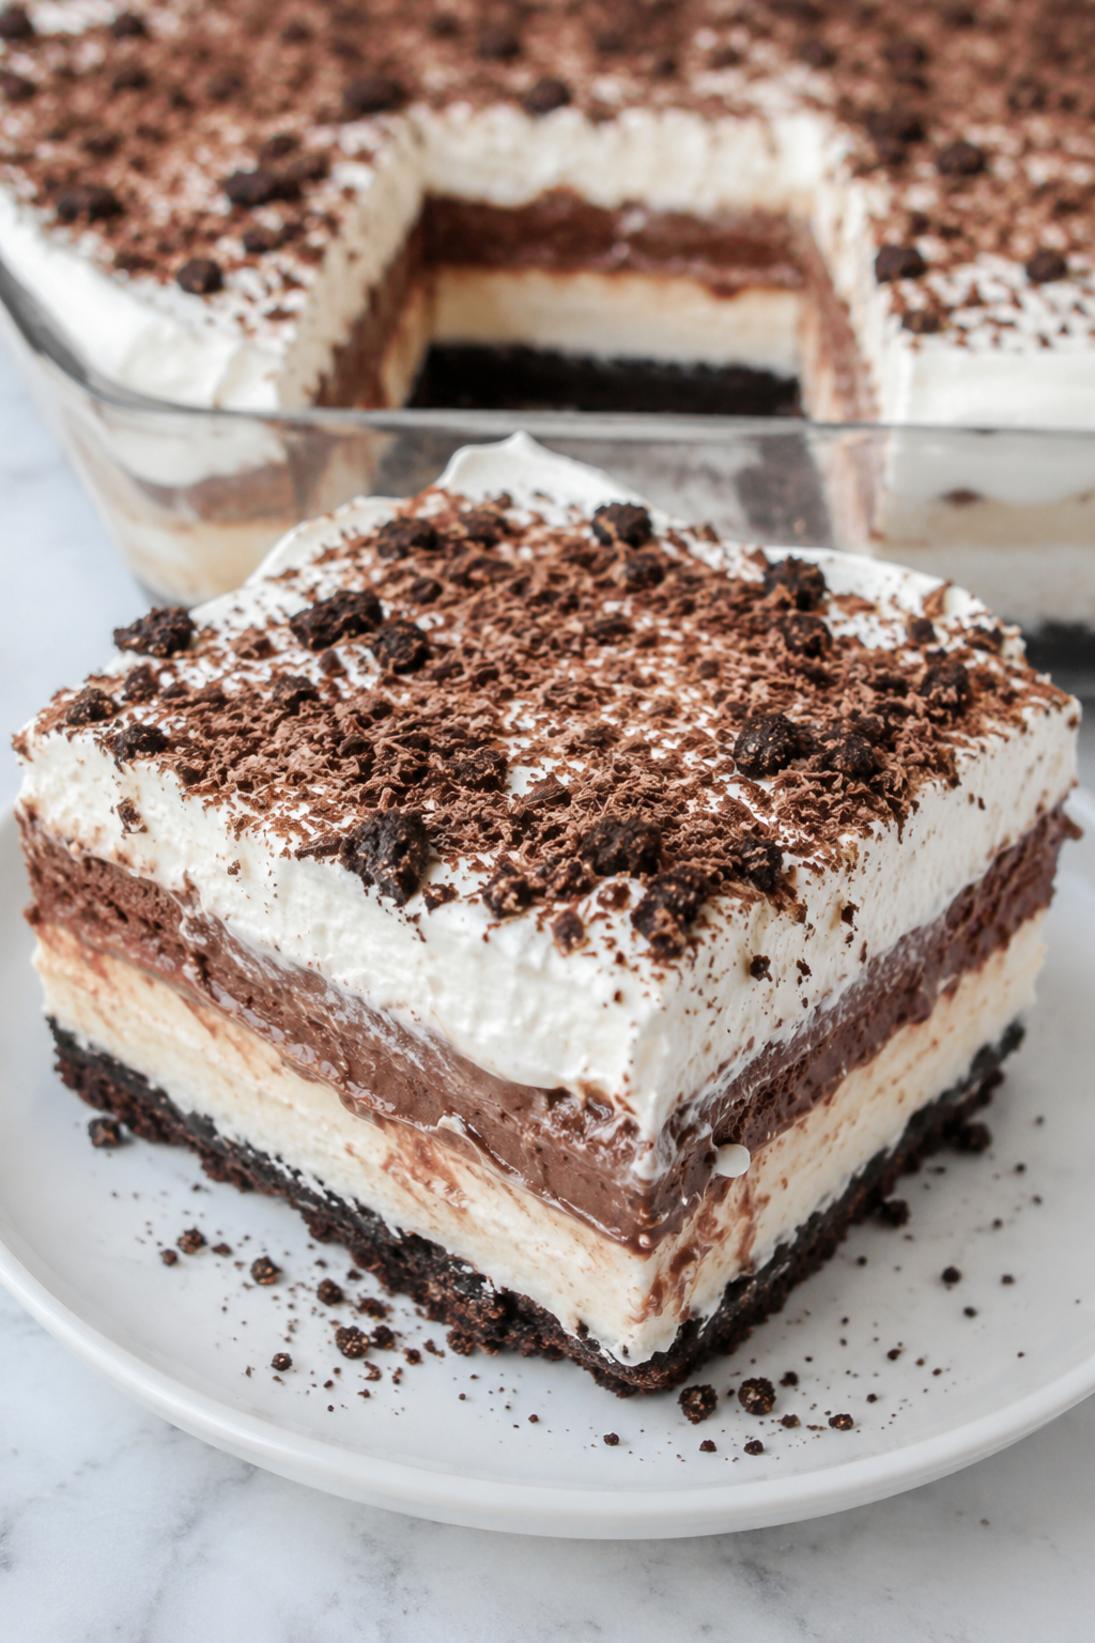
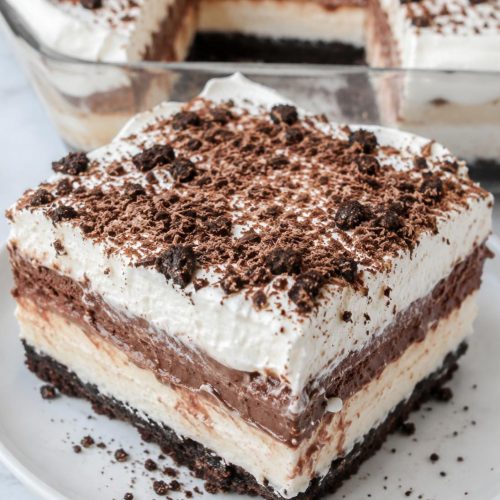
No-Bake Chocolate Lasagna Cake is a layered dessert with a cookie crust, a fluffy cream cheese layer, thick chocolate pudding, and a simple whipped topping finish. It’s rich, cold, and very chocolate-forward, which is exactly what I want when I’m making a dessert for a group.
I like this one because the layers stay clean and sliceable once it chills, and the textures are really satisfying together. The cookie crust gives it that familiar crunch, and the cheesecake layer keeps it tasting like more than just pudding in a pan.
For me, this is a make-ahead dessert that works best for potlucks, summer get-togethers, and holiday tables when oven space is tight. It’s also a nice option when you want something cold and creamy after a heavier meal.
Why You’ll Love This Recipe
No oven: This is the kind of dessert I make when I want something homemade but I don’t want to bake. It’s all fridge time.
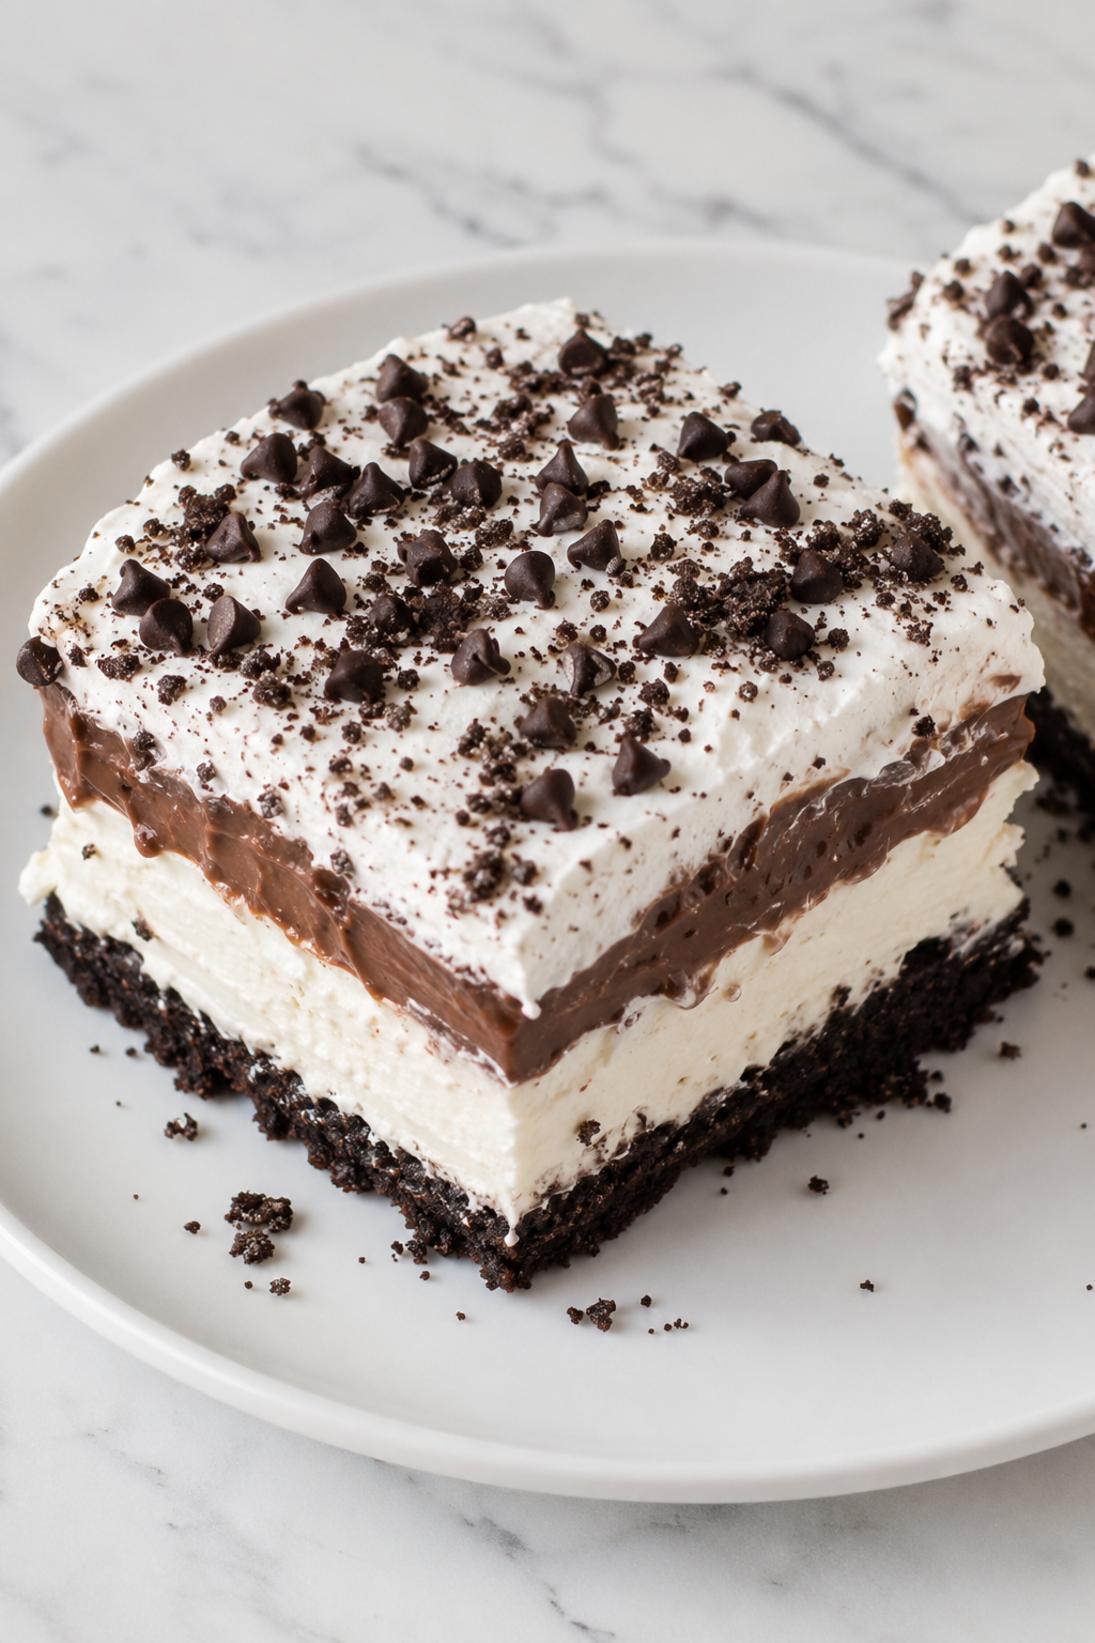
Great layers: You get a crisp cookie base, a creamy cheesecake middle, and that thick pudding layer on top. It slices like a dessert bar once it’s chilled.
Make-ahead friendly: It’s actually better after a long chill, so you can make it the day before and forget about it until you’re ready to serve.
Easy to garnish: A handful of mini chocolate chips and a few chocolate shavings make it look finished without fuss.
Flexible flavors: You can swap the pudding flavor, use gluten-free cookies, or use homemade whipped cream if you’re serving it the same day.
Ingredients You’ll Need
Cookie crust
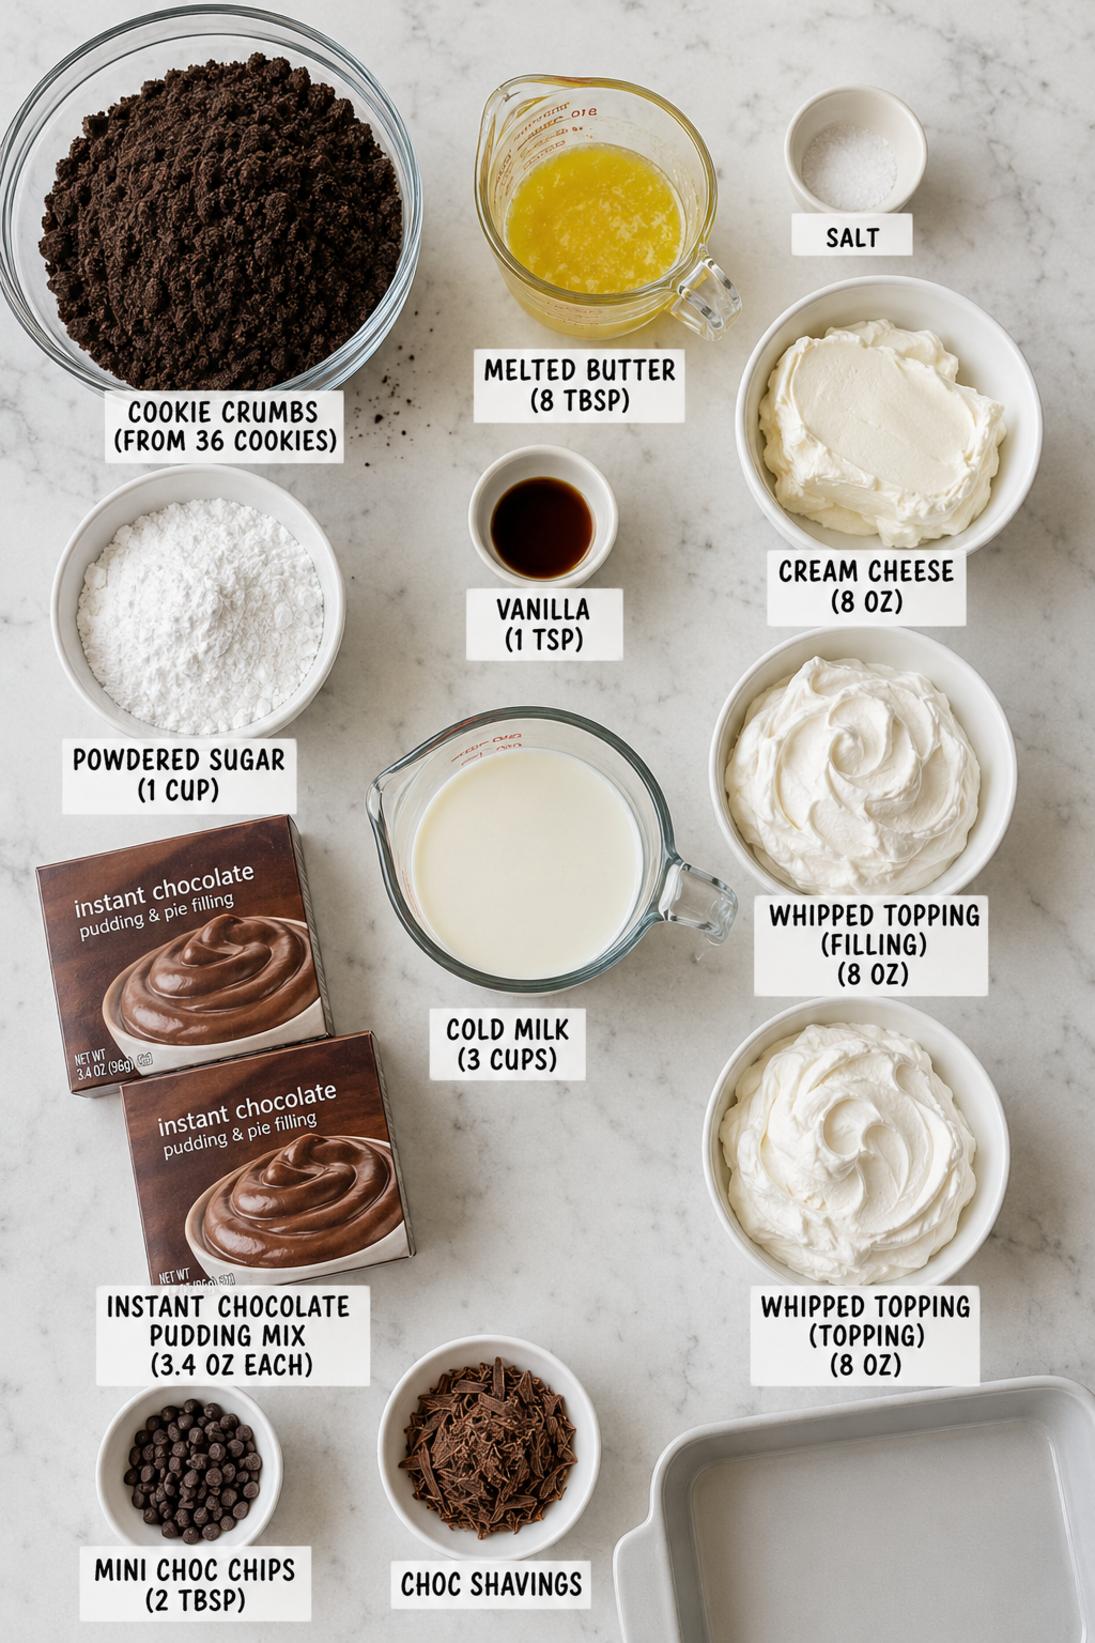
- Chocolate sandwich cookies: I crush these pretty fine so the crust presses in firmly and slices clean. Any Oreo-style cookie works here.
- Unsalted butter – Melted butter is what binds the crumbs into a sturdy crust. If you only have salted butter, just skip the added pinch of salt.
- Salt: Just a little helps the crust taste more like a real cookie base and less like straight sugar.
Cream cheese layer
- Cream cheese: Let it soften fully so it beats smooth with no lumps. Full-fat is what I use for the best texture.
- Powdered sugar: This sweetens and keeps the layer soft and fluffy. Granulated sugar will feel grainy here, so I don’t recommend swapping it.
- Vanilla extract: It adds that classic cheesecake flavor. Use real vanilla if you can, but imitation works in a pinch.
- Whipped topping: This keeps the layer light and easy to spread. Make sure it’s thawed so it folds in evenly.
Chocolate pudding layer
- Instant chocolate pudding mix: Instant is the key here (not cook-and-serve). It sets up quickly and gives you that thick, sliceable layer.
- Milk: Cold milk helps the pudding set fast. Whole milk gives the richest texture, but 2% works too.
Topping
- Whipped topping: This is your final fluffy layer. I like to spread it right to the edges so every slice gets a little topping.
- Mini chocolate chips: Mini chips sprinkle more evenly than regular chips. They also cut cleaner when you slice.
- Chocolate shavings: Totally optional, but it makes the top look finished. A vegetable peeler on a chocolate bar is the easiest way.
Recipe Instructions
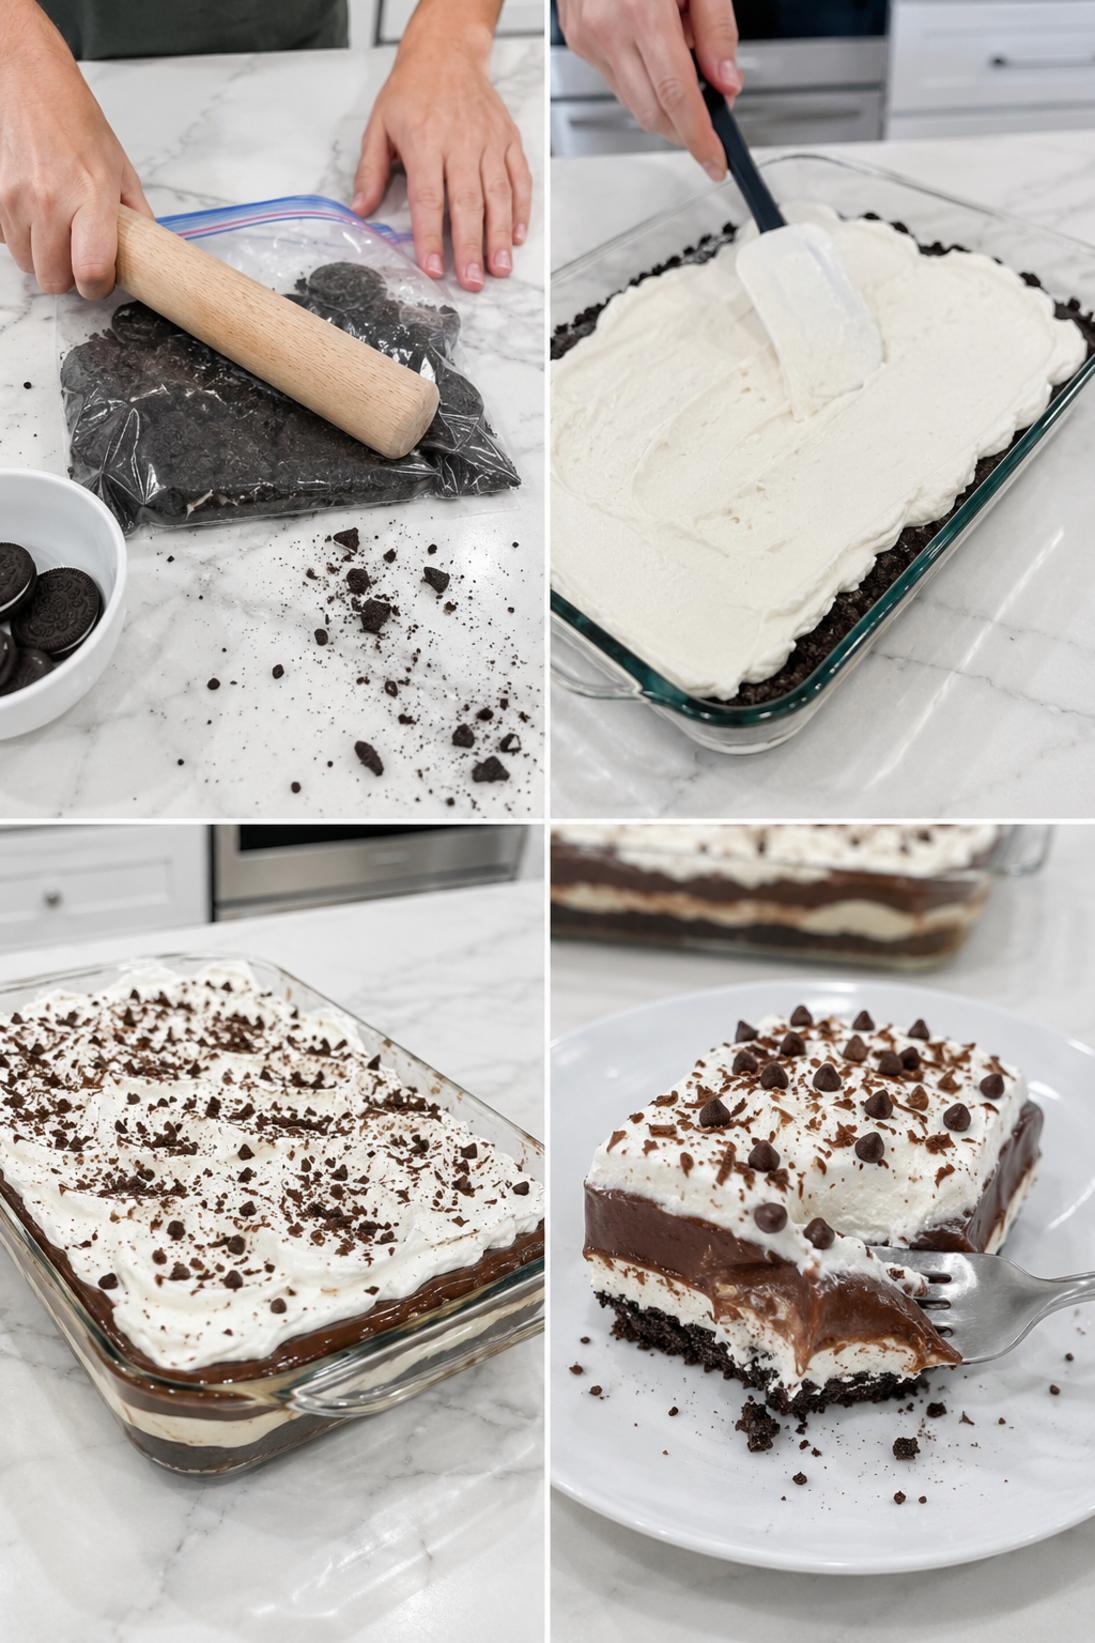
- Make the crust: Crush the chocolate sandwich cookies into fine crumbs. Stir the crumbs with melted butter and a pinch of salt until everything looks evenly moistened.
- Chill the crust: Press the crumb mixture firmly into the bottom of a 9×13 inch dish. Chill for 10 minutes so it sets up while you make the next layer.
- Beat the cream cheese: In a mixing bowl, beat the softened cream cheese until smooth and creamy, scraping the bowl as needed.
- Add sugar and vanilla: Add the powdered sugar and vanilla extract, then beat again until fluffy and well mixed.
- Fold in whipped topping: Fold the whipped topping into the cream cheese mixture until it’s uniform, with no streaks.
- Spread the cream layer: Spread the cream cheese mixture evenly over the chilled crust, all the way to the edges.
- Mix the pudding: Whisk the instant pudding mix with cold milk for about 2 minutes, until thickened. Let it rest for 5 minutes to finish setting.
- Spread the pudding: Spoon the pudding over the cream cheese layer and spread it out evenly.
- Add the topping: Spread the remaining whipped topping over the pudding layer.
- Garnish and chill: Sprinkle with mini chocolate chips and chocolate shavings. Cover and refrigerate for at least 4 hours or overnight, then slice with a clean knife, wiping between cuts.
Some of my tips!
This is the part that really makes a difference. If you only read one section, make it this one because this is where I share the little trick that helps the recipe turn out so well.
Recipe Tips & Tricks
Chill it overnight if you can. You’ll get the cleanest layers and the easiest slices. The pudding and cream cheese layer both firm up more as they sit.
Crush the cookies pretty fine. Bigger chunks make the crust crumbly when you cut it. A food processor is easiest, but a zip-top bag and rolling pin works too.
Make sure the cream cheese is truly softened. If it’s still cold, you’ll fight lumps, and they’re hard to fix after you fold in the whipped topping.
Let the pudding rest before spreading. If you spread it too soon, it can slide around and mix into the cream layer a bit. Five minutes makes it much easier to handle.
Wipe the knife between cuts. A warm, clean knife gives you those neat layers instead of smearing chocolate across the top.
Make some touches!
There are plenty of easy ways to serve this depending on the occasion. Keep it simple, or add a few small touches to make it feel a little more special.
Serving Suggestions
- Cold milk: A glass of cold milk is simple and classic with a rich chocolate dessert like this. I like it especially if the slices are straight from the fridge.
- Coffee: Serve this with hot coffee or cold brew. The bitterness helps a lot if you’re doing dessert after dinner.
- Fresh berries: Strawberries or raspberries on the side are nice if you want something bright on the plate. You can also spoon a few right over the top.
- Extra chocolate sauce: A small drizzle over each slice looks good and tastes great. I keep it light so it doesn’t overpower the layers.
Save it for later
This section covers how to store leftovers and what parts of the recipe you can prepare ahead of time.
Storage and Make Ahead
Store leftovers covered in the fridge for up to 4 days. This dessert needs to stay cold so the layers hold. I keep it right in the pan, tightly covered.
You can make this recipe ahead the day before you need it. In fact, it’s easier to slice after a full overnight chill.
If you want it longer-term, you can freeze individual portions in airtight containers. Thaw in the fridge overnight before serving.
A few quick answers
This section covers a few extra details that may help before you head to the recipe card.
Recipe FAQs
Can I use homemade whipped cream instead of whipped topping?
You can, but I only do it if I’m serving the same day. Homemade whipped cream is softer and can get a little weepy after sitting overnight.
Do I have to chill it overnight?
No, but you do need at least 4 hours so the pudding sets and the layers firm up. Overnight is just easier for clean slices.
Can I make this gluten free?
Yes. Use gluten-free chocolate sandwich cookies for the crust, and double-check the pudding mix and toppings are labeled gluten free if you need it strict.
Can I change the pudding flavor?
Definitely. Vanilla or cheesecake pudding makes it more like a cookies-and-cream dessert, and it’s a nice change if you’ve made the chocolate version a lot.
Why is my cream cheese layer lumpy?
That usually happens when the cream cheese was still cold. Next time, let it soften more at room temperature, then beat it smooth before you add the powdered sugar.
You might also like
Before you go, take a look at a few other recipes below the recipe card. They use similar ingredients in a different way and are worth saving too.
MORE DINNER RECIPES TO TRY



No-Bake Chocolate Lasagna Cake
INGREDIENTS
Cookie crust
- 36 chocolate sandwich cookies crushed
- 8 tbsp unsalted butter melted
- pinch of salt.
Cream cheese layer
- 8 oz cream cheese softened
- 1 cup powdered sugar
- 1 tsp vanilla extract
- 8 oz whipped topping thawed.
Chocolate pudding layer
- 2 boxes instant chocolate pudding mix 3.4 oz each
- 3 cups cold milk.
Topping
- 8 oz whipped topping thawed
- 2 tbsp mini chocolate chips
- chocolate shavings for garnish.
INSTRUCTIONS
Cookie crust
- Crush cookies to fine crumbs
- mix crumbs with melted butter and salt until evenly moistened
- press firmly into a 9x13 inch dish and chill 10 minutes.
Cream cheese layer
- Beat cream cheese until smooth
- add powdered sugar and vanilla and beat until fluffy
- fold in whipped topping until uniform
- spread evenly over chilled crust.
Chocolate pudding layer
- Whisk pudding mix with cold milk for 2 minutes until thickened
- rest 5 minutes to set
- spread pudding evenly over cream cheese layer.
Finish and chill
- Spread remaining whipped topping over pudding
- garnish with chocolate chips and shavings
- cover and refrigerate at least 4 hours or overnight
- slice with a clean knife wiped between cuts.


