

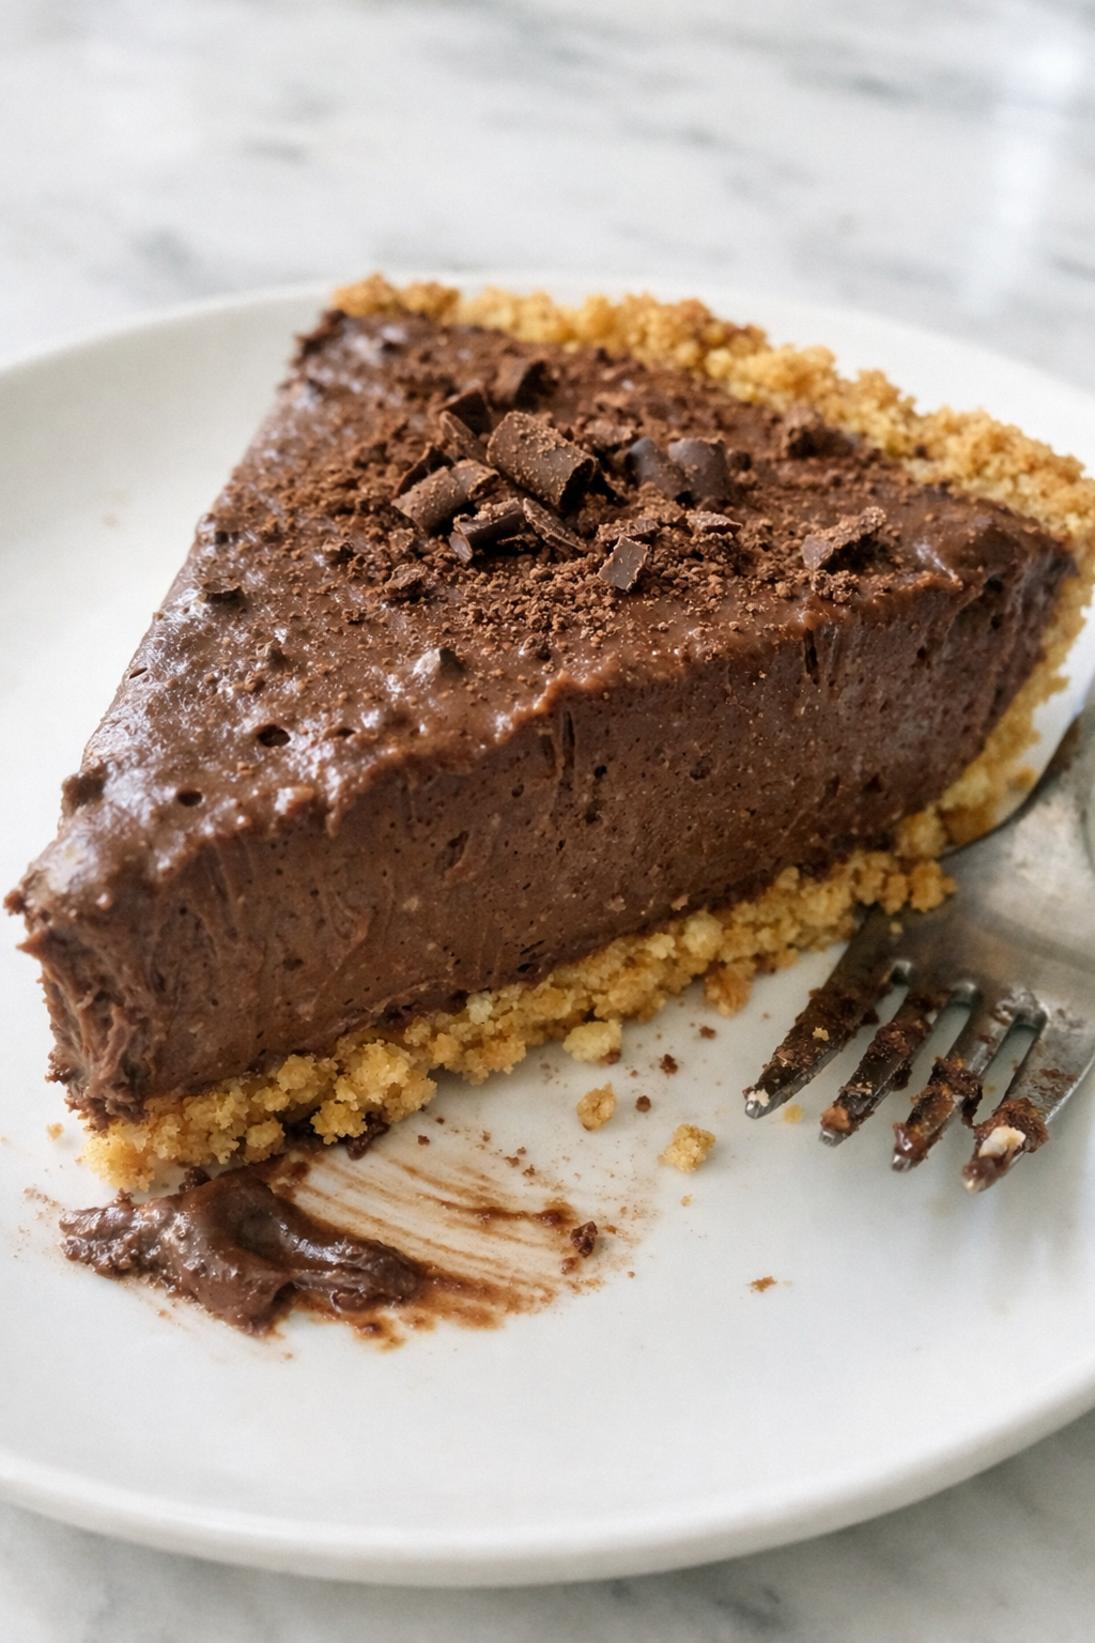
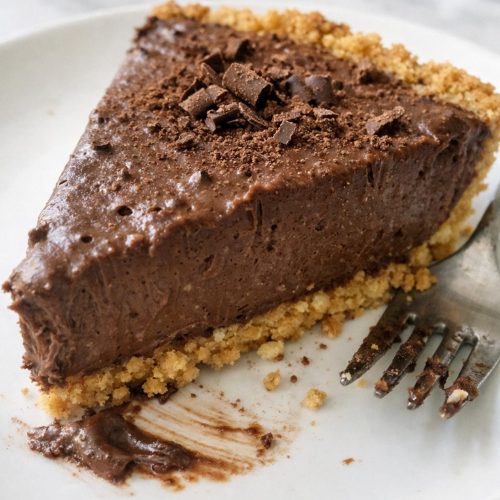
No-Bake Chocolate Pie is my kind of dessert when I want something rich and chocolatey but not fussy. It’s a creamy refrigerator pie with an Oreo crust and a fluffy chocolate filling that slices clean once it’s chilled.
The filling tastes like a cross between chocolate mousse and chocolate cheesecake, in the best way. I like this version because the cocoa and melted chocolate make it taste deep and real, not just sweet.
I make this easy no-bake pie for weekends, holidays, and any time I need a dessert that can sit in the fridge until we’re ready. It’s also one of my favorites for potlucks because it travels well and looks great with a simple whipped cream topping.
Why You’ll Love This Recipe
No oven needed: You get the payoff of a classic chocolate cream pie without baking a filling. The fridge does the work here.
Oreo crust: That dark cookie crust is sturdy and bold, and it holds up well under a soft filling. It also makes the pie feel a little more special than a basic crumb crust.
Fluffy, creamy filling: The mix of cream cheese and whipped cream gives you a filling that’s light but still slices like a pie. It’s not runny or pudding-like.
Big chocolate flavor: Using both cocoa powder and melted chocolate makes the filling taste like real chocolate, not just “chocolate flavored.” It’s the kind of rich I want in a dessert like this.
Make-ahead friendly: This is easy to assemble earlier in the day (or the night before) and forget about until dessert. I love that it’s ready when you are.
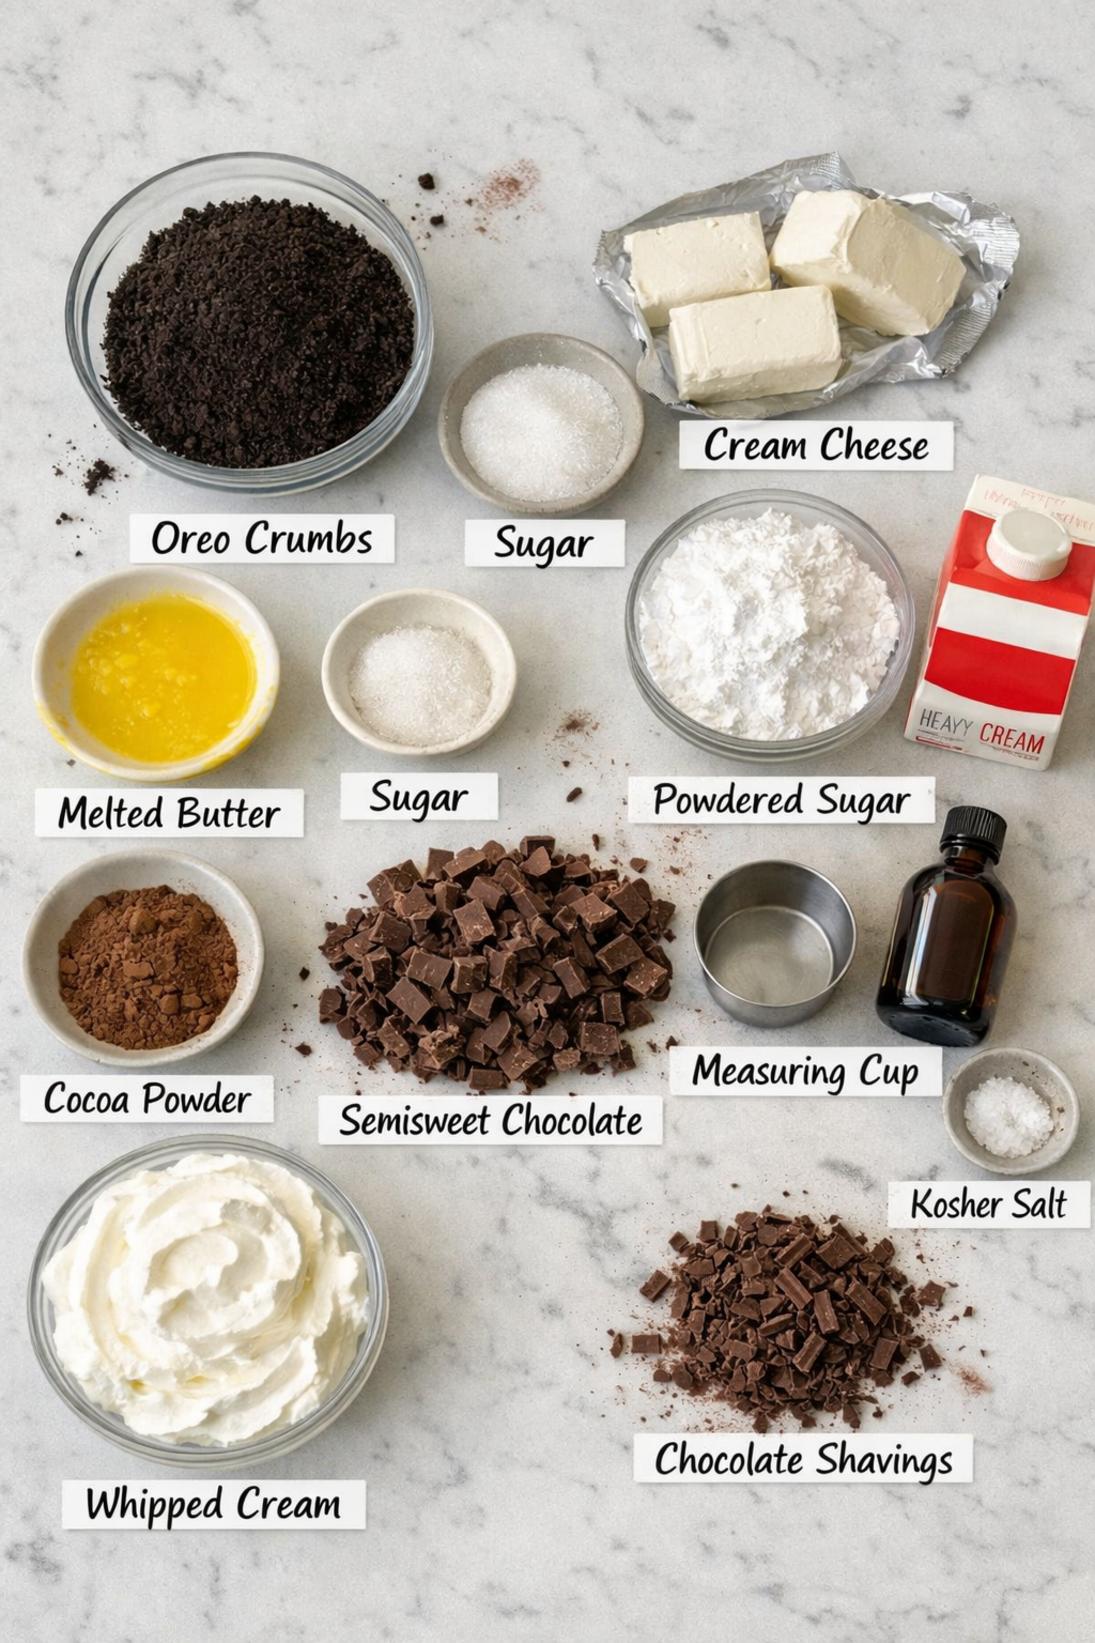
Ingredients You’ll Need
Oreo Crust
- Oreo cookies: I use regular Oreos, crushed very fine so the crust presses in smoothly. If you leave bigger chunks, the sides can crumble more when you slice.
- Unsalted butter: Melted butter is what holds the crumbs together. Unsalted is nice since the cookies already bring plenty of flavor.
- Granulated sugar: This is optional, but I like it if your crumbs are very fine and you want a slightly firmer crust. If you prefer a less-sweet crust, skip it.
Chocolate Filling
- Cream cheese: Full-fat cream cheese works best for a thick, creamy filling. Let it soften so you don’t end up with little lumps.
- Powdered sugar: This sweetens and also keeps the filling smooth. Granulated sugar can feel gritty here, so I stick with powdered.
- Heavy whipping cream: Cold cream whips up faster and holds its shape better. I wouldn’t swap in half-and-half here.
- Unsweetened cocoa powder: Use a cocoa you like the taste of, since it really comes through. Natural or Dutch-process both work.
- Semisweet chocolate: Semisweet is my go-to for this pie. If you like it darker, bittersweet is great too.
- Vanilla extract: Just a little helps the chocolate taste more rounded. It’s not optional for me.
- Kosher salt: Don’t skip it. It keeps the filling from tasting flat and makes the chocolate taste more like chocolate.
Topping
- Whipped cream or whipped topping: Homemade whipped cream is great if you have a few minutes, but whipped topping is totally fine and very stable. Either way, a thick layer on top looks nice and makes slicing easier.
- Chocolate shavings: This is the easy finish that makes the pie look like it came from a bakery case. I just shave a chocolate bar with a vegetable peeler.
Recipe Instructions
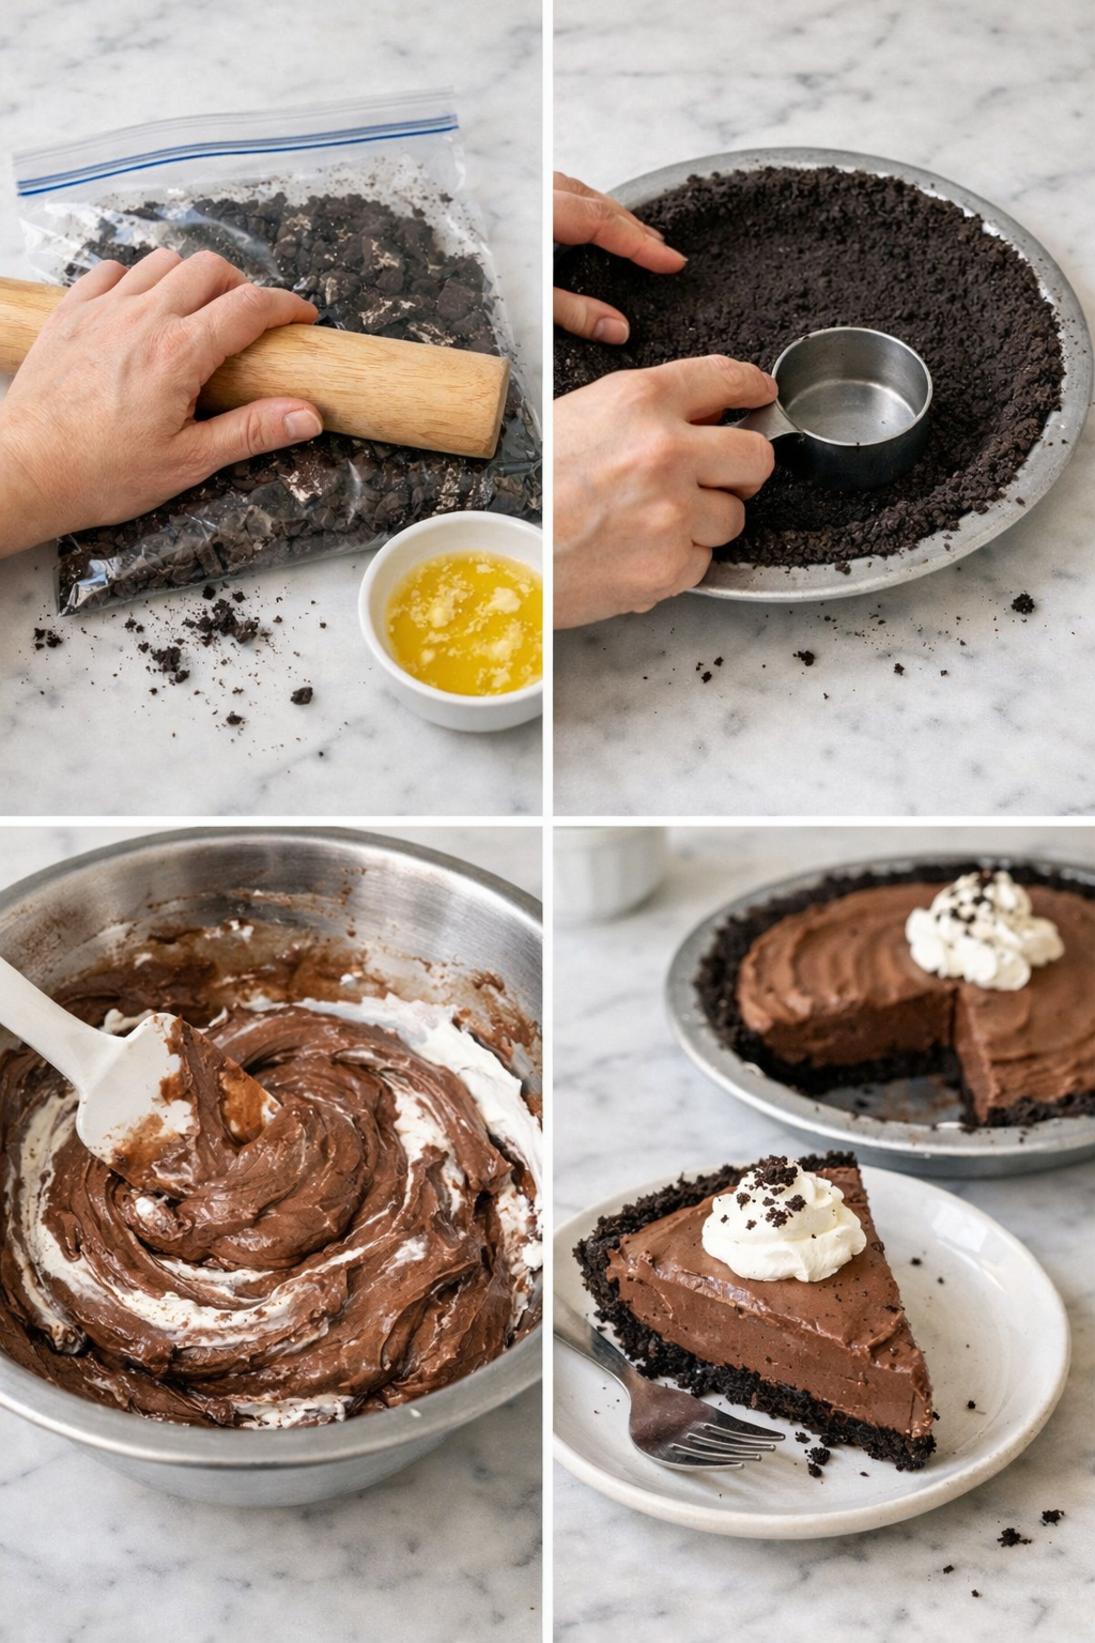
- Mix the crust: Mix the Oreo cookie crumbs with melted butter and the sugar (if using) until the crumbs are evenly moistened.
- Press the crust: Press the crumb mixture firmly into a 9-inch pie dish, covering the bottom and pressing it up the sides. Chill in the refrigerator for 15 minutes while you make the filling.
- Melt the chocolate: Melt the chopped semisweet chocolate until smooth, then let it cool until it’s just warm to the touch.
- Beat the cream cheese: Beat the softened cream cheese and powdered sugar until smooth and fluffy.
- Add cocoa and flavoring: Mix in the cocoa powder, vanilla extract, and kosher salt until fully combined, scraping the bowl as needed.
- Whip the cream: In a separate bowl, whip the cold heavy cream to stiff peaks.
- Fold the filling: Fold the whipped cream into the cream cheese mixture until mostly combined, then fold in the melted chocolate until no streaks remain.
- Fill the pie: Spread the chocolate filling into the chilled crust and smooth the top.
- Chill to set: Cover and refrigerate until set, at least 4 hours and preferably overnight.
- Top and slice: Top with whipped cream and chocolate shavings, then slice with a clean sharp knife, wiping the blade between cuts for neat slices.
Some of my tips!
This is the part that really makes a difference. If you only read one section, make it this one because this is where I share the little trick that helps the recipe turn out so well.
Recipe Tips & Tricks
Crush the cookies very fine. A fine crumb presses into the pan much better, especially up the sides. I usually use a food processor, but a zip-top bag and rolling pin works too.
Let the cream cheese soften. If it’s still cold, it tends to leave little lumps that you’ll keep chasing around the bowl. Soft cream cheese beats up smooth fast.
Cool the melted chocolate a bit. If it’s hot, it can seize or make little chocolate bits when it hits the cold whipped cream. “Just warm” is what you want.
Whip to stiff peaks. This pie sets up from the whipped cream structure plus the chocolate. If the cream is only at soft peaks, the filling can end up looser than you want.
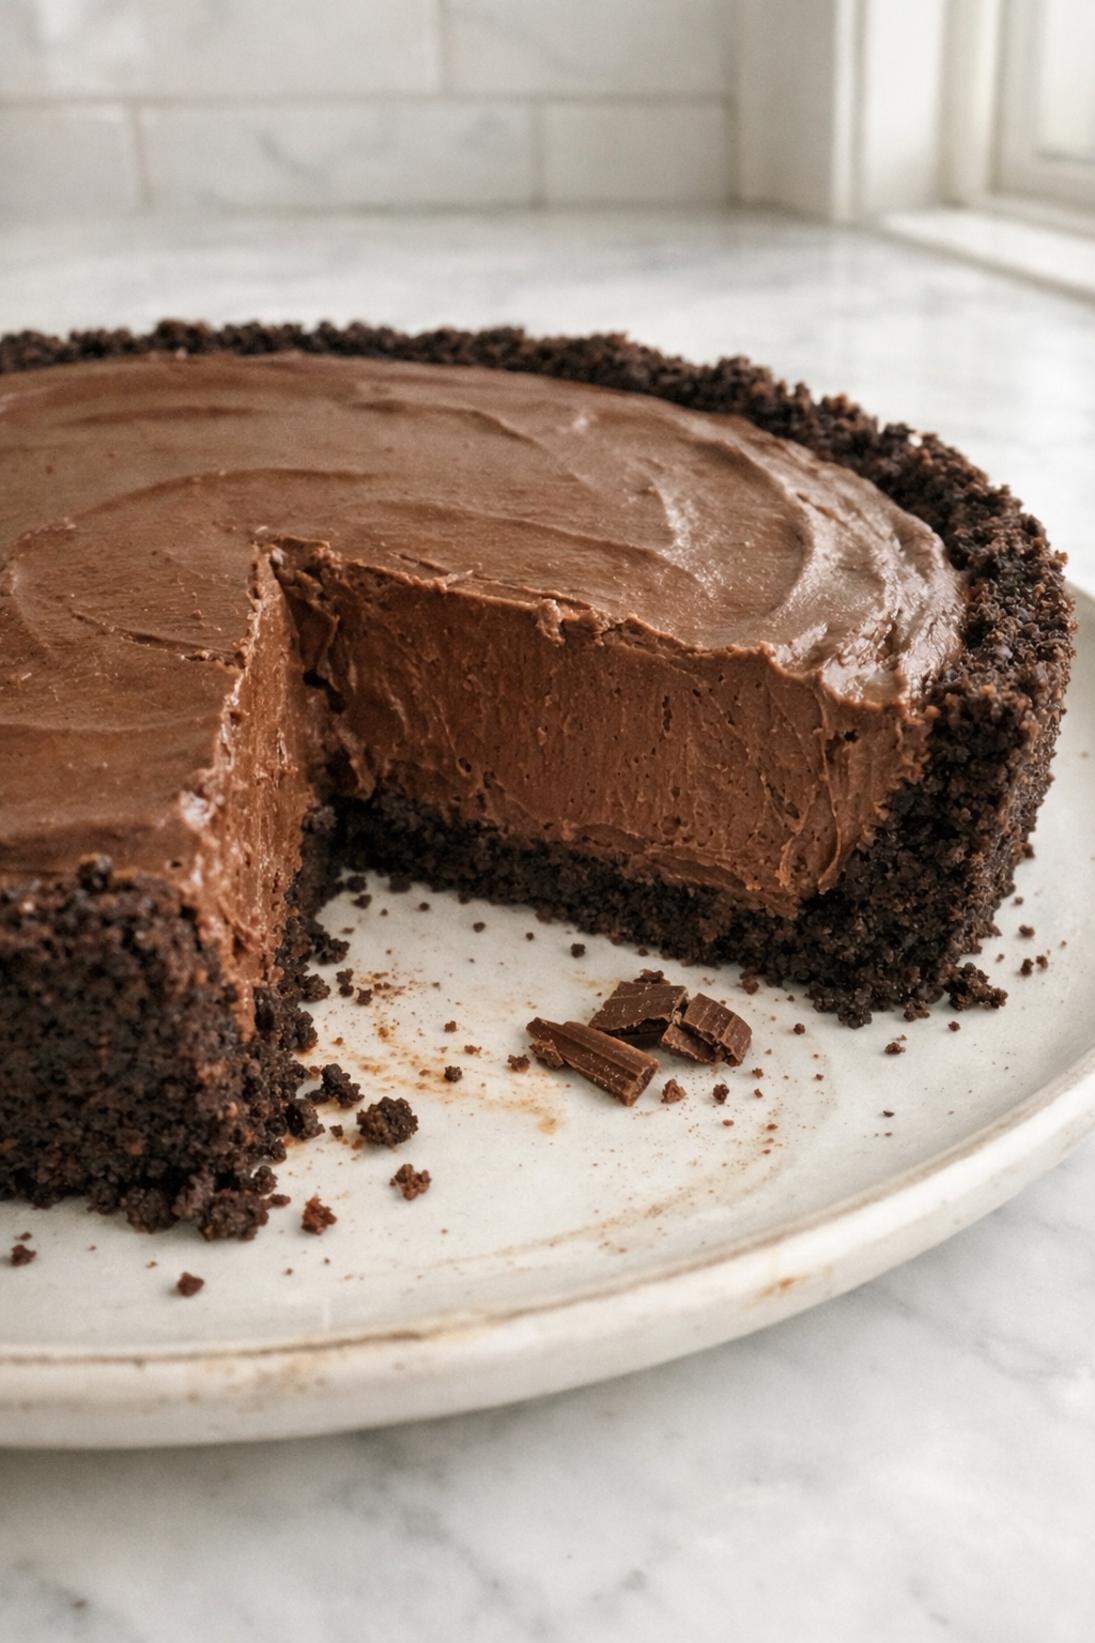
Freeze briefly for cleaner slices. If you want super neat slices, pop the pie in the freezer for about 20 minutes right before serving. It firms up just enough to cut clean.
Make some touches!
There are plenty of easy ways to serve this depending on the occasion. Keep it simple, or add a few small touches to make it feel a little more special.
Serving Suggestions
- Whipped cream: A big swoosh of whipped cream on each slice is simple and classic. I like it even more with extra chocolate shavings on top.
- Fresh berries: Strawberries, raspberries, or cherries are nice on the plate with this. I usually do this when I want something a little lighter alongside the pie.
- Espresso or coffee: This pie is really good with strong coffee. The slight bitterness works well with the rich chocolate filling.
- Chocolate sauce: A thin drizzle of chocolate sauce makes it feel a little more like a restaurant dessert. Don’t overdo it since the filling is already plenty chocolatey.
Save it for later
This section covers how to store leftovers and what parts of the recipe you can prepare ahead of time.
Storage and Make Ahead
Store leftovers covered in the fridge for up to 4 days. I keep it right in the pie dish and cover it well so the top doesn’t dry out. It slices best when it’s cold.
You can make this recipe ahead and chill it overnight, which is honestly when it’s at its best. If you’re adding whipped cream on top, you can do that right before serving or a few hours ahead.
If you want them to last longer, you can freeze individual portions or freeze the whole pie (wrap it well). Thaw in the fridge overnight before serving, and add the whipped topping after it thaws if you can.
A few quick answers
This section covers a few extra details that may help before you head to the recipe card.
Recipe FAQs
Can I use a graham cracker crust instead of Oreo?
Yes. A graham cracker crust works well and makes the pie taste a little more like a classic chocolate cream pie. You can use a homemade graham crust or a store-bought one.
Can I use milk chocolate or bittersweet chocolate?
You can. Milk chocolate will make the filling sweeter and a little softer, and bittersweet will give you a darker, less-sweet pie. Semisweet is the easiest middle ground.
Why is my filling not setting up?
The most common reason is the whipped cream wasn’t whipped to stiff peaks, so the filling stays a bit loose. It also needs enough chill time—this really does best with at least a few hours in the fridge.
Can I make this pie without cream cheese?
This particular filling is built around cream cheese for body and that slightly tangy chocolate-cheesecake flavor. If you leave it out, you’d be making a different style of pie (more like pudding or mousse), and the set will be different.
How do I get neat slices?
Use a sharp knife and wipe it clean between cuts. If the pie is still a little soft, a short freeze (about 20 minutes) right before slicing helps a lot.
You might also like
Before you go, take a look at a few other recipes below the recipe card. They use similar ingredients in a different way and are worth saving too.
MORE DINNER RECIPES TO TRY


No-Bake Chocolate Pie
INGREDIENTS
Oreo Crust
- 24 Oreo cookies finely crushed
- 6 tbsp unsalted butter melted
- 1 tbsp granulated sugar optional.
Chocolate Filling
- 8 oz cream cheese softened
- 1 cup powdered sugar
- 1 1 2 cups heavy whipping cream cold
- 1 3 cup unsweetened cocoa powder
- 6 oz semisweet chocolate chopped
- 1 tsp vanilla extract
- 1 4 tsp kosher salt.
Topping
- 1 cup whipped cream or whipped topping
- chocolate shavings for garnish.
INSTRUCTIONS
Oreo Crust
- mix cookie crumbs with melted butter and sugar until evenly moistened
- press firmly into a 9 inch pie dish along the bottom and up the sides
- chill in the refrigerator for 15 minutes while preparing the filling.
Chocolate Filling
- melt the chopped chocolate until smooth and let it cool until just warm
- beat cream cheese and powdered sugar until smooth and fluffy
- mix in cocoa powder vanilla and salt until fully combined
- whip heavy cream to stiff peaks
- fold whipped cream into the cream cheese mixture until mostly combined then fold in the melted chocolate until no streaks remain
- spread filling into the chilled crust and smooth the top
- cover and refrigerate until set at least 4 hours and preferably overnight.
Topping
- top with whipped cream and chocolate shavings
- slice with a clean sharp knife wiping between cuts for neat slices.


