

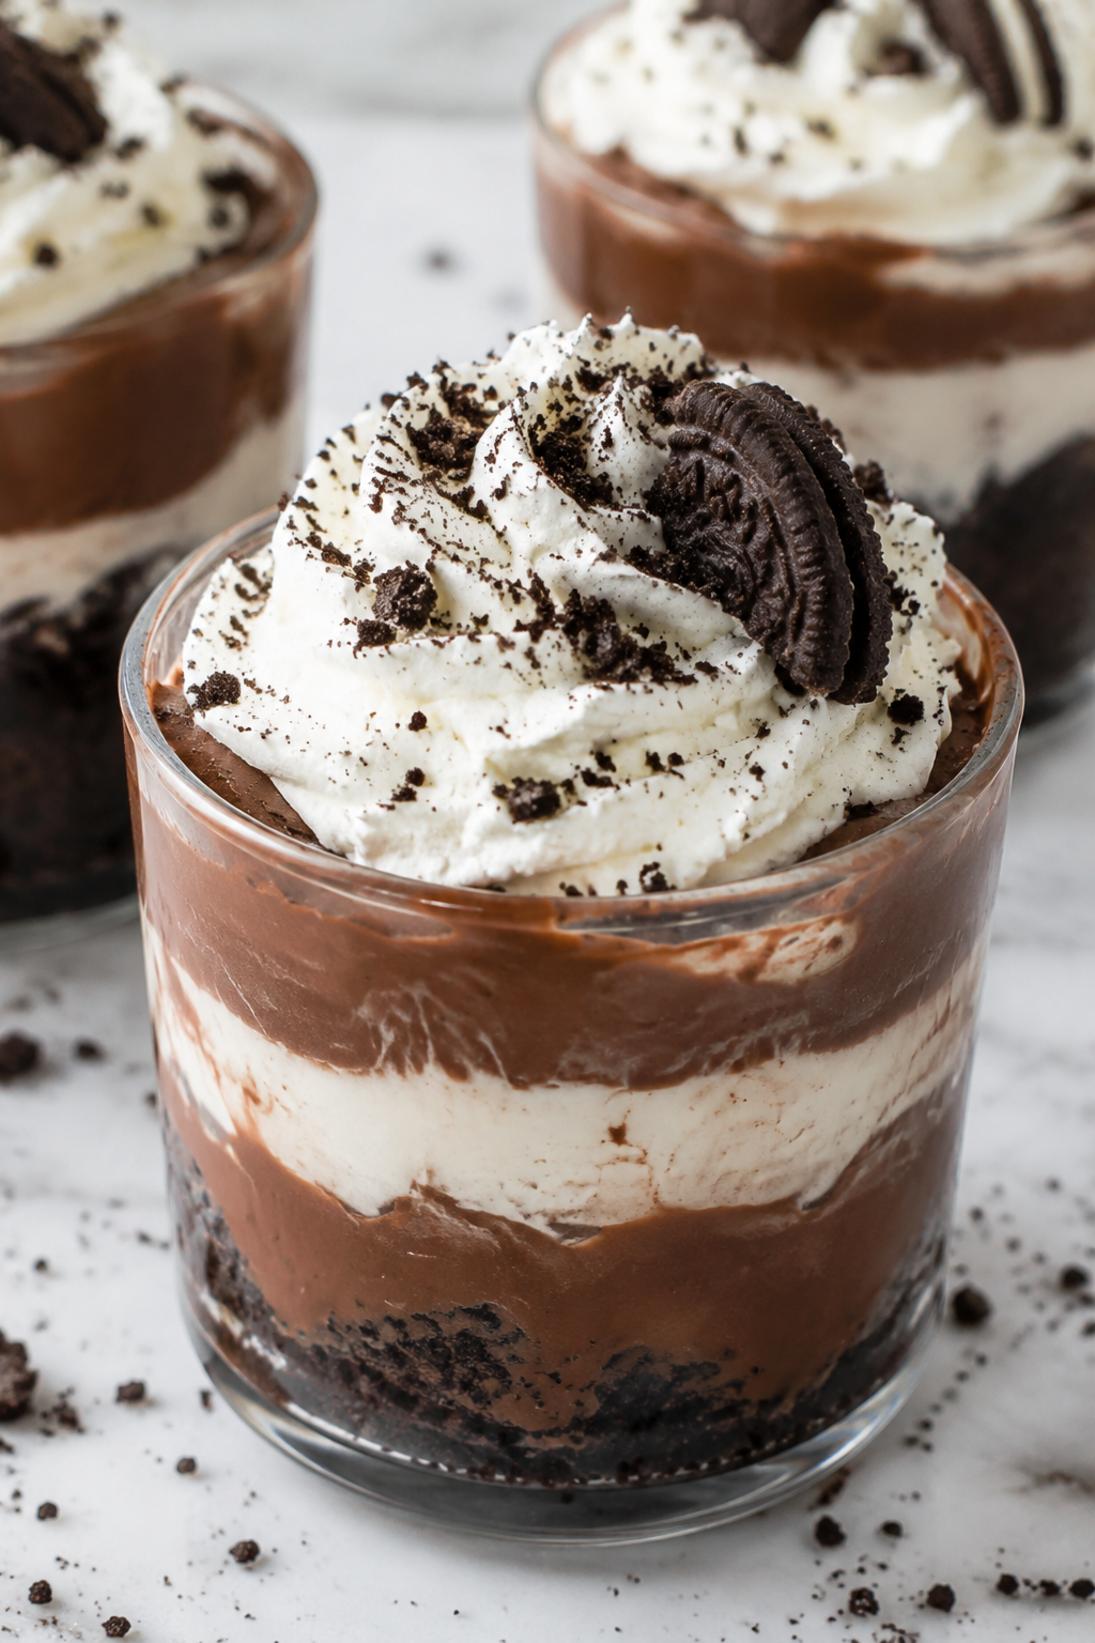
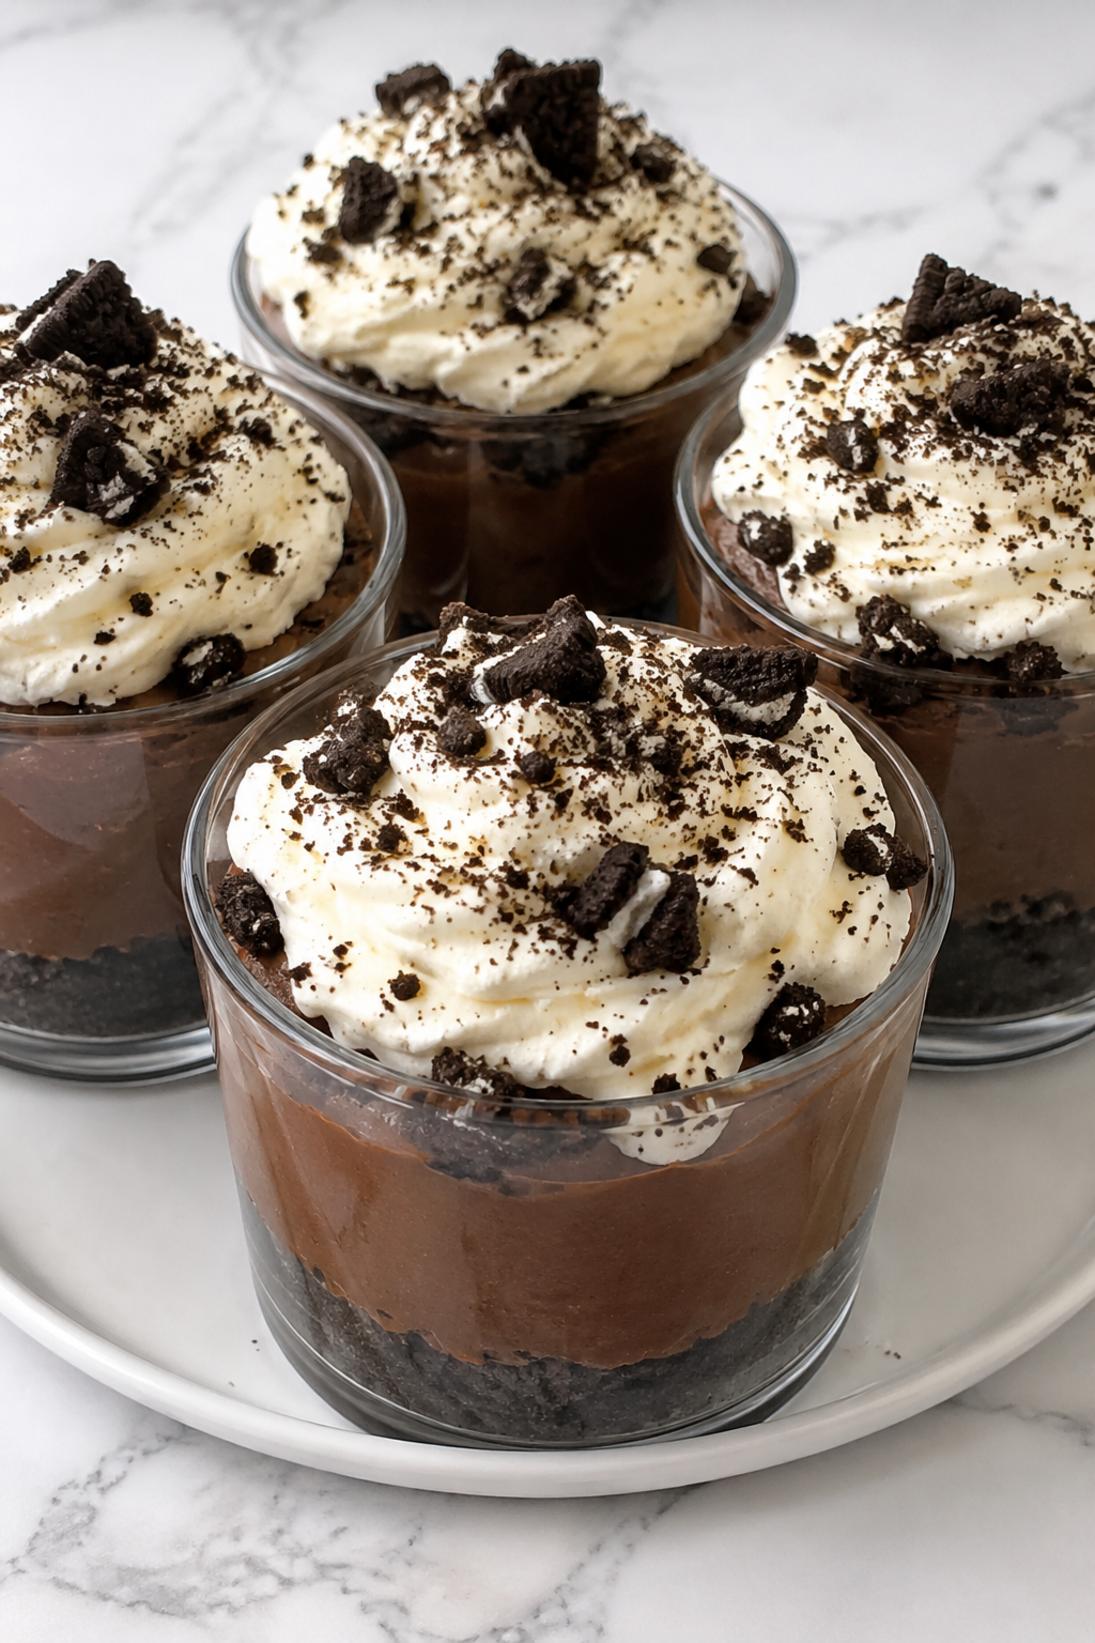
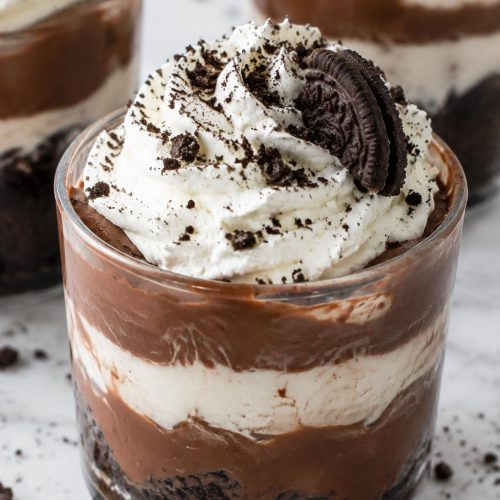
Oreo Mud Pie Cups are my kind of no-bake dessert: crisp Oreo crust, a thick chocolatey filling, and a little extra cookie crumble on top.
They taste like a cross between an Oreo pudding parfait and a mud pie, but in a smaller, easier-to-serve form. I really like this version because the filling is creamy from cream cheese and still has that classic pudding flavor.
These are especially good for parties and holidays, or any time you want a dessert you can stash in the fridge and grab when you’re ready. I usually serve them straight from the fridge with a little whipped cream on top.
Why You’ll Love This Recipe
No-bake: No oven, no water bath, no fuss. Just mix, chill, and you’re done.
Rich and creamy: The combo of pudding and cream cheese makes the filling thick, smooth, and really satisfying.
Easy to serve: Individual cups keep things neat, and you don’t need to slice anything.
Make-ahead friendly: These sit well in the fridge, which is exactly what I want when I’m hosting.
Classic Oreo flavor: It’s that cookies-and-chocolate thing that always works, especially with a crunchy crust and soft filling.
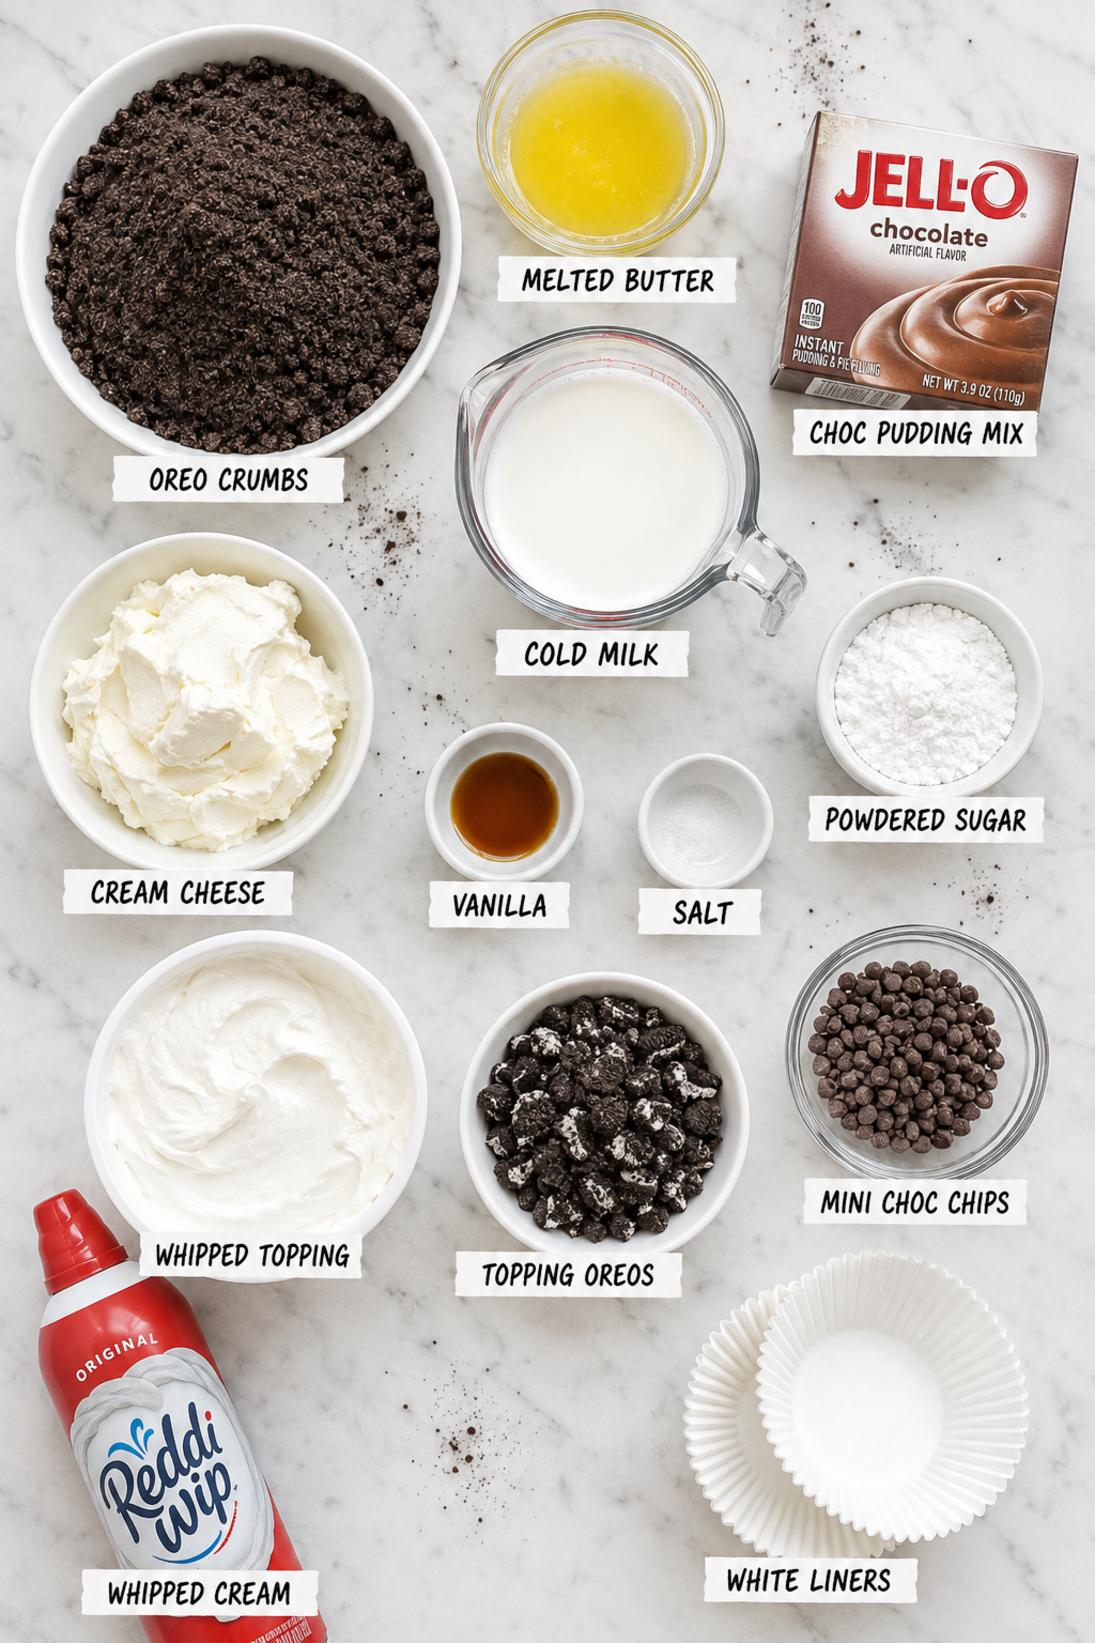
Ingredients You’ll Need
Oreo Crust
- Oreo cookies: Regular Oreos are what I use here. Crushing them pretty fine makes the crust press in nicely and hold together.
- Unsalted butter: Melted butter is what turns cookie crumbs into an actual crust. Unsalted keeps the flavor from getting too salty, since Oreos already have a little salt going on.
Chocolate Cream Filling
- Instant chocolate pudding mix: Make sure it’s instant, not cook-and-serve. Instant is what sets up quickly and gives that classic chocolate pudding taste.
- Cold milk: Cold milk helps the pudding thicken the way it should. I stick with regular dairy milk here for the most reliable set.
- Cream cheese: This is what gives the filling a cheesecake-like creaminess. Let it soften first so you don’t end up with little lumps.
- Powdered sugar: Adds sweetness and blends in smoothly. Granulated sugar can feel a little gritty in no-bake fillings like this.
- Vanilla extract: A small amount rounds out the chocolate flavor. I don’t skip it.
- Salt: Just a pinch helps the filling taste more balanced. It makes the chocolate taste more like chocolate.
- Whipped topping: This makes the filling light and fluffy and keeps it stable. The thawed tub kind is easiest, but homemade whipped cream works too if you prefer.
Topping
- Oreo cookies: I like a chunkier crush for the top so you get a little crunch. Add it close to serving if you want the crumbs to stay crisp.
- Mini chocolate chips: Optional, but they add a nice little bite. I usually throw them on if I have an open bag.
- Whipped cream: Totally optional, but it looks nice and makes the cups feel a little more “dessert-y.”
Recipe Instructions
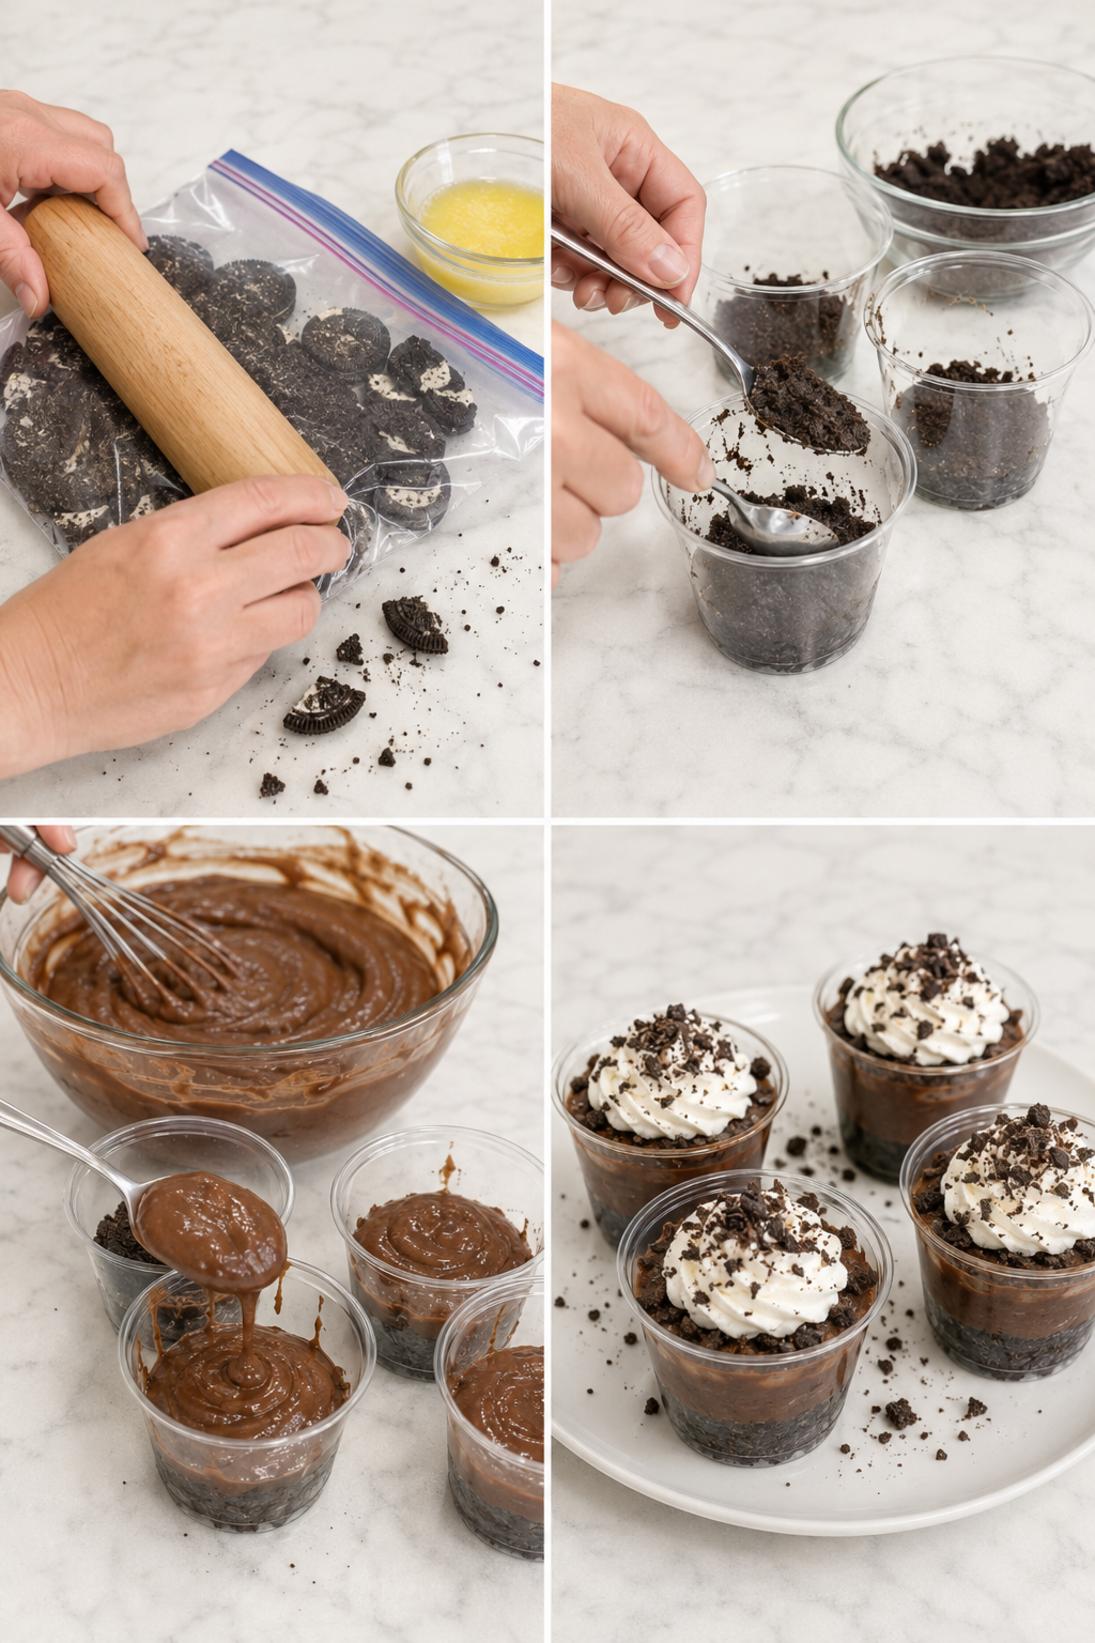
- Crush the Oreos: Crush the Oreos into fine crumbs. You can use a food processor, or put them in a zip-top bag and crush with a rolling pin.
- Mix the crust: Stir the cookie crumbs and melted butter together until the crumbs look evenly moistened.
- Press the crusts: Divide the crust mixture between 12 small cups or jars, then press it down firmly into the bottoms. A spoon or the bottom of a small glass works well.
- Whisk the pudding: Whisk the instant pudding mix with cold milk for about 2 minutes, then let it stand for 5 minutes to thicken.
- Beat the cream cheese: In a separate bowl, beat the softened cream cheese with powdered sugar, vanilla extract, and salt until smooth.
- Mix in the pudding: Add the thickened pudding to the cream cheese mixture and mix until fully combined and smooth.
- Fold in the whipped topping: Fold in the whipped topping until the filling looks fluffy and no streaks remain.
- Fill the cups: Spoon or pipe the filling over the crusts, then smooth the tops. If you want cleaner layers, use a piping bag or a zip-top bag with the corner snipped.
- Add the topping: Sprinkle crushed Oreos over each cup, and add mini chocolate chips if you’re using them. Add whipped cream right before serving if you want.
- Chill: Refrigerate for at least 60 minutes before serving so the filling can set up.
Some of my tips!
This is the part that really makes a difference. If you only read one section, make it this one because this is where I share the little trick that helps the recipe turn out so well.
Recipe Tips & Tricks
Crush the cookies pretty fine for the crust. Finer crumbs press in more cleanly and don’t crumble apart as much when you dig in with a spoon.
Use fully softened cream cheese. If it’s still cool and firm, it tends to leave little lumps in the filling. Let it sit out for a bit, then beat it until it’s completely smooth before adding anything else.
Let the pudding thicken before mixing it in. Give it the full few minutes after whisking so it firms up. The filling sets better and doesn’t turn runny.
Fold, don’t beat, after the whipped topping goes in. Gentle folding keeps the filling light. If you mix too hard, it can lose that fluffy texture.
Pipe the filling if you want neat layers. A zip-top bag with the corner cut off works fine. It’s also faster and less messy with small cups.
Make some touches!
There are plenty of easy ways to serve this depending on the occasion. Keep it simple, or add a few small touches to make it feel a little more special.
Serving Suggestions
- Whipped cream: Add a small swirl right before serving. It makes the cups look finished and gives a nice light bite with the rich filling.
- Fresh berries: Strawberries or raspberries on the side are a good contrast to all the chocolate. I like it when the plate has something fresh on it.
- Ice cream: If you want to go bigger, serve a cup with a small scoop of vanilla ice cream. It melts into the cookie crumbs in a good way.
- Coffee or espresso: These are really good with coffee, especially after dinner. I usually go with something simple like a latte or iced coffee.
Save it for later
This section covers how to store leftovers and what parts of the recipe you can prepare ahead of time.
Storage and Make Ahead
Store the cups covered in the fridge. They keep well chilled, and the texture stays thick and creamy. I just cover each cup or put them on a tray and wrap the whole thing.
You can make these up to 2 days ahead, which is one of the best parts. I usually wait to add the Oreo crumb topping until closer to serving so it stays crunchy.
If you want to prep in stages, you can make the crusts and the filling the same day, then assemble when you have a minute. The cups are easiest to serve straight from the fridge.
Freezing isn’t my favorite for this one. The filling can change texture a bit once it thaws, and the cookie crumbs soften. If you do freeze, thaw in the fridge and expect a softer top.
A few quick answers
This section covers a few extra details that may help before you head to the recipe card.
Recipe FAQs
Can I use cookies and cream or vanilla pudding instead of chocolate?
Yes. Vanilla pudding makes a lighter flavor, and cookies and cream pudding keeps the Oreo theme going. The texture stays similar as long as you’re using an instant pudding mix.
Can I use homemade whipped cream instead of whipped topping?
You can. Use about 2 cups of sweetened whipped cream, and fold it in gently at the end. Homemade is a little softer, so the cups may not hold their shape quite as firmly, but it still works.
What’s the easiest way to get clean layers in the cups?
Piping the filling is the easiest. A piping bag is great, but a zip-top bag with the corner snipped works fine and keeps the sides of the cups cleaner.
Why is my filling a little runny?
Usually it’s because the pudding didn’t thicken long enough before you mixed it in, or the milk wasn’t cold. It will also firm up more after chilling, so give it at least an hour in the fridge.
Can I make this in one pan instead of individual cups?
Yes, you can press the crust into an 8×8-inch dish and spread the filling over the top. Chill, then scoop to serve, and add the cookie crumbs right before serving.
You might also like
Before you go, take a look at a few other recipes below the recipe card. They use similar ingredients in a different way and are worth saving too.
MORE DINNER RECIPES TO TRY


Oreo Mud Pie Cups
INGREDIENTS
Oreo Crust
- 24 Oreo cookies finely crushed
- 4 tbsp unsalted butter melted.
Chocolate Cream Filling
- 1 package 3.9 oz instant chocolate pudding mix
- 2 cups cold milk
- 8 oz cream cheese softened
- 1/3 cup powdered sugar
- 1 tsp vanilla extract
- 1/8 tsp salt
- 8 oz whipped topping thawed.
Topping
- 6 Oreo cookies crushed
- 1/2 cup mini chocolate chips optional
- whipped cream for garnish.
INSTRUCTIONS
Build the crust
- crush Oreos into fine crumbs
- stir crumbs with melted butter until evenly moistened
- divide and press firmly into the bottoms of 12 small cups or jars.
Make filling and assemble
- whisk pudding mix with cold milk for 2 minutes then let stand 5 minutes to thicken
- beat cream cheese with powdered sugar vanilla and salt until smooth
- mix in thickened pudding until fully combined
- fold in whipped topping until fluffy
- pipe or spoon filling over crusts and smooth the tops
- garnish with crushed Oreos and optional mini chocolate chips
- refrigerate at least 60 minutes before serving.


