

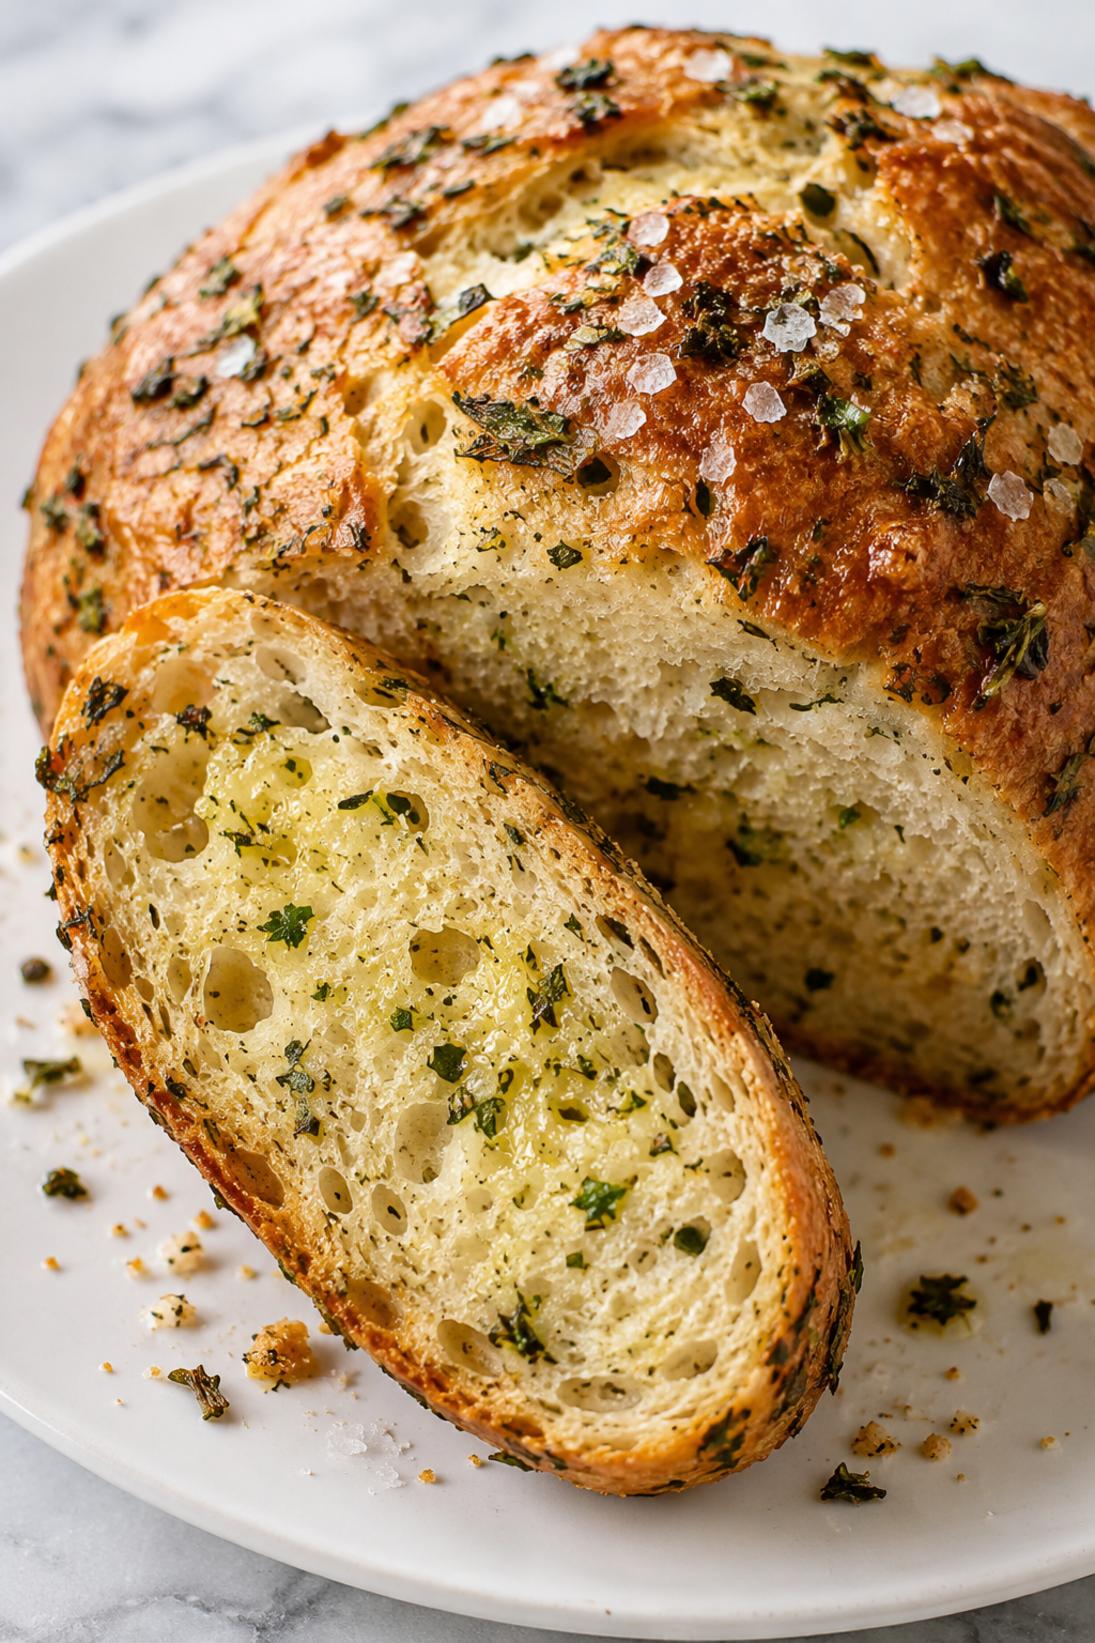
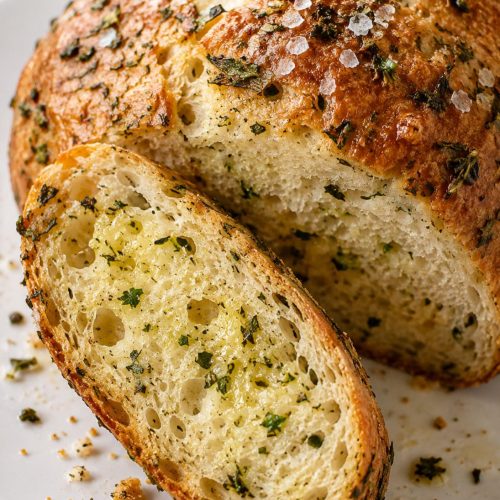
Savory Herb Bread is a soft yeast loaf with that cozy mix of Italian herbs, garlic, and olive oil baked right in. It’s the kind of bread I like to keep around because it works for sandwiches, toast, and dinner on the side without feeling plain.
The flavor is herby and garlicky but still balanced, and the crumb stays tender and sliceable. I also like that it’s an everyday loaf—no fancy shaping—just a solid, reliable pan bread that tastes like you actually did something special.
For me, this one is best with soups and pasta nights, and it’s also really good as simple sandwich bread for turkey, ham, or roasted veggies. If you add the optional olive oil and flaky salt on top, it has that slightly seasoned crust I always want.
Why You’ll Love This Recipe
Soft slices: This loaf bakes up tender and easy to slice, so it works for sandwiches and toast without crumbling.
Real savory flavor: The herb blend, rosemary, garlic, and black pepper make it taste “finished” even when you’re just serving it with butter.
Simple pantry ingredients: Nothing unusual here, and you can use dried herbs without hunting down a bunch of fresh ones.
Nice with dinner: I make it when I’m doing pasta, soup, or a big salad and want a bread that isn’t sweet.
Easy to tweak: Add parmesan, swap in fresh herbs, or use bread flour for a little more chew.
Ingredients You’ll Need
Dough
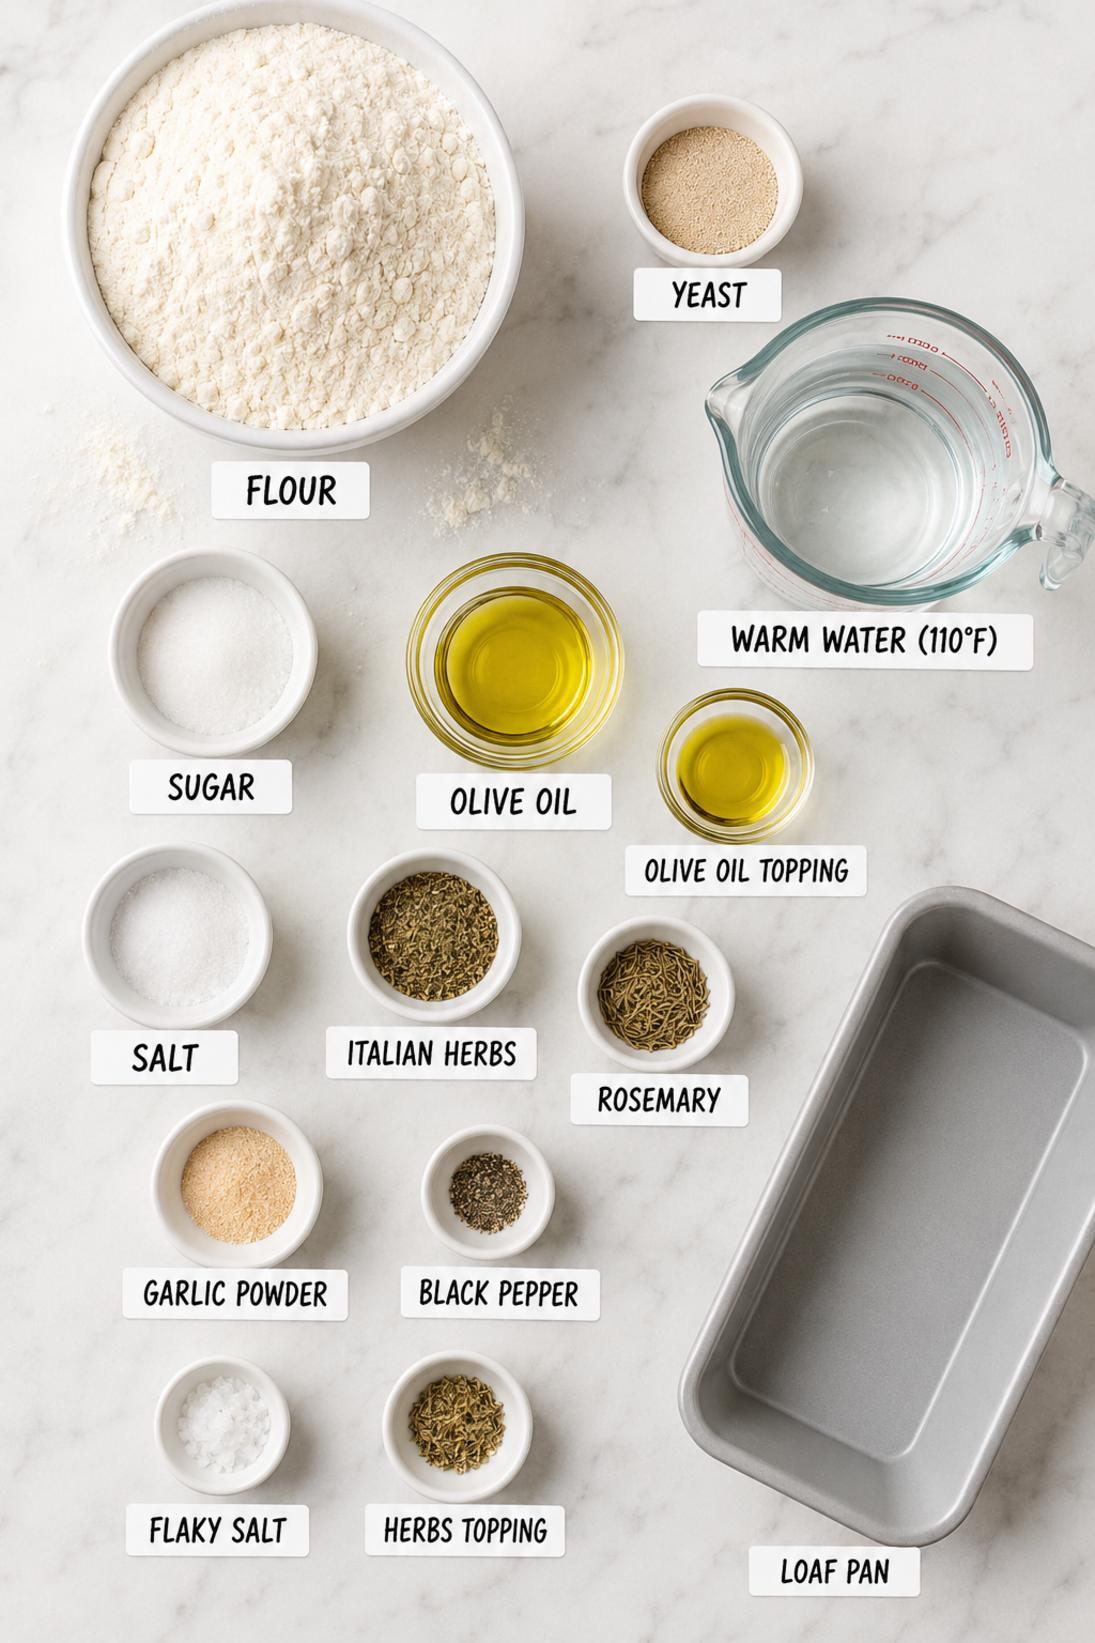
- All-purpose flour: I use regular AP flour here since it’s what most people have, and it makes a softer loaf. Bread flour works too if you want a chewier crumb.
- Active dry yeast: Proofing it first is a nice quick check that your yeast is alive and ready to work.
- Warm water: Aim for warm, not hot—if it’s too hot it can slow down or kill the yeast. I like water that feels comfortably warm on my wrist.
- Olive oil: This keeps the bread tender and gives it that savory, slightly rich flavor. Use the one you like the taste of.
- Sugar or honey: Just a little helps the yeast get going and rounds out the flavor. Honey is great if you want the tiniest hint of sweetness.
- Fine salt: Don’t skip it—this is what keeps the loaf from tasting flat.
- Dried Italian herb blend: The easy way to get that classic “herb bread” taste. Any standard blend works well.
- Dried rosemary: Rosemary can take over fast, but this amount gives a clear rosemary note without tasting like a pine tree.
- Garlic powder: I like garlic powder in bread dough because it blends in evenly. Fresh garlic can burn or get bitter in some loaves.
- Black pepper: Just enough to give a little bite in the background.
Optional topping
- Olive oil: A quick brush on top helps the crust brown nicely and keeps the herbs stuck on.
- Dried herbs: Use the same Italian blend, rosemary, or whatever you’re already using in the dough.
- Flaky salt: Totally optional, but I like a little on top for that light crunch and extra savory finish.
Recipe Instructions
- Proof the yeast: Combine the warm water and sugar (or honey) in a large bowl, then sprinkle the active dry yeast over the top. Let it sit for 5 to 10 minutes, until foamy.
- Mix the dry ingredients: In a separate bowl, whisk the flour, salt, Italian herb blend, rosemary, garlic powder, and black pepper until evenly mixed.
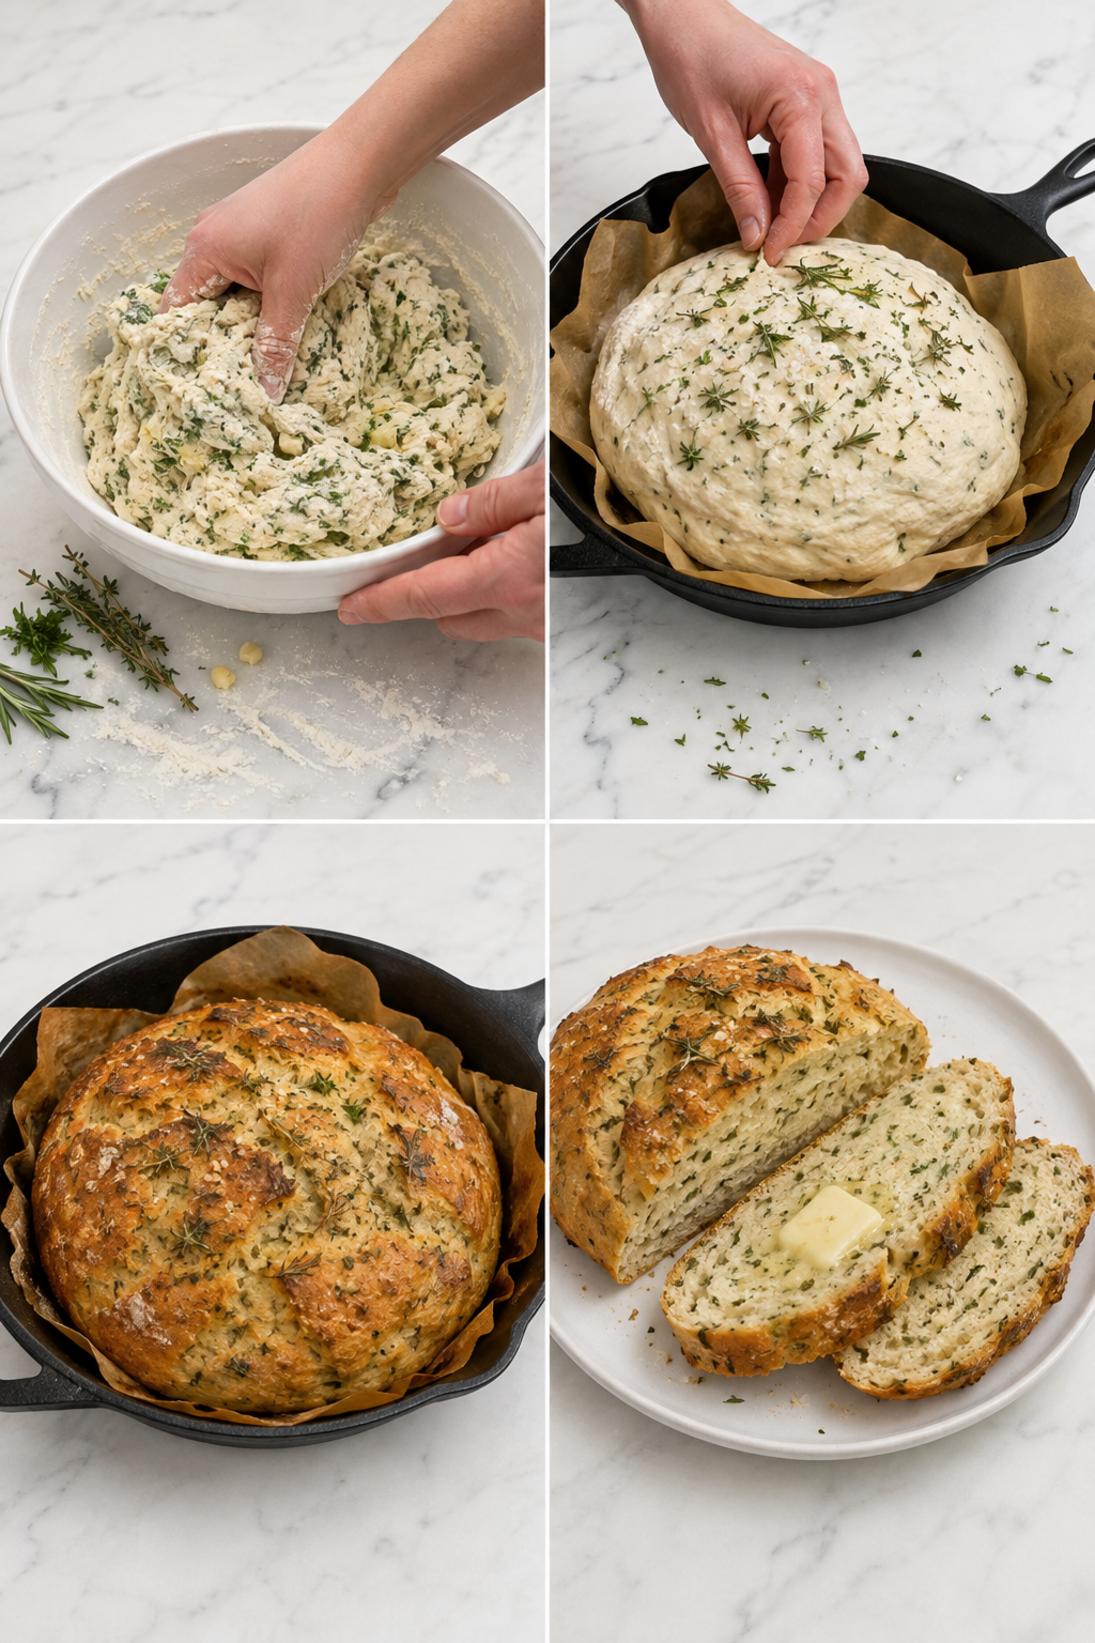
- Make the dough: Add the dry ingredients to the yeast mixture, then add the olive oil. Stir until you have a shaggy dough and there are no big dry patches of flour.
- Knead: Knead for 8 to 10 minutes, until the dough is smooth and elastic. Add a little flour only if the dough is very sticky.
- First rise: Place the dough in a lightly oiled bowl, cover, and let rise for 60 to 90 minutes, until doubled in size.
- Shape the loaf: Punch down the dough, shape it into a loaf, and place it into a greased 9×5-inch loaf pan.
- Second rise: Cover and let rise 30 to 45 minutes, until the dough is domed and about 1 inch above the rim of the pan.
- Top and bake: Heat the oven to 375°F. Brush the top with olive oil and add the optional herbs and flaky salt, then bake 30 to 35 minutes, until golden and the internal temperature reaches 190 to 200°F.
- Cool: Cool in the pan for 10 minutes, then turn out onto a rack and cool for about 30 minutes before slicing.
Some of my tips!
This is the part that really makes a difference. If you only read one section, make it this one because this is where I share the little trick that helps the recipe turn out so well.
Recipe Tips & Tricks
Start with water that’s truly warm, not hot. If your yeast doesn’t foam, the water was likely too hot or the yeast is old. It’s worth restarting before you add the flour.
Stop adding flour too early. A slightly tacky dough is fine and usually bakes up softer. If you keep adding flour to get it “dry,” the loaf can turn out dense.
Give the first rise enough time. If the dough hasn’t doubled, the bread can split on the sides in the oven. Cooler kitchens just need a little longer.
Watch the second rise in the pan. I like to bake when the dough is about 1 inch above the rim and looks gently puffed. If it overproofs, it can sink a little after baking.
Use a thermometer if you have one. Pull the loaf when it hits 190 to 200°F in the center. It takes the guessing out of whether the middle is done.
Make some touches!
There are plenty of easy ways to serve this depending on the occasion. Keep it simple, or add a few small touches to make it feel a little more special.
Serving Suggestions
- Soup: This is really good with tomato soup, chicken noodle, or a chunky vegetable soup. I usually toast thick slices and serve them on the side.
- Pasta night: Serve it with spaghetti, baked ziti, or creamy pasta and a simple green salad. It’s great for wiping up sauce.
- Sandwiches: Use it for turkey and provolone, ham and cheddar, or a veggie sandwich with roasted peppers. The herbs make even a basic sandwich taste more interesting.
- Breakfast toast: Toast a slice and top with butter and a soft egg, or just olive oil and a little extra black pepper. It’s hearty without being heavy.
Save it for later
This section covers how to store leftovers and what parts of the recipe you can prepare ahead of time.
Storage and Make Ahead
Store the loaf wrapped at room temperature for about 2 days. I usually keep it in a bread bag or wrap it well so the cut side doesn’t dry out.
If you want to freeze sliced bread, slice the loaf first and freeze it in a freezer bag. That way you can pull out one or two slices at a time.
To serve after freezing, let slices thaw on the counter for a bit or toast them straight from frozen. Toasting brings the texture back quickly.
A few quick answers
This section covers a few extra details that may help before you head to the recipe card.
Recipe FAQs
Can I use bread flour instead of all-purpose flour?
Yes. Bread flour gives you a slightly chewier texture and a bit more structure, which is great if you want sturdier sandwich slices.
Can I use fresh herbs instead of dried?
You can. Replace the dried herbs with about 3 tablespoons of mixed fresh chopped herbs, and keep the rosemary to taste (fresh rosemary is strong).
How do I know when the loaf is fully baked?
The top should be golden and the loaf should sound a little hollow when tapped, but the most reliable way is an instant-read thermometer. Aim for 190 to 200°F in the center.
Can I make it cheesy?
Yes—add about 1/2 cup grated parmesan to the dough. It makes the loaf a little richer and saltier, so I’d keep the flaky salt topping light.
Can I use instant yeast?
Instant yeast works fine here. You can skip the proofing step and mix it right into the dry ingredients, then add the warm water and oil as usual.
You might also like
Before you go, take a look at a few other recipes below the recipe card. They use similar ingredients in a different way and are worth saving too.
MORE DINNER RECIPES TO TRY


Savory Herb Bread
INGREDIENTS
Dough
- 3.5 cups all purpose flour
- 2.25 tsp active dry yeast
- 1.25 cups warm water 110 F
- 2 tbsp olive oil
- 1 tbsp sugar or honey
- 1.5 tsp fine salt
- 1 tbsp dried Italian herb blend
- 1 tsp dried rosemary
- 1 tsp garlic powder
- ½ tsp black pepper.
Optional topping
- 1 tbsp olive oil
- 1 tsp dried herbs
- flaky salt to taste.
INSTRUCTIONS
Mix and knead
- combine warm water and sugar then sprinkle yeast and rest 5 to 10 minutes until foamy
- whisk flour salt herbs garlic powder and pepper then add yeast mixture and olive oil and mix to a shaggy dough
- knead 8 to 10 minutes until smooth and elastic adding a little flour only if sticky.
Rise shape and bake
- place dough in lightly oiled bowl cover and rise 60 to 90 minutes until doubled
- punch down shape into a loaf and place in greased 9x5 inch pan cover and rise 30 to 45 minutes until domed about 1 inch above rim
- brush with olive oil and optional herbs and salt then bake at 375 F for 30 to 35 minutes until golden and internal temperature reaches 190 to 200 F
- cool in pan 10 minutes then turn out and cool 30 minutes before slicing.


