
If you have a sweet tooth and are in search of a simple yet delicious dessert, look no further than the icebox cake! This classic dessert has been a favorite among families for generations, and for good reason. With its creamy layers of whipped cream and cookies, the icebox cake is a crowd-pleaser that requires no baking. Perfect for those hot summer days when you don’t want to turn on the oven but still want a satisfying treat.

What is an icebox cake?
An icebox cake is a no-bake dessert that typically consists of layers of whipped cream and cookies or graham crackers. The cake is assembled in a pan or dish and then refrigerated, allowing the cookies to soften and absorb the moisture from the whipped cream, resulting in a creamy and cake-like texture. The simplicity of this dessert makes it a popular choice for picnics, potlucks, and any occasion where you want to impress without spending hours in the kitchen.
Icebox cakes have a rich history that dates back to the early 20th century. These cakes gained popularity at a time when iceboxes, the precursor to modern refrigerators, were common in households. The concept of layering whipped cream and cookies to create a dessert that would set in the icebox was a revelation in an era when oven-baked sweets were the norm. Icebox cakes quickly became a staple in American homes, and their popularity has endured through the decades.
Today, icebox cakes come in various flavors and variations. From classic chocolate and vanilla to creative combinations like peanut butter and banana, there is a flavor for everyone’s taste buds. Plus, you can add toppings such as berries, chocolate shavings, or nuts to enhance the flavor and presentation.
Classic Chocolate Icebox Cake
For the cake:
- 2 cups heavy cream
- 1/2 cup powdered sugar
- 1 teaspoon vanilla extract
- 3 cups chocolate wafer cookies
Instructions for making the cake:
- In a large mixing bowl, whip the heavy cream until it starts to thicken. Add the powdered sugar and vanilla extract, and continue to whip until soft peaks form.
- Take a 9-inch round cake pan and line the bottom with a layer of chocolate wafer cookies. Spread a layer of the whipped cream on top of the cookies, using about 1/3 of the cream.
- Repeat the layering process with more cookies and cream, until you have used up all the ingredients. Make sure to end with a layer of cookies on top.
- Cover the cake pan with plastic wrap and refrigerate for at least 4 hours, or overnight, to allow the cookies to soften and the flavors to meld together.
- Just before serving, carefully invert the cake onto a serving plate, removing the cake pan and plastic wrap. The layers should hold together nicely.
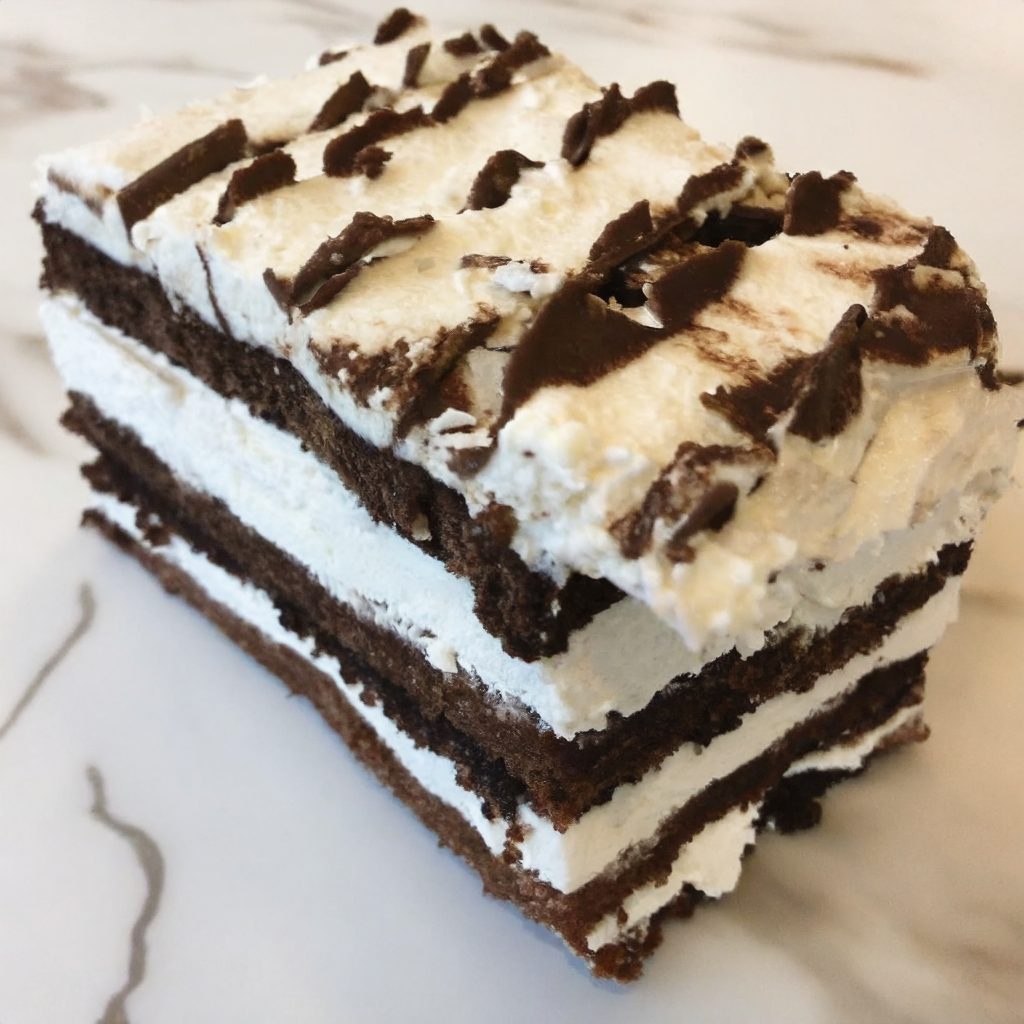
- Optionally, you can garnish the cake with additional whipped cream and chocolate shavings for added visual appeal.
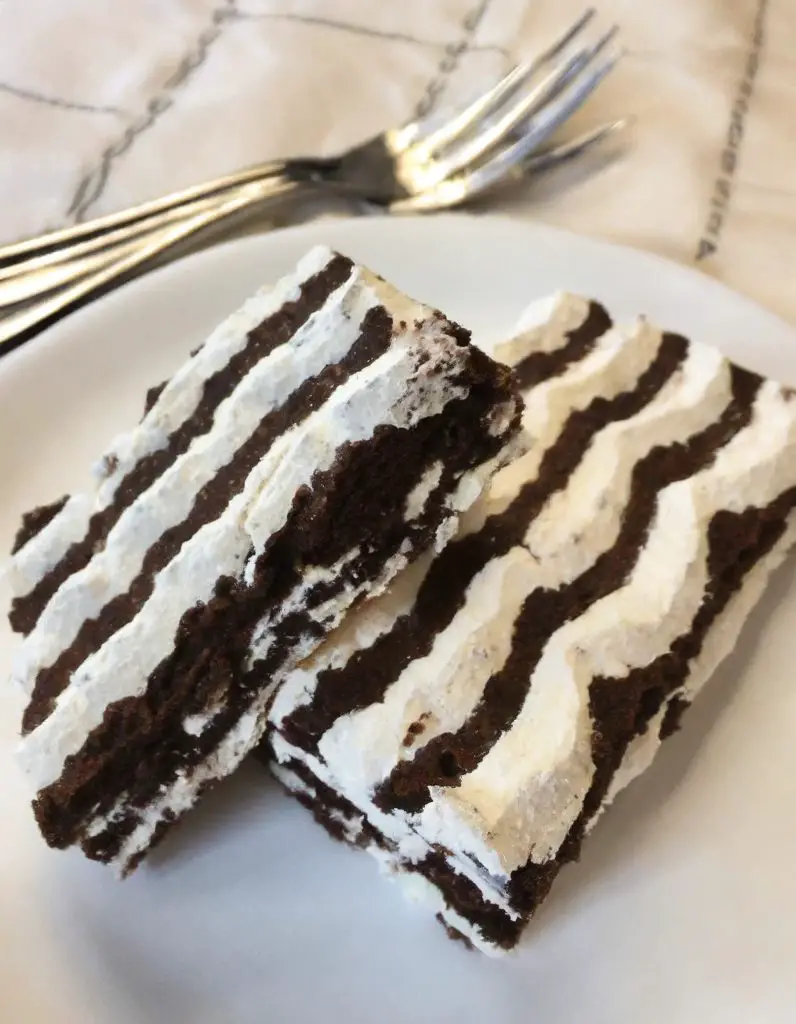
- Slice and serve the icebox cake to your delighted guests. The combination of the soft, creamy filling and the crunchy chocolate cookies is sure to be a crowd-pleaser.
So there you have it, a classic chocolate icebox cake that is simple to make yet indulgently delicious. Whether you’re hosting a summer get-together or looking for a special treat, this recipe is a winner. Enjoy!
Variations of Icebox Cake
Strawberry Icebox Cake
If you are a fan of strawberries, then this Strawberry Icebox Cake is a must-try dessert! It is a refreshing and delicious treat that is perfect for the summer months or any time you are craving something sweet. Made with layers of graham crackers, fresh strawberries, and a creamy filling, this cake is easy to make and requires no baking. Simply assemble the layers, refrigerate for a few hours, and you’ll have a beautiful and tasty dessert that everyone will love.
To make the Strawberry Icebox Cake, start by mixing together whipped cream, cream cheese, powdered sugar, and vanilla extract until smooth and creamy. Then, layer graham crackers in the bottom of a baking dish and spread a layer of the cream mixture on top. Arrange a layer of sliced strawberries on the cream and repeat the layers until the dish is full. Finish with a layer of cream and garnish with fresh strawberries. Refrigerate for at least 4 hours or overnight to allow the cake to set before serving.
Oreo Icebox Cake
If you’re a fan of Oreos, then this Oreo Icebox Cake will be your new favorite dessert! It’s unbelievably easy to make and tastes absolutely delicious. Made with just a few simple ingredients, this cake is a crowd-pleaser that will have everyone asking for seconds.
To make the Oreo Icebox Cake, start by mixing together whipped cream, cream cheese, powdered sugar, and vanilla extract until creamy. Then, layer a baking dish with a single layer of Oreo cookies. Spread a layer of the cream mixture on top of the cookies, and repeat the process until you have used all of the ingredients. Finish with a layer of whipped cream and crushed Oreos for added texture and flavor. Refrigerate the cake for at least 4 hours or overnight to allow the flavors to meld together and the cake to set before serving.
Whether you prefer the fresh and fruity flavors of the Strawberry Icebox Cake or the chocolatey goodness of the Oreo Icebox Cake, both variations are sure to be a hit at any gathering or as a special treat for yourself. They are simple to make, require no baking, and taste absolutely delicious. So go ahead and whip up one of these delightful icebox cakes and enjoy every sweet and satisfying bite!
Tips and Tricks for Making the Perfect Icebox Cake
If you’re in the mood for a delicious and refreshing dessert, look no further than the classic icebox cake. This no-bake treat is not only easy to make but also perfect for those hot summer days. Whether you’re a novice in the kitchen or a seasoned baker, here are some tips and tricks to help you create the perfect icebox cake.
Layering techniques
- Even layers: When layering the cake, make sure to spread each layer evenly to ensure a balanced distribution of flavors and textures. A flat spatula or the back of a spoon can be helpful in achieving this.
- Cookie selection: The type of cookies you use will greatly affect the final result. Traditional choices include graham crackers, chocolate wafers, or ladyfingers. You can also experiment with different flavors like Oreo or vanilla wafer cookies for added variety.
- Soak or dip: To soften the cookies and create a creamy texture, you can dip them in milk, coffee, or even flavored liqueurs. This will also add a delicious hint of flavor to each layer.
Substitutions and additions
- Flavor variations: While the classic icebox cake is made with layers of cookies and whipped cream, feel free to get creative with different flavors. You can add fresh fruits like strawberries or bananas between the layers for a fruity twist.
- Sweet additions: To elevate the sweetness, you can drizzle caramel or chocolate sauce over the layers or sprinkle crushed nuts, cookie crumbs, or sprinkles on top for added texture and visual appeal.
- Healthier alternatives: If you’re looking for a lighter version of the icebox cake, you can use low-fat whipped cream or Greek yogurt instead of heavy cream. You can also incorporate gluten-free cookies or substitute sugar with natural sweeteners like honey or maple syrup.
By following these tips and tricks, you’ll be able to create a mouthwatering icebox cake that will impress your friends and family. Whether you stick to the classic recipe or experiment with various flavors, the result will be a refreshing and delightful treat that everyone will enjoy. So, grab your mixing bowl and get ready to make the perfect icebox cake!
FAQ
If you’re new to making icebox cakes or have some burning questions about the process, don’t worry, we’ve got you covered. Here are some frequently asked questions about icebox cakes:
1. What is an icebox cake?
An icebox cake is a classic no-bake dessert that’s made by layering cookies or crackers with whipped cream or pudding. It’s then chilled in the refrigerator until the cookies soften and meld with the cream, creating a cake-like texture.
2. Can I use any type of cookies?
Absolutely! Icebox cakes are highly versatile, and you can use any type of cookies that you love. Some popular choices include graham crackers, chocolate wafer cookies, ladyfingers, or even Oreos for a twist.
3. Can I make an icebox cake ahead of time?
Yes, that’s one of the best things about icebox cakes! They are perfect for making ahead of time. In fact, they often taste even better the next day after the flavors have had a chance to meld together. Just be sure to keep the cake refrigerated until you’re ready to serve.
4. Can I customize the flavors?
Definitely! One of the great things about icebox cakes is that they can be customized to suit your preferences. You can add flavor extracts like vanilla or almond to the cream, incorporate fruits, or even sprinkle some chocolate chips between the layers.
5. Can I add decorations to the cake?
Absolutely! You can get creative and add decorations to your icebox cake. Consider topping it with fresh fruits, chocolate shavings, crushed cookies, or even a drizzle of caramel or chocolate sauce for an extra touch.
More Cakes Recipe
Here are some other cakes recipes you might like:
- Lemon Curd Cake
- Peach Cobbler With Cake Mix Recipe
- Peach Cobbler Pound Cake
- Birthday Cake Cheesecake
- Apple Pie Filling Coffee Cake

Icebox Cake
INGREDIENTS
- 2 cups heavy cream
- 1/2 cup powdered sugar
- 1 teaspoon vanilla extract
- 3 cups chocolate wafer cookies
INSTRUCTIONS
- In a large mixing bowl, whip the heavy cream until it starts to thicken. Add the powdered sugar and vanilla extract, and continue to whip until soft peaks form.
- Take a 9-inch round cake pan and line the bottom with a layer of chocolate wafer cookies. Spread a layer of the whipped cream on top of the cookies, using about 1/3 of the cream.
- Repeat the layering process with more cookies and cream, until you have used up all the ingredients. Make sure to end with a layer of cookies on top.
- Cover the cake pan with plastic wrap and refrigerate for at least 4 hours, or overnight, to allow the cookies to soften and the flavors to meld together.
- Just before serving, carefully invert the cake onto a serving plate, removing the cake pan and plastic wrap. The layers should hold together nicely.
- Optionally, you can garnish the cake with additional whipped cream and chocolate shavings for added visual appeal.
- Slice and serve the icebox cake to your delighted guests. The combination of the soft, creamy filling and the crunchy chocolate cookies is sure to be a crowd-pleaser.


